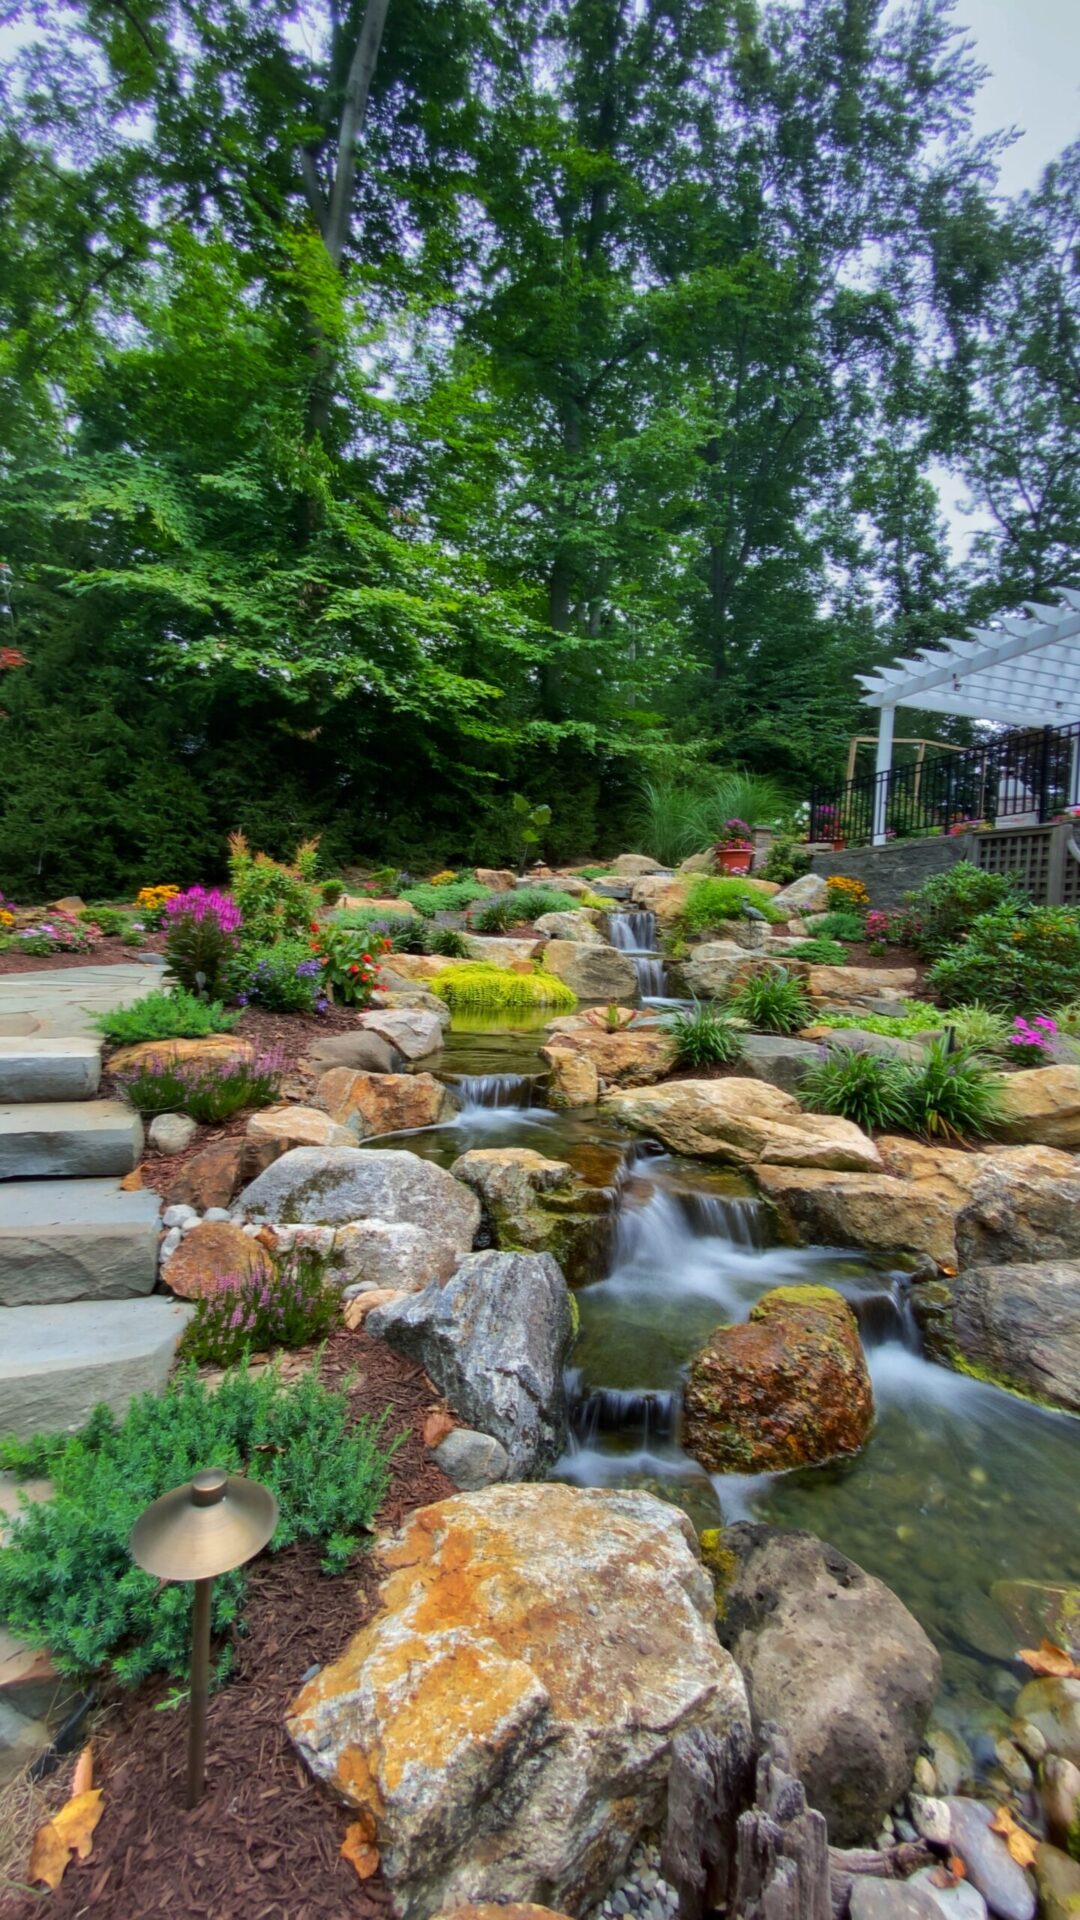
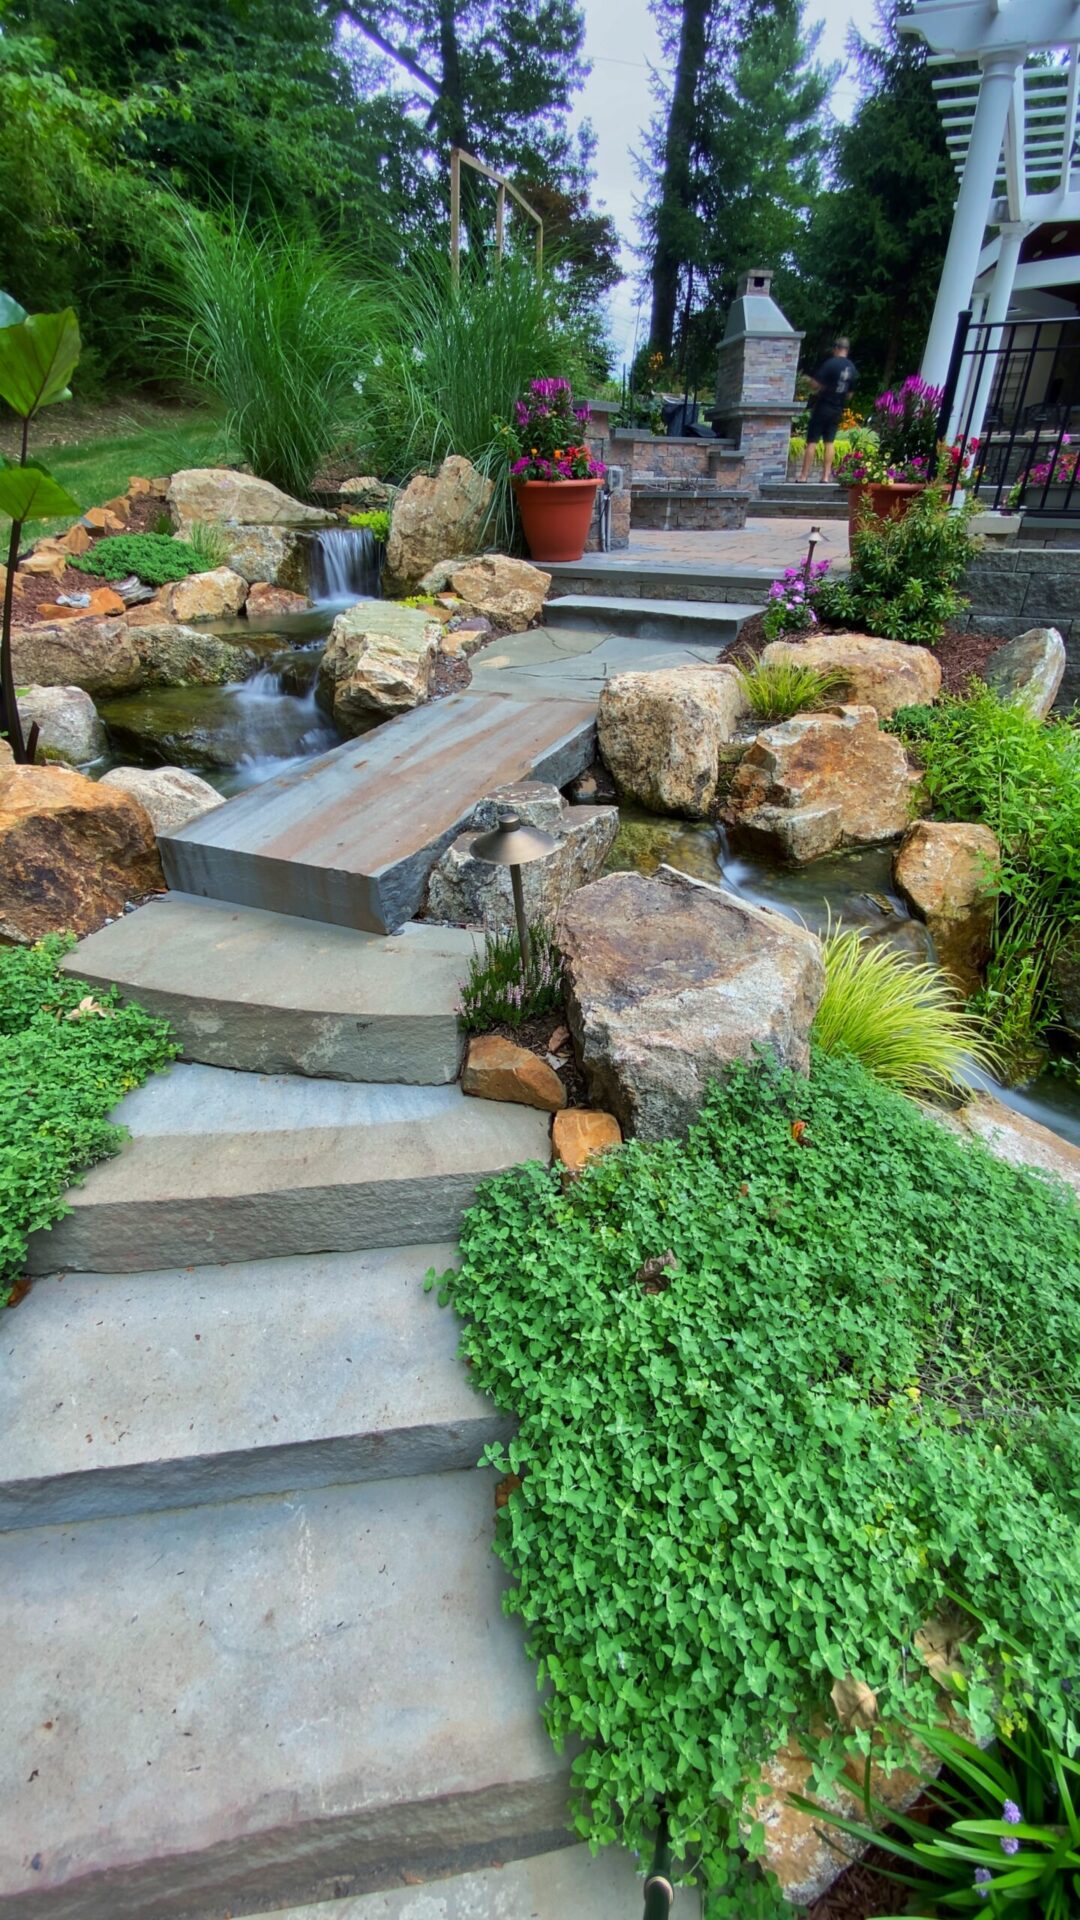
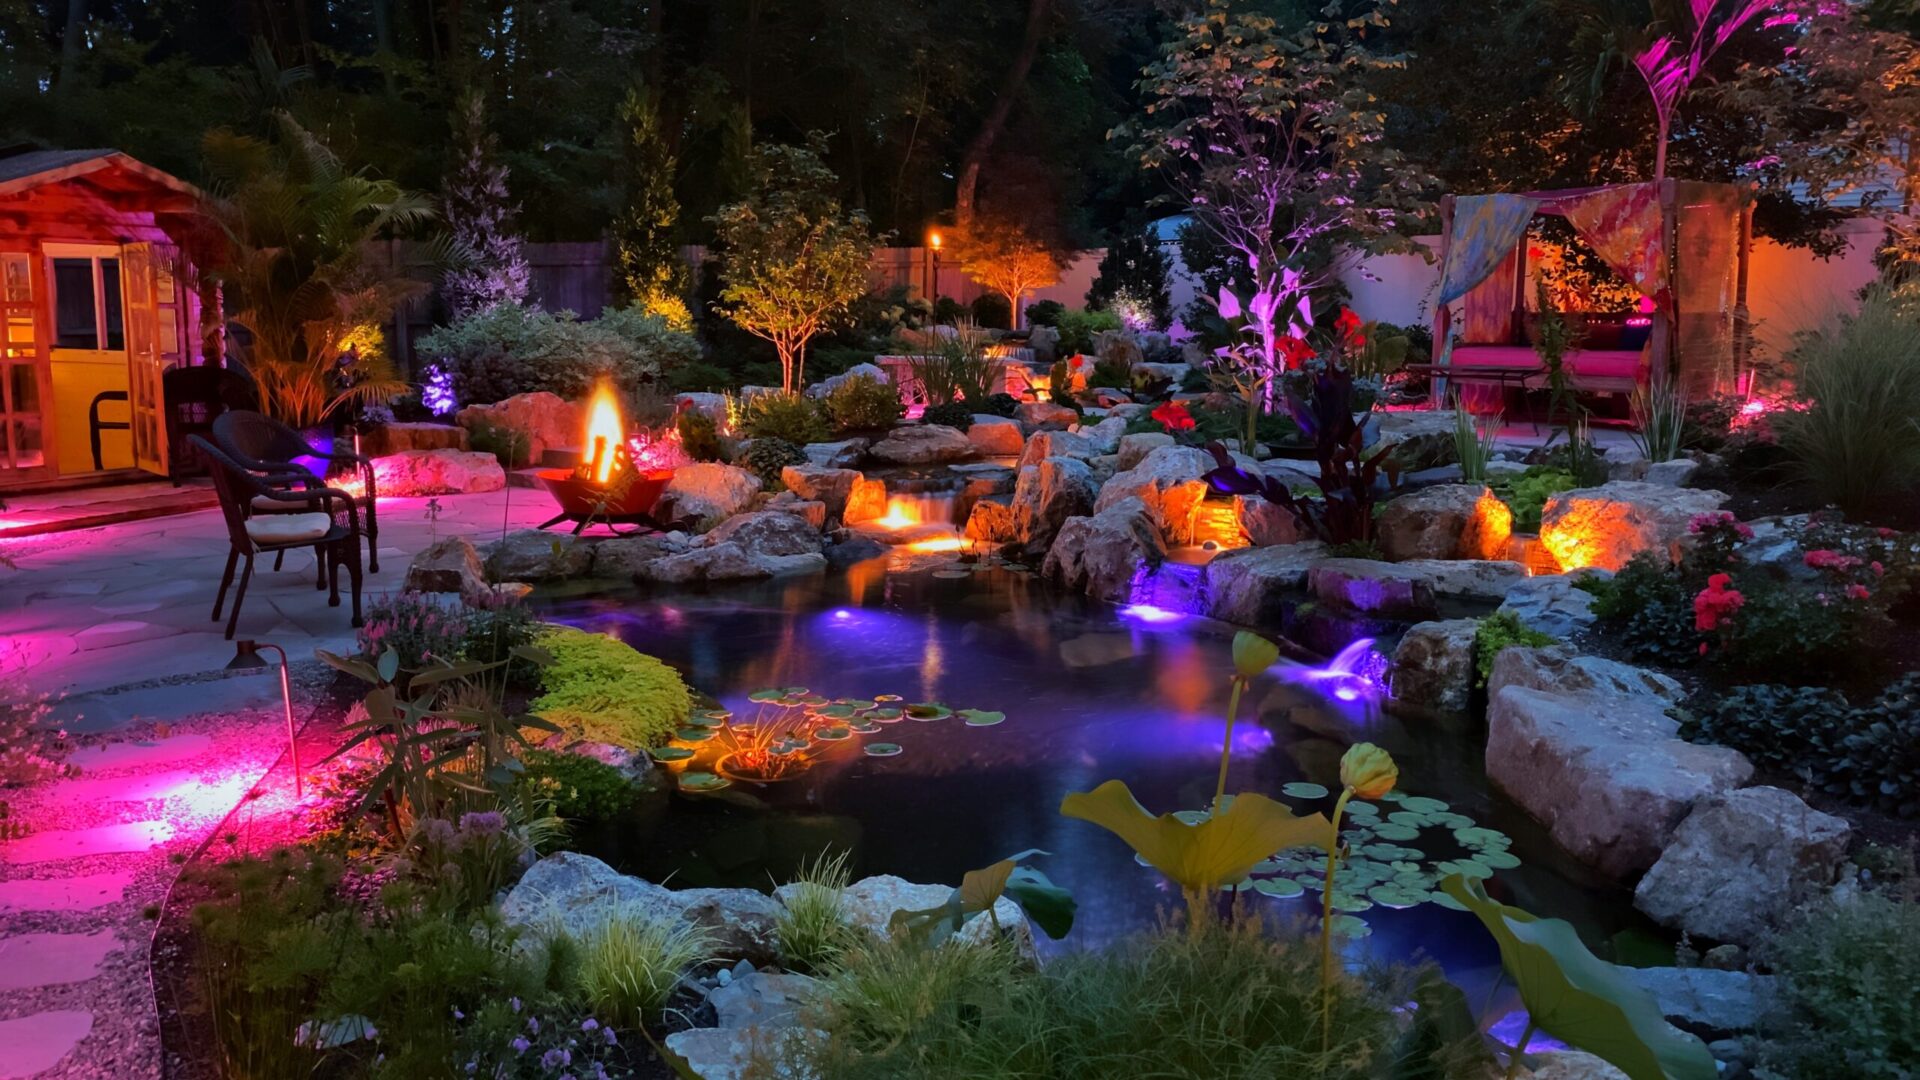
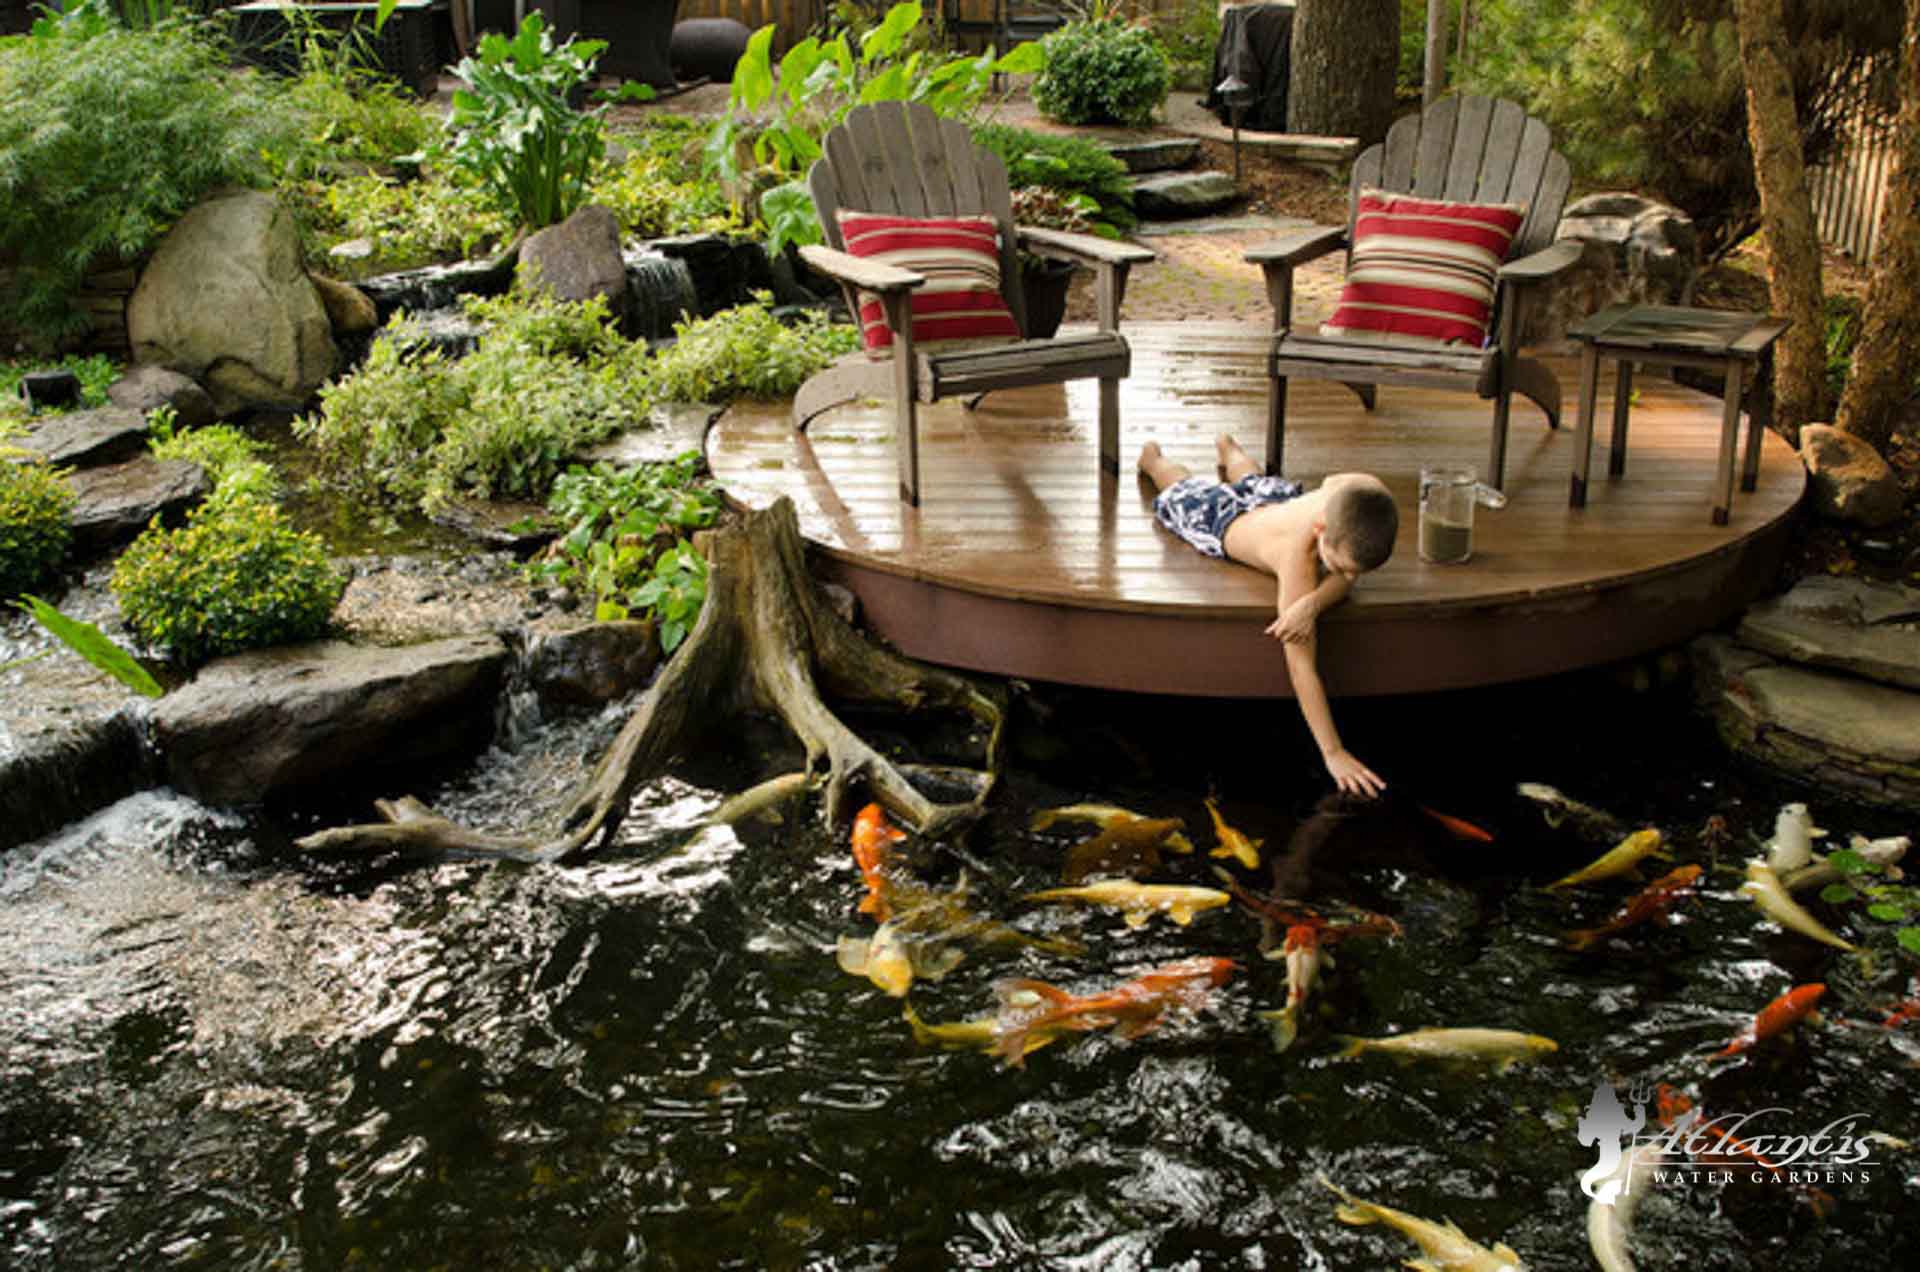
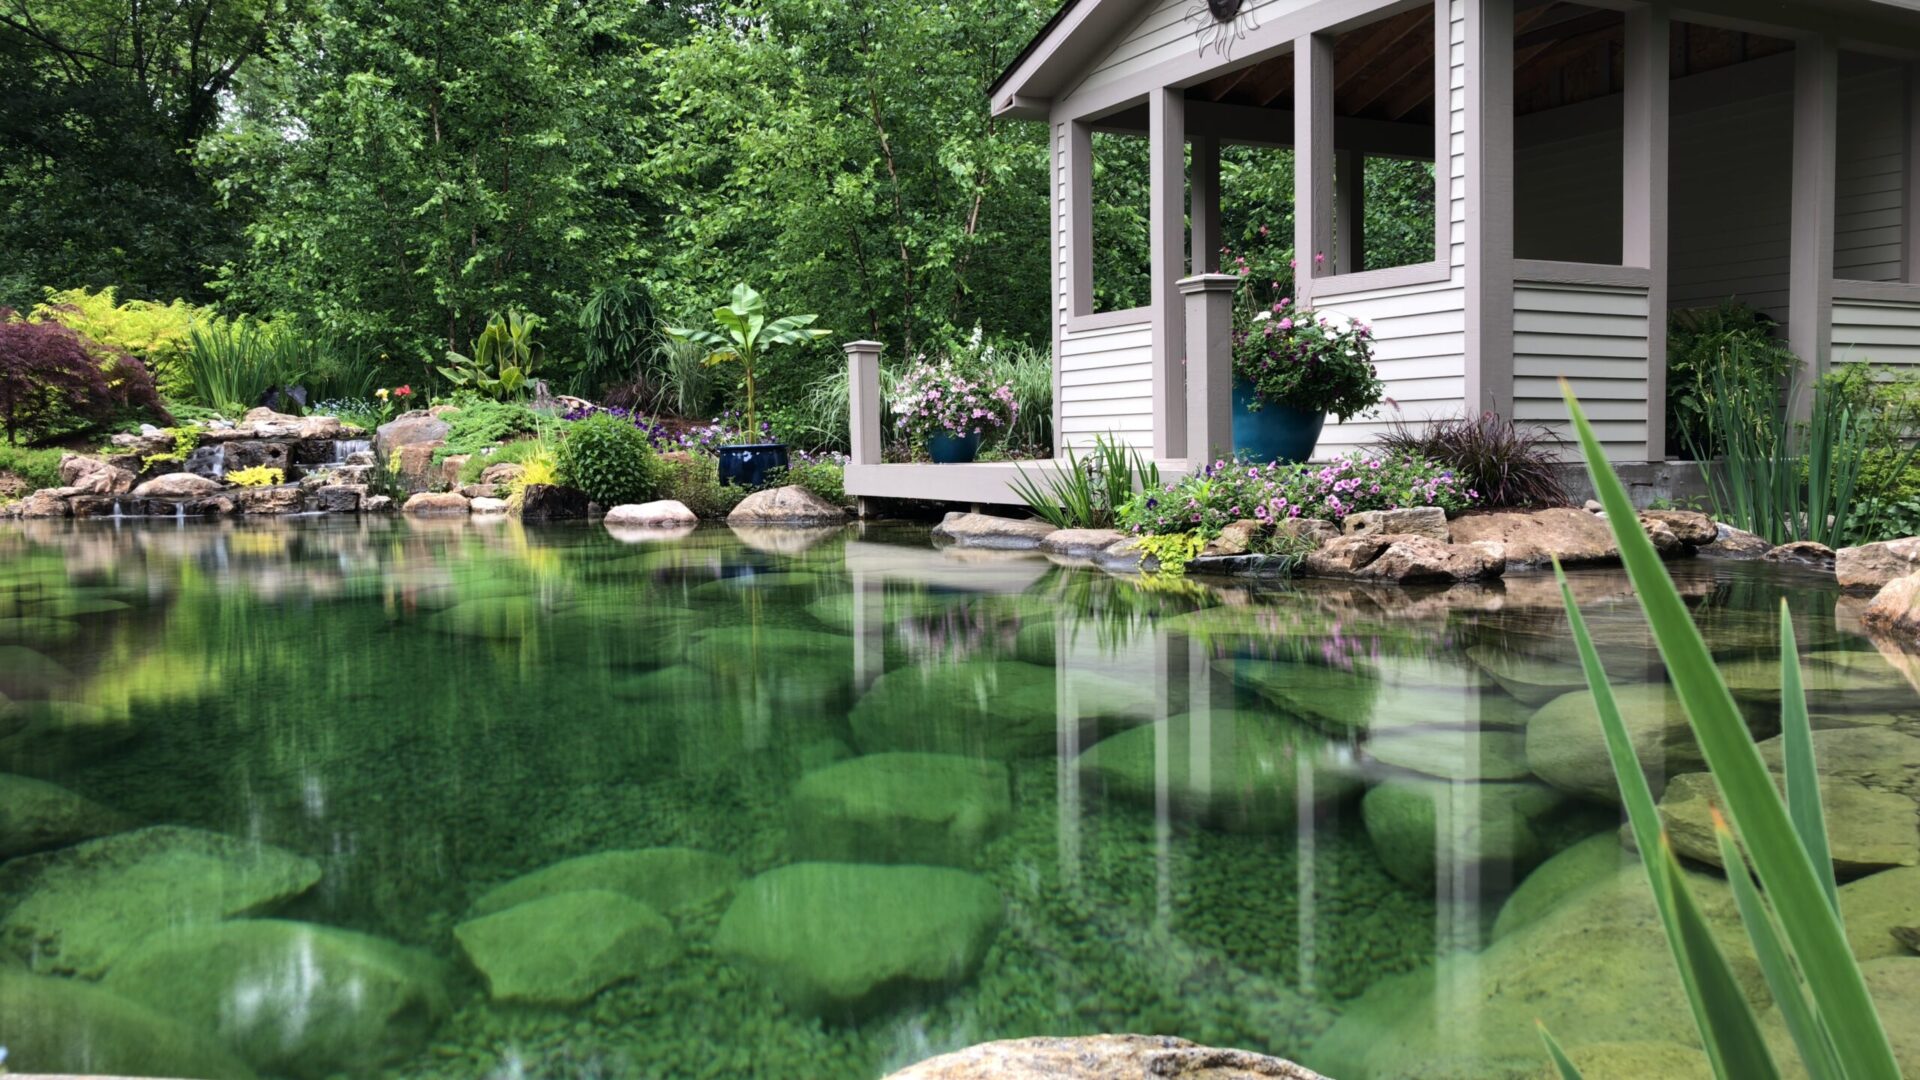
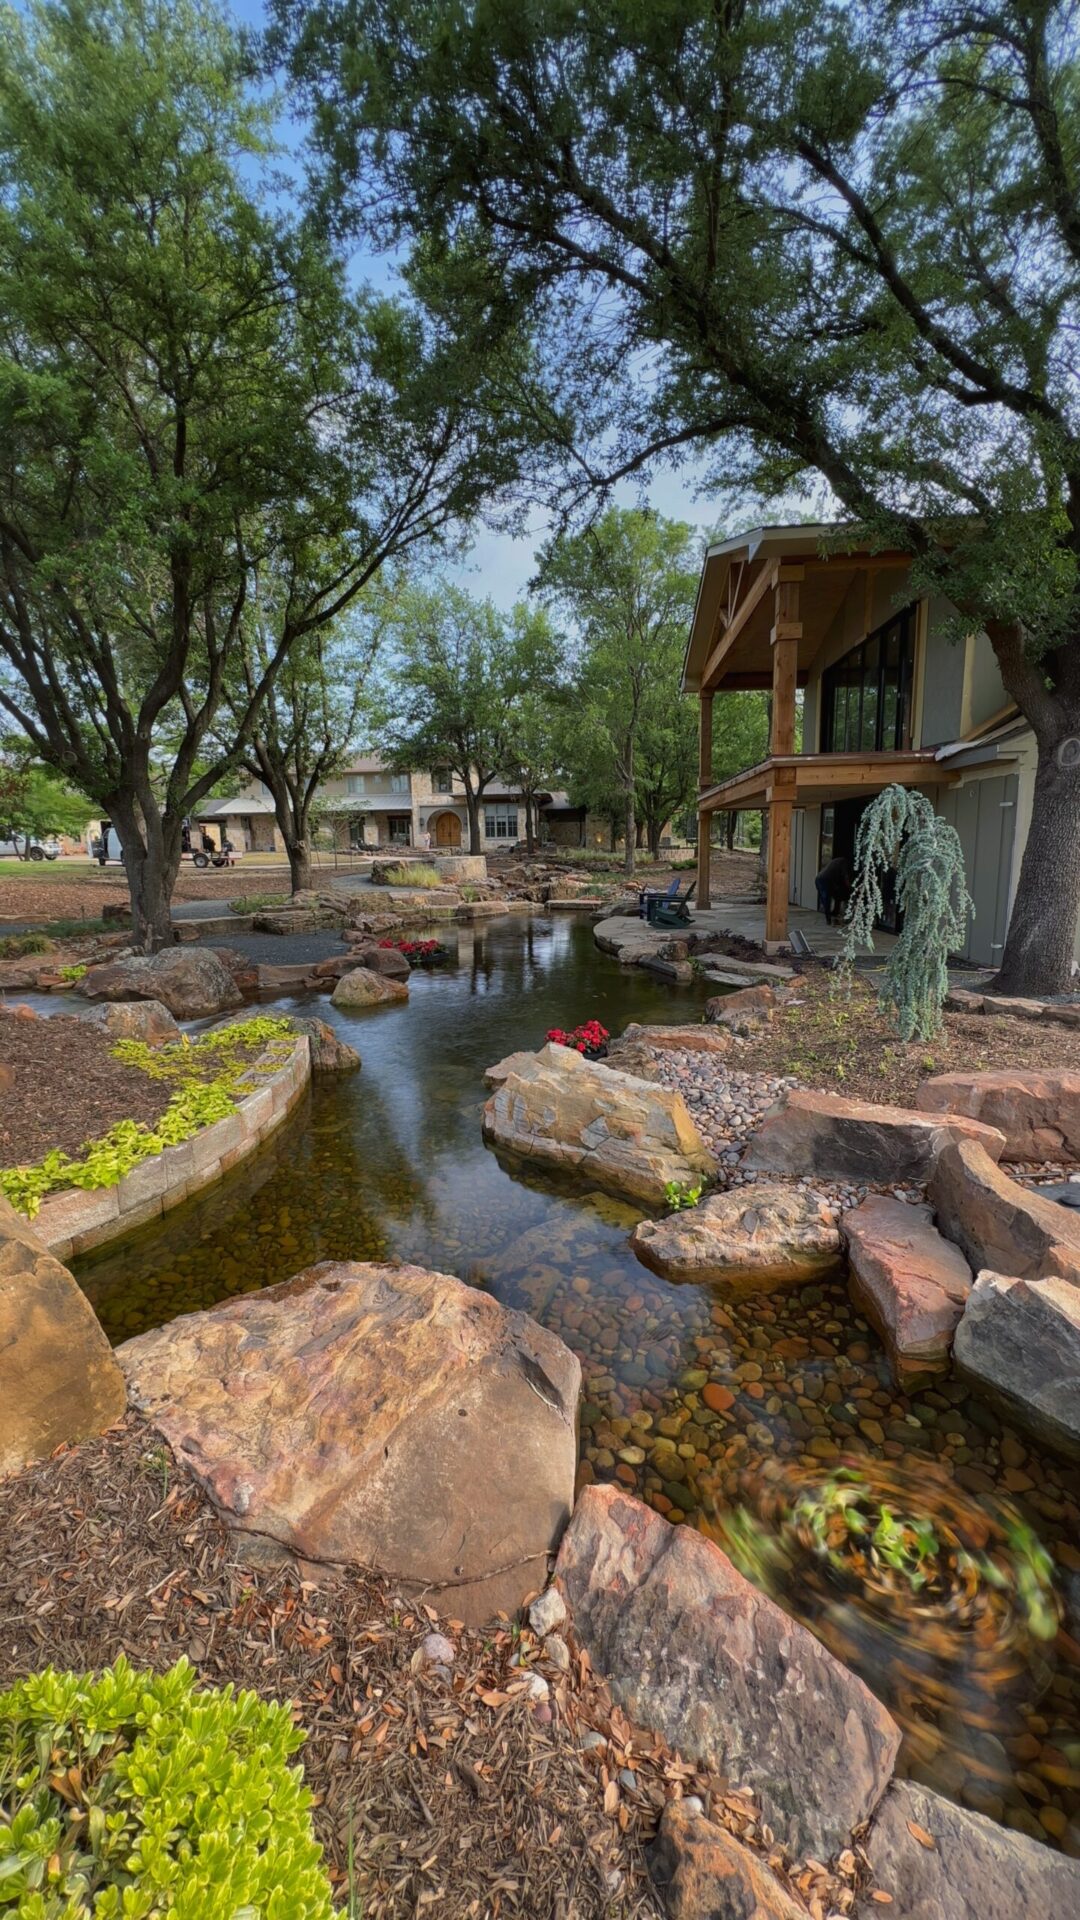
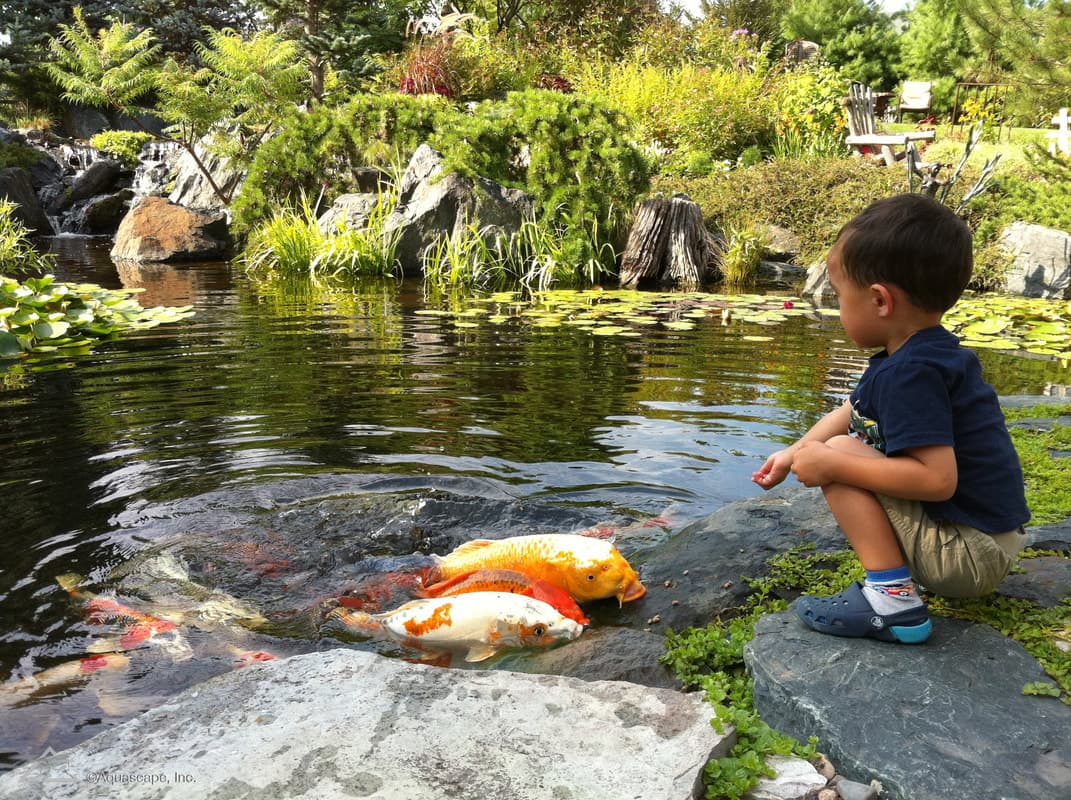
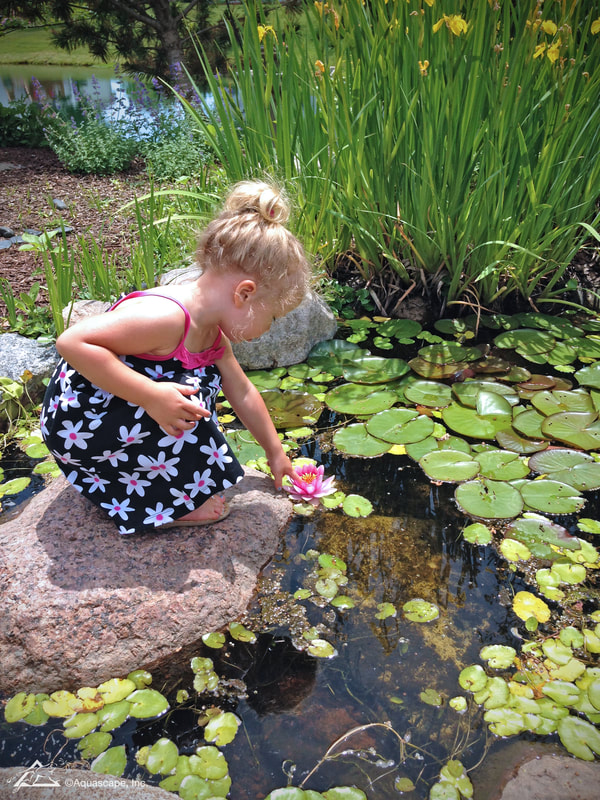
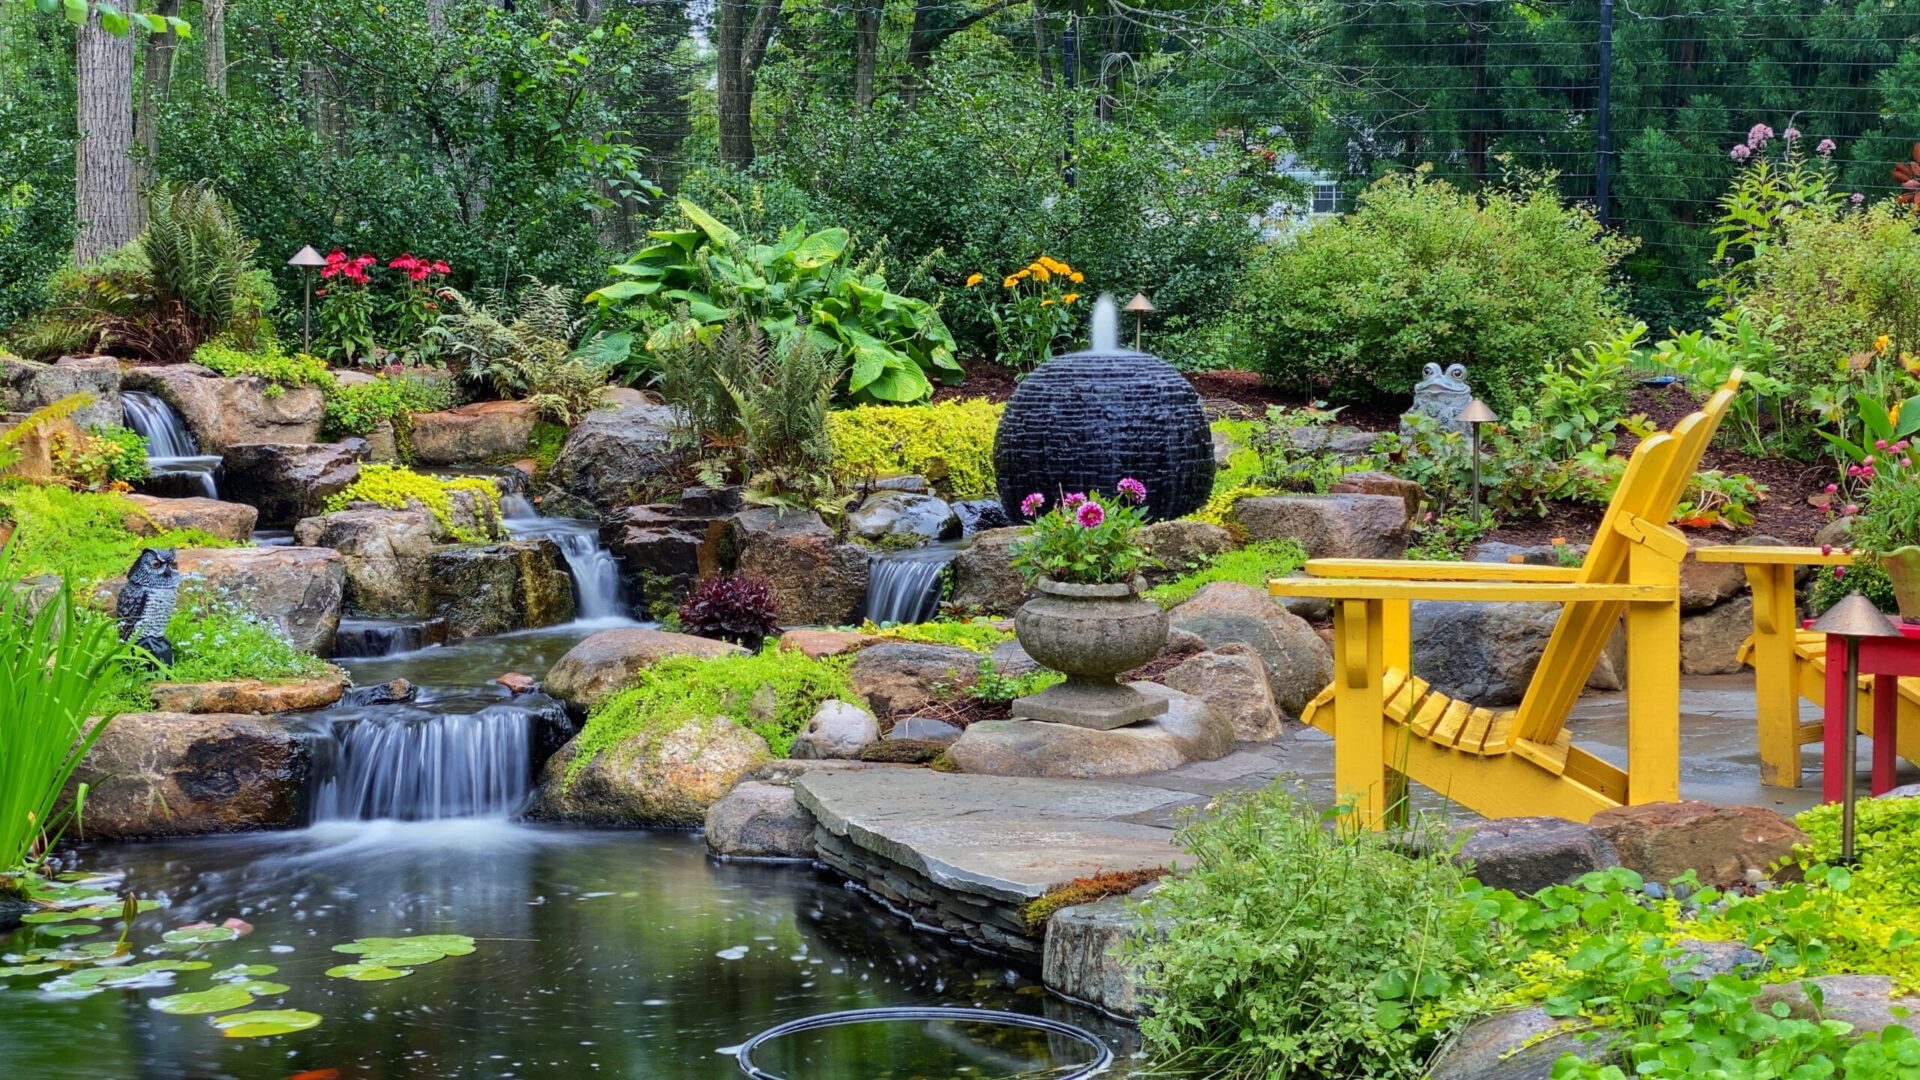
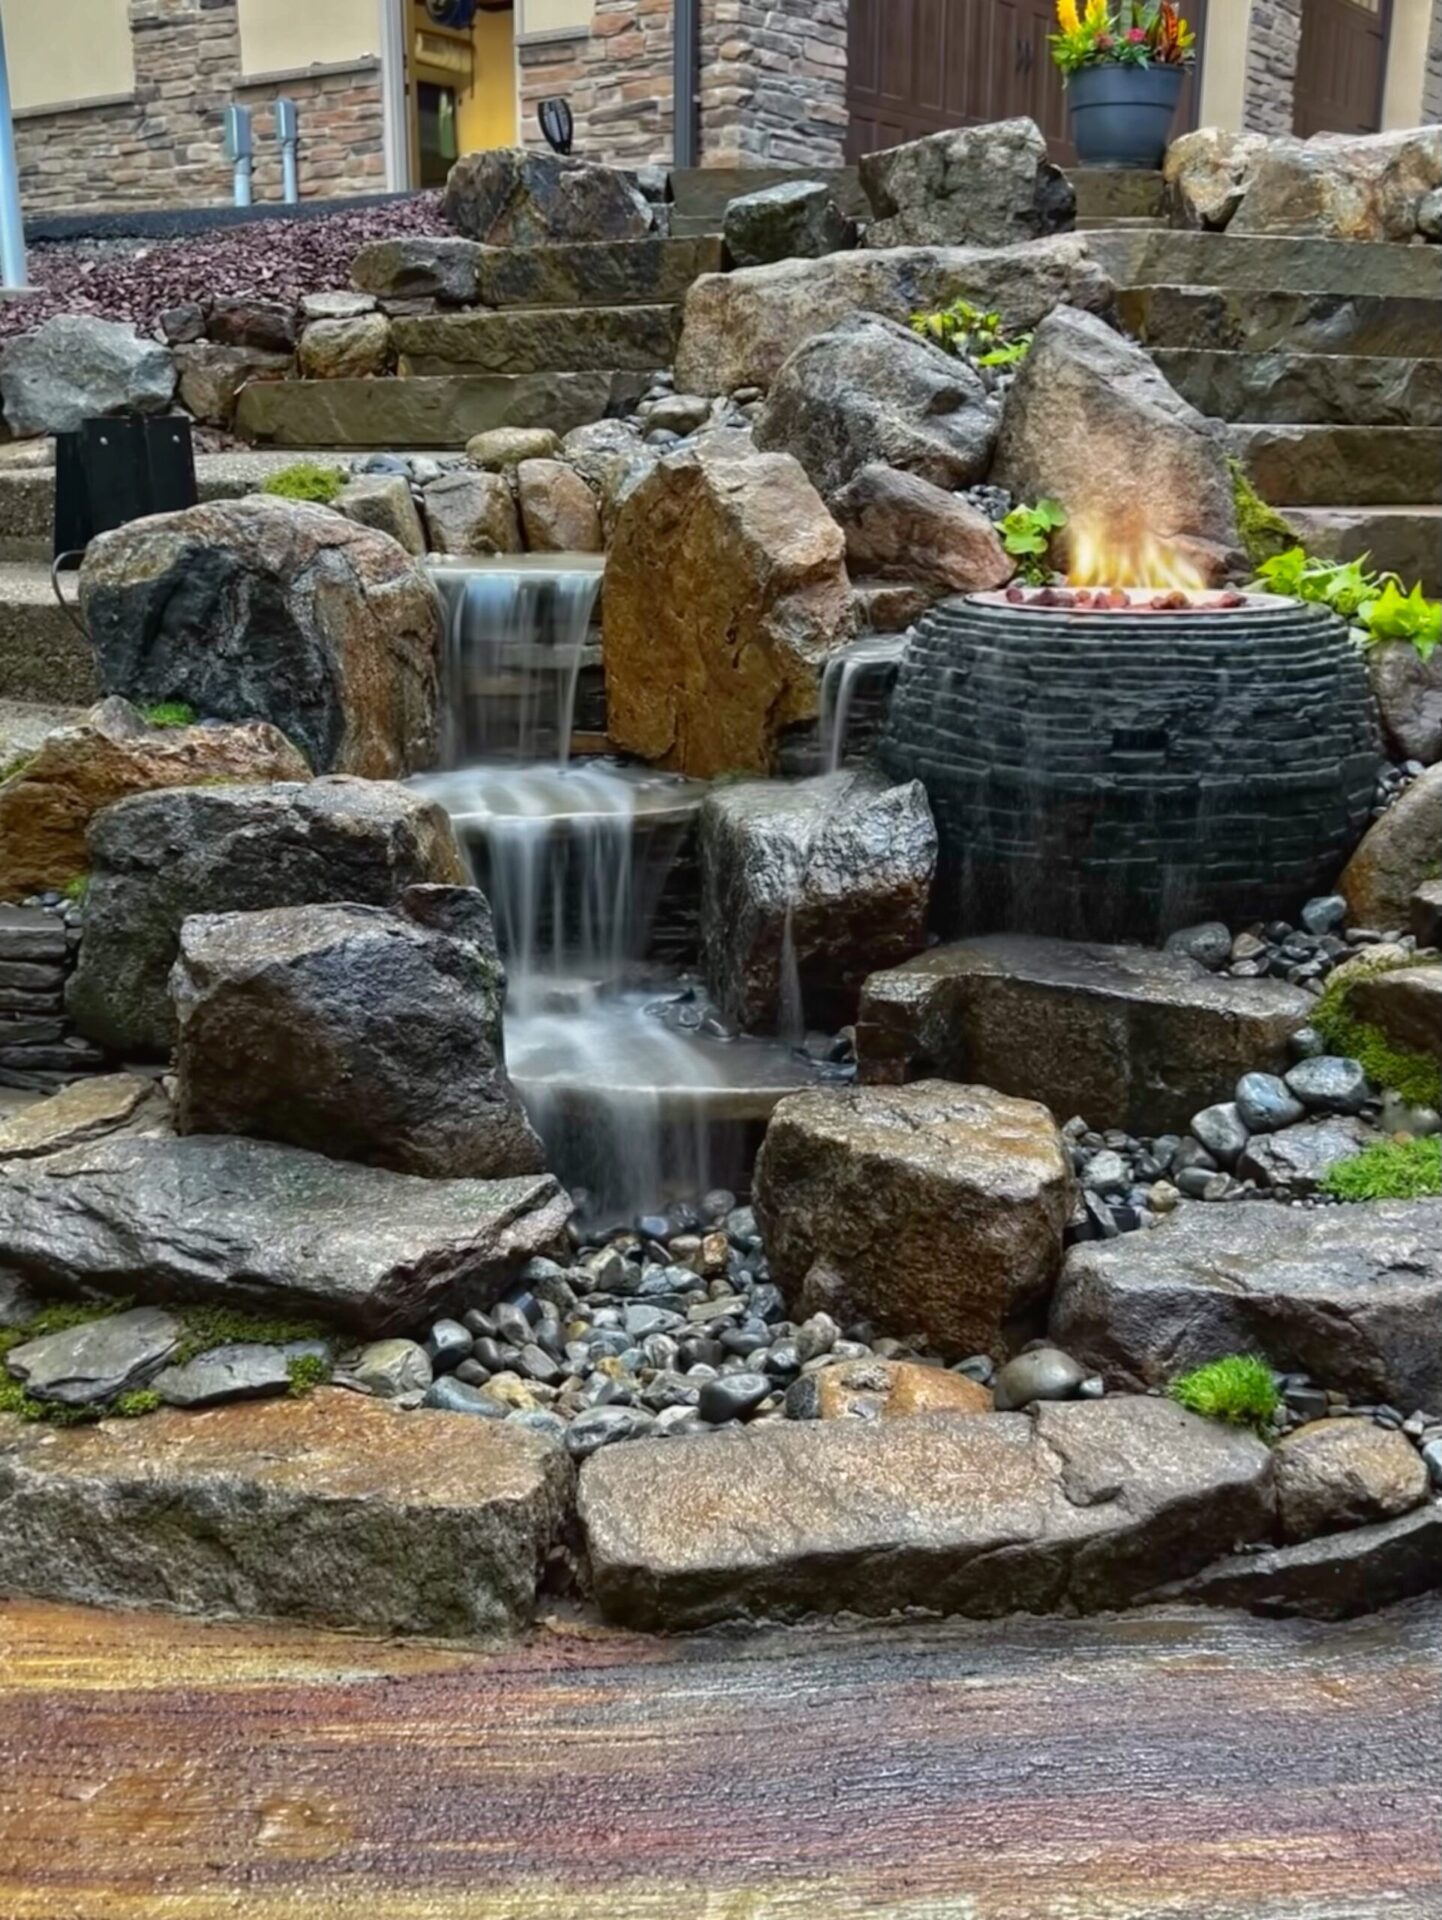
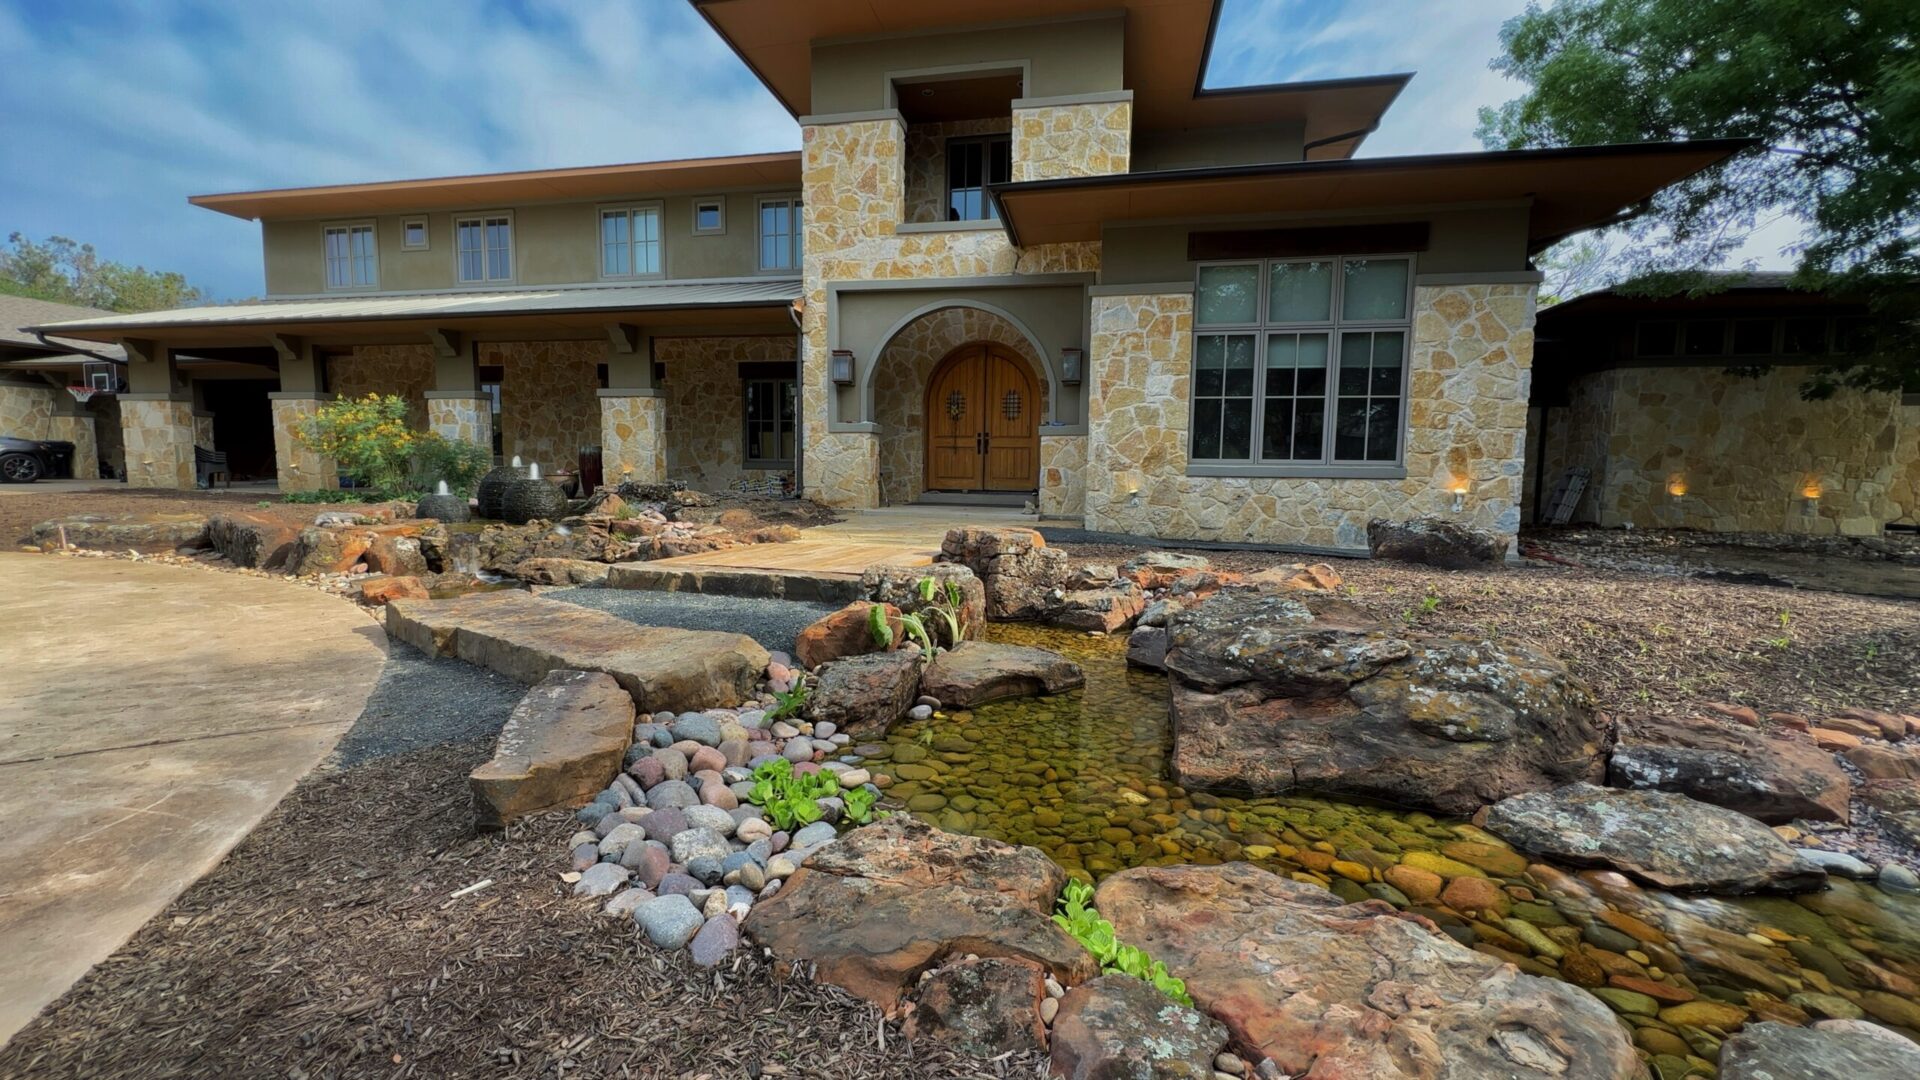
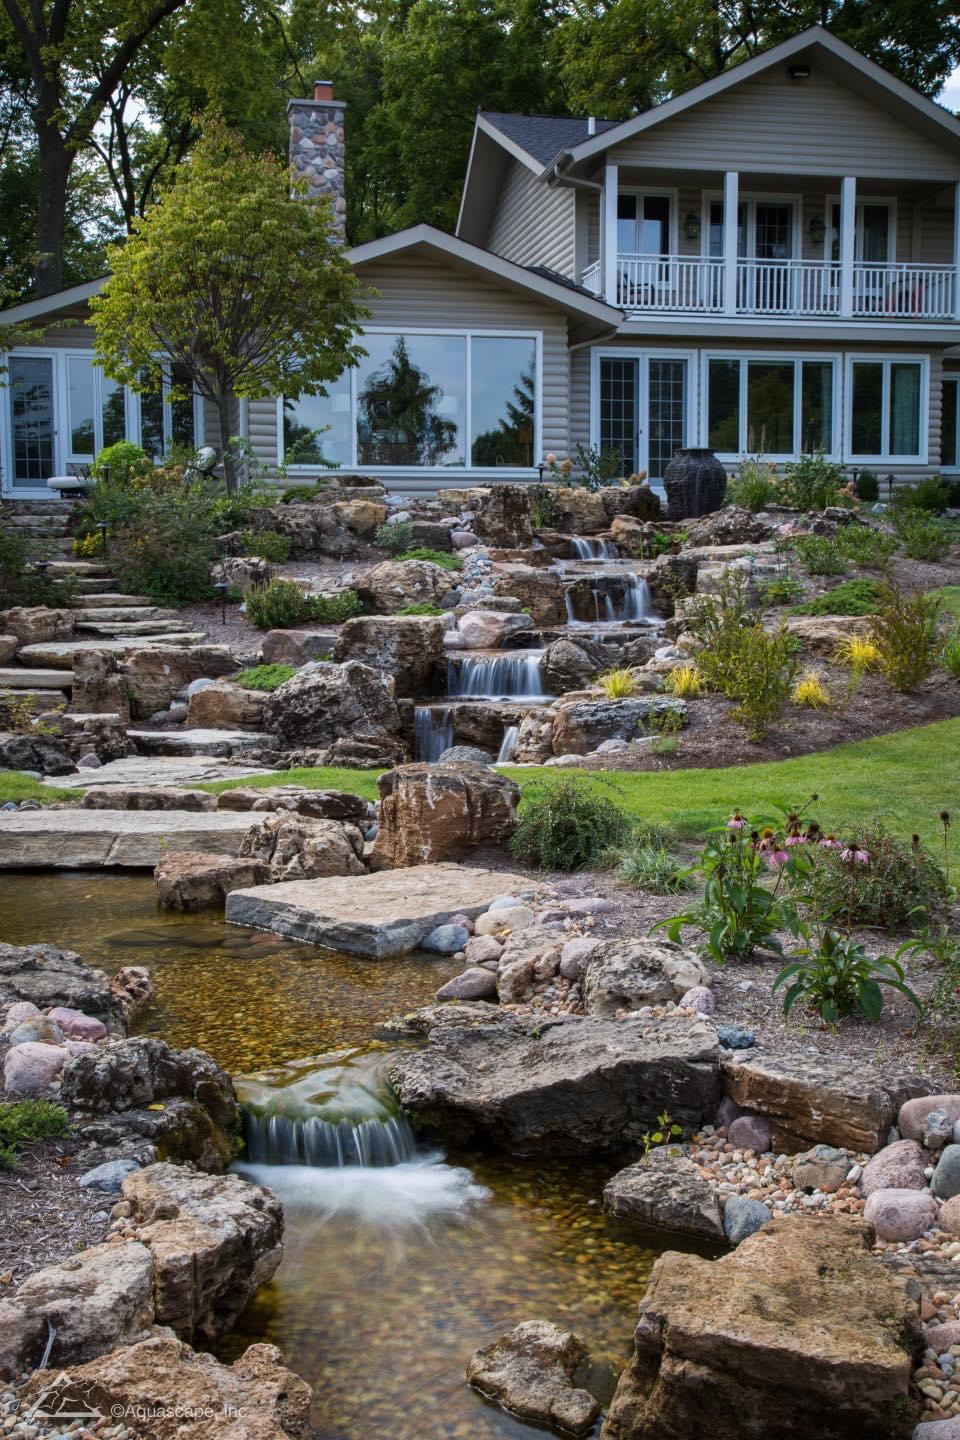
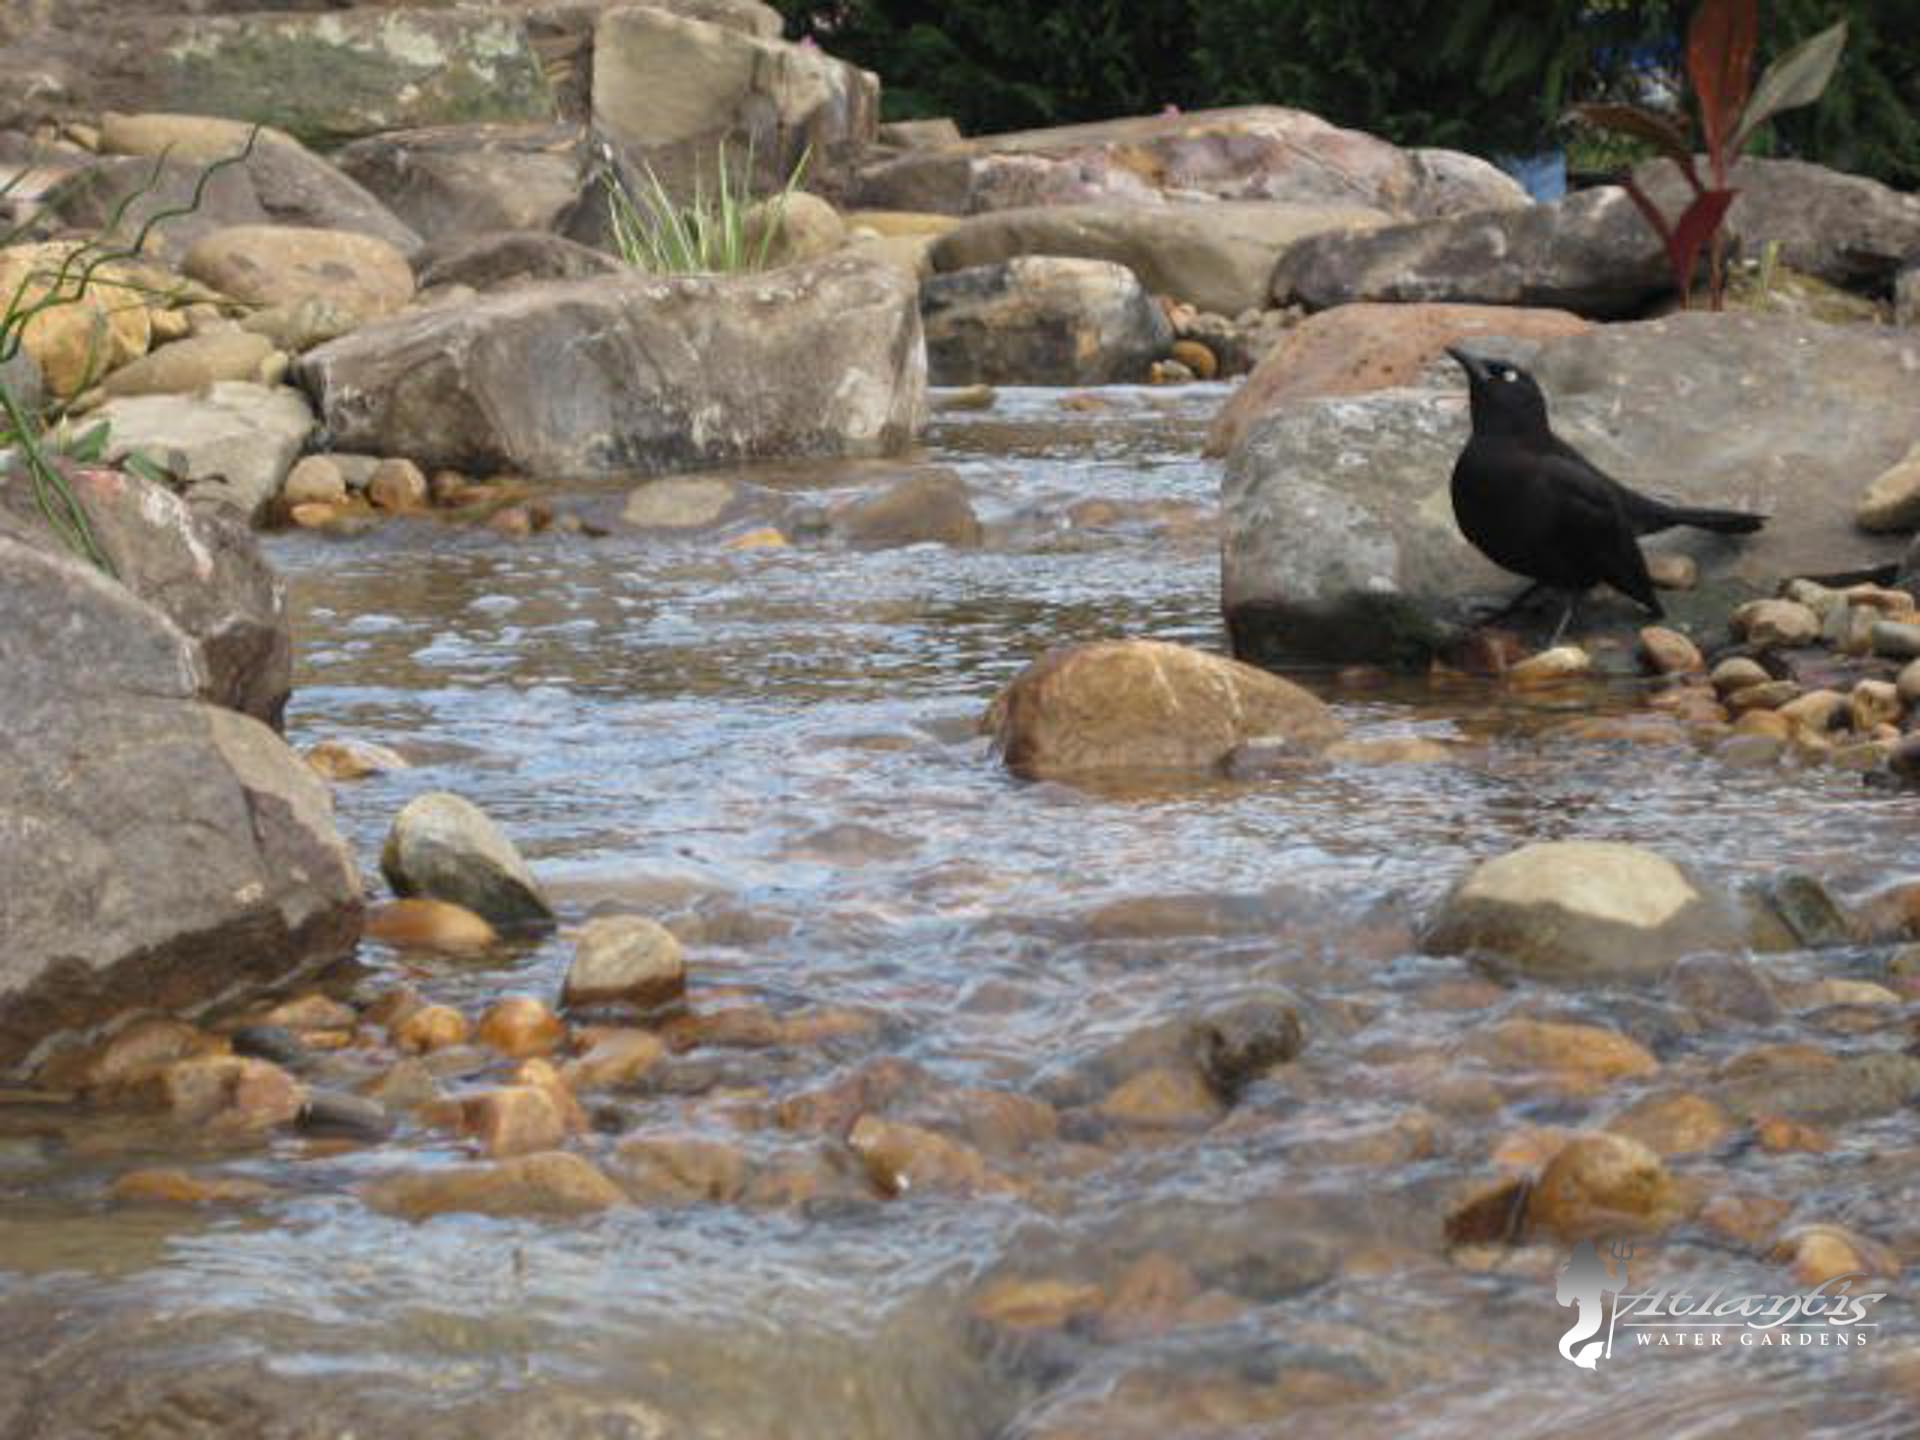
A backyard fish pond is a worthy addition to any property. It helps create a relaxing backyard and may also increase the value of your property. A well-designed and properly constructed backyard fish pond can attract wildlife to your property, helping bring nature into your backyard.
Here is a step-by-step guide to building the backyard fish pond of your dreams.
Choose a Location
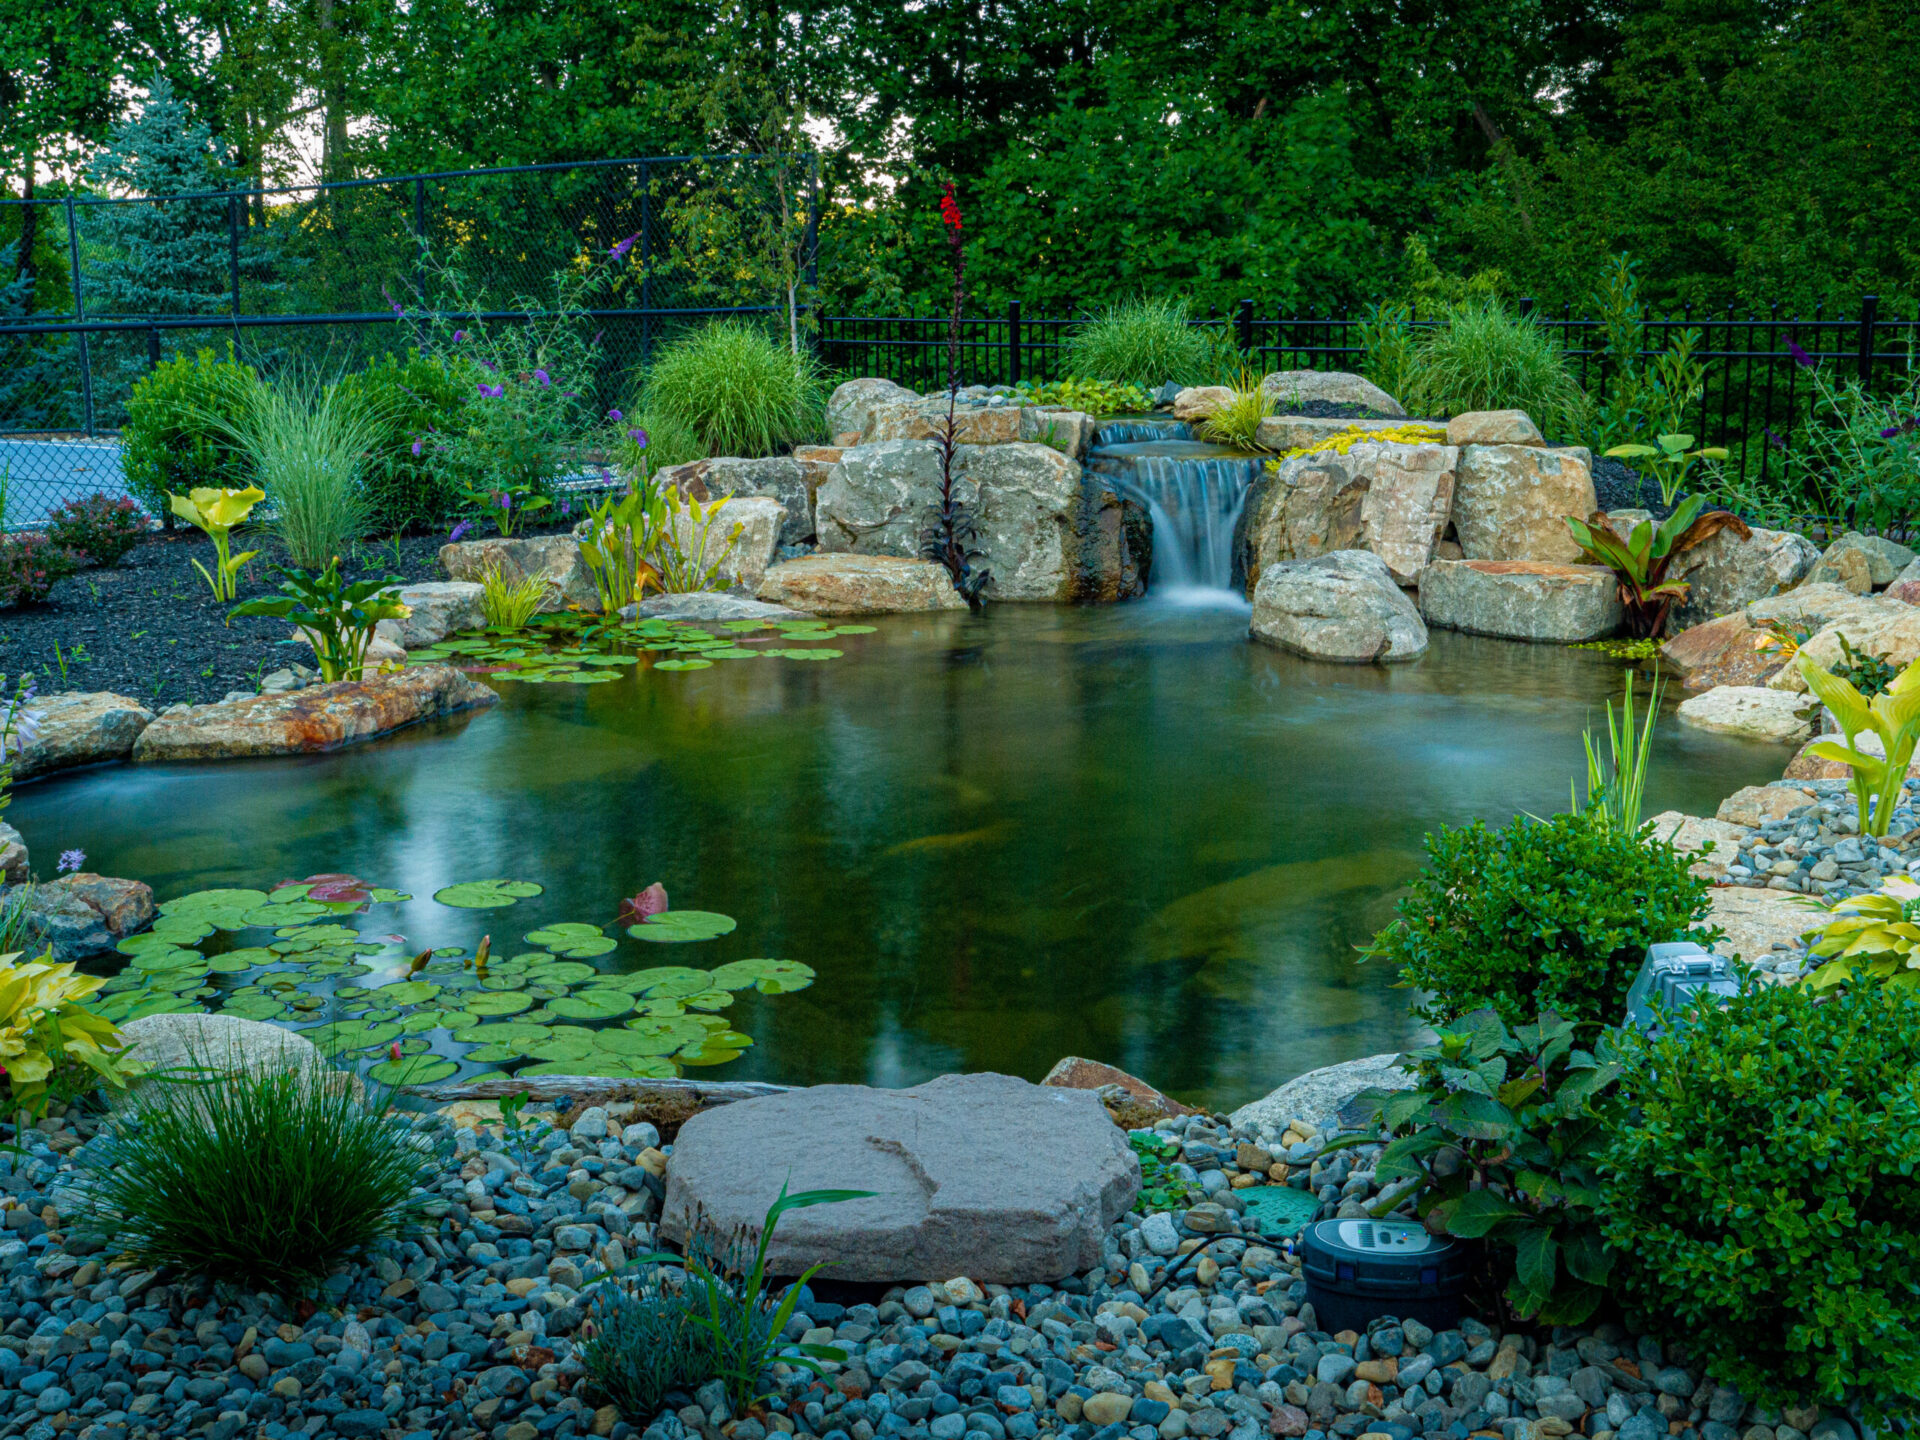
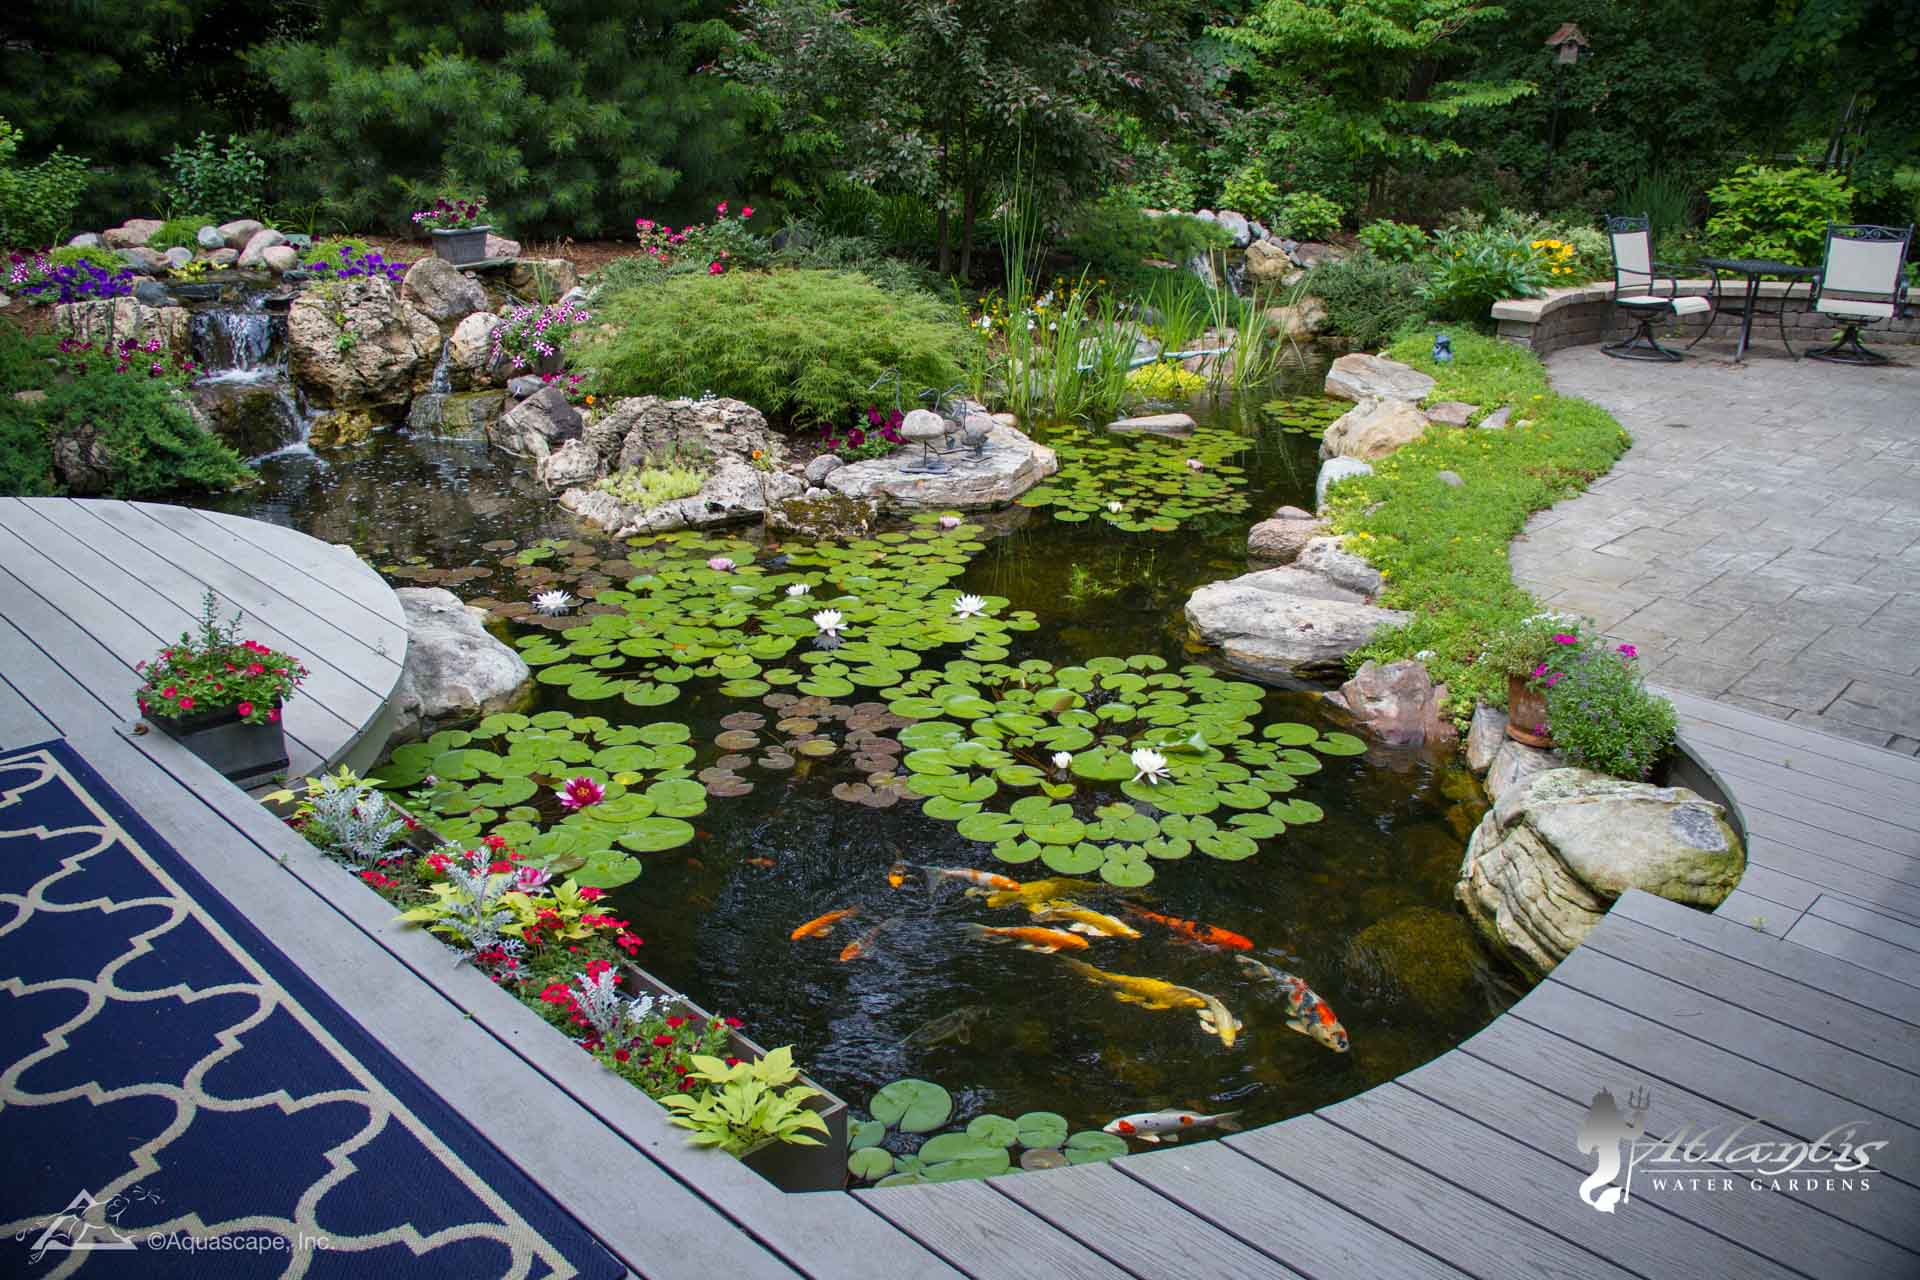
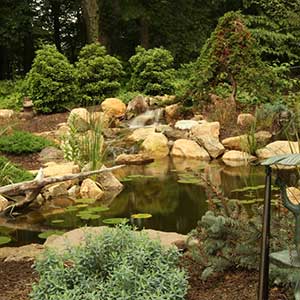
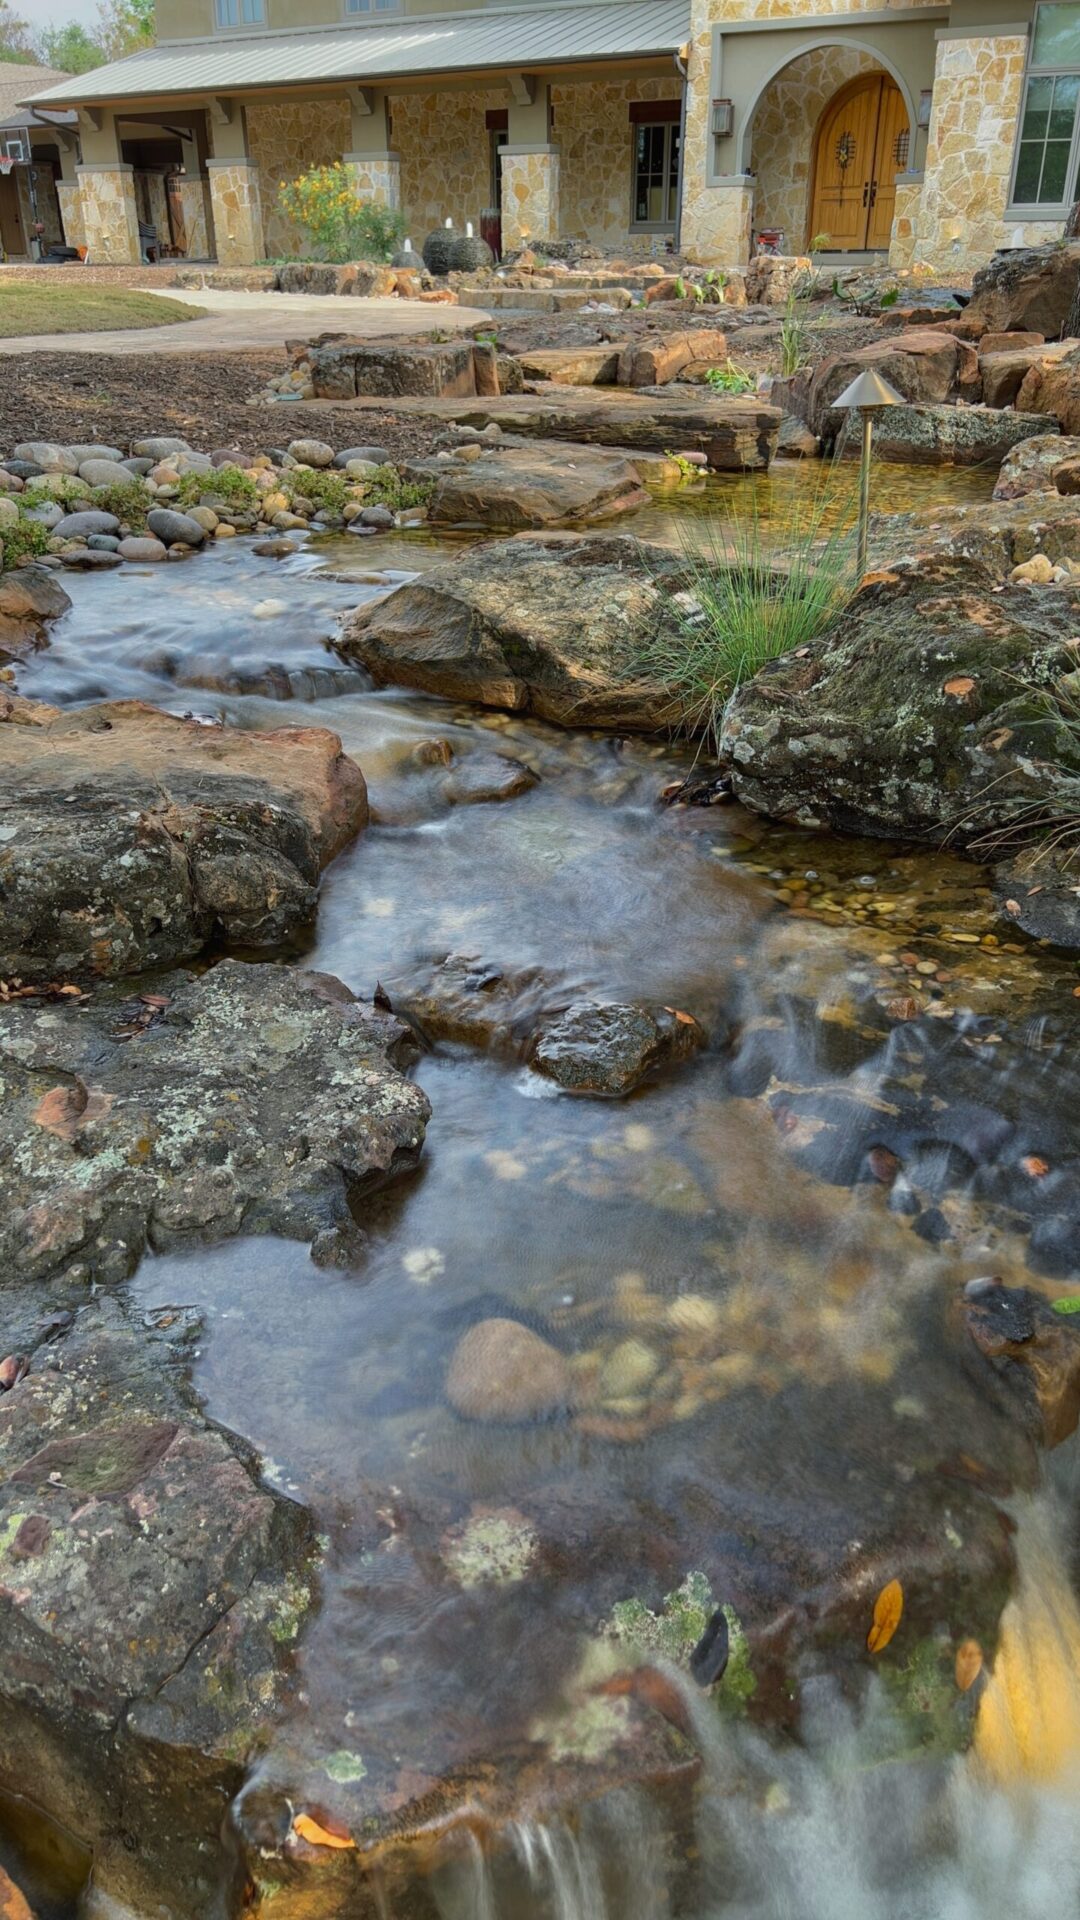
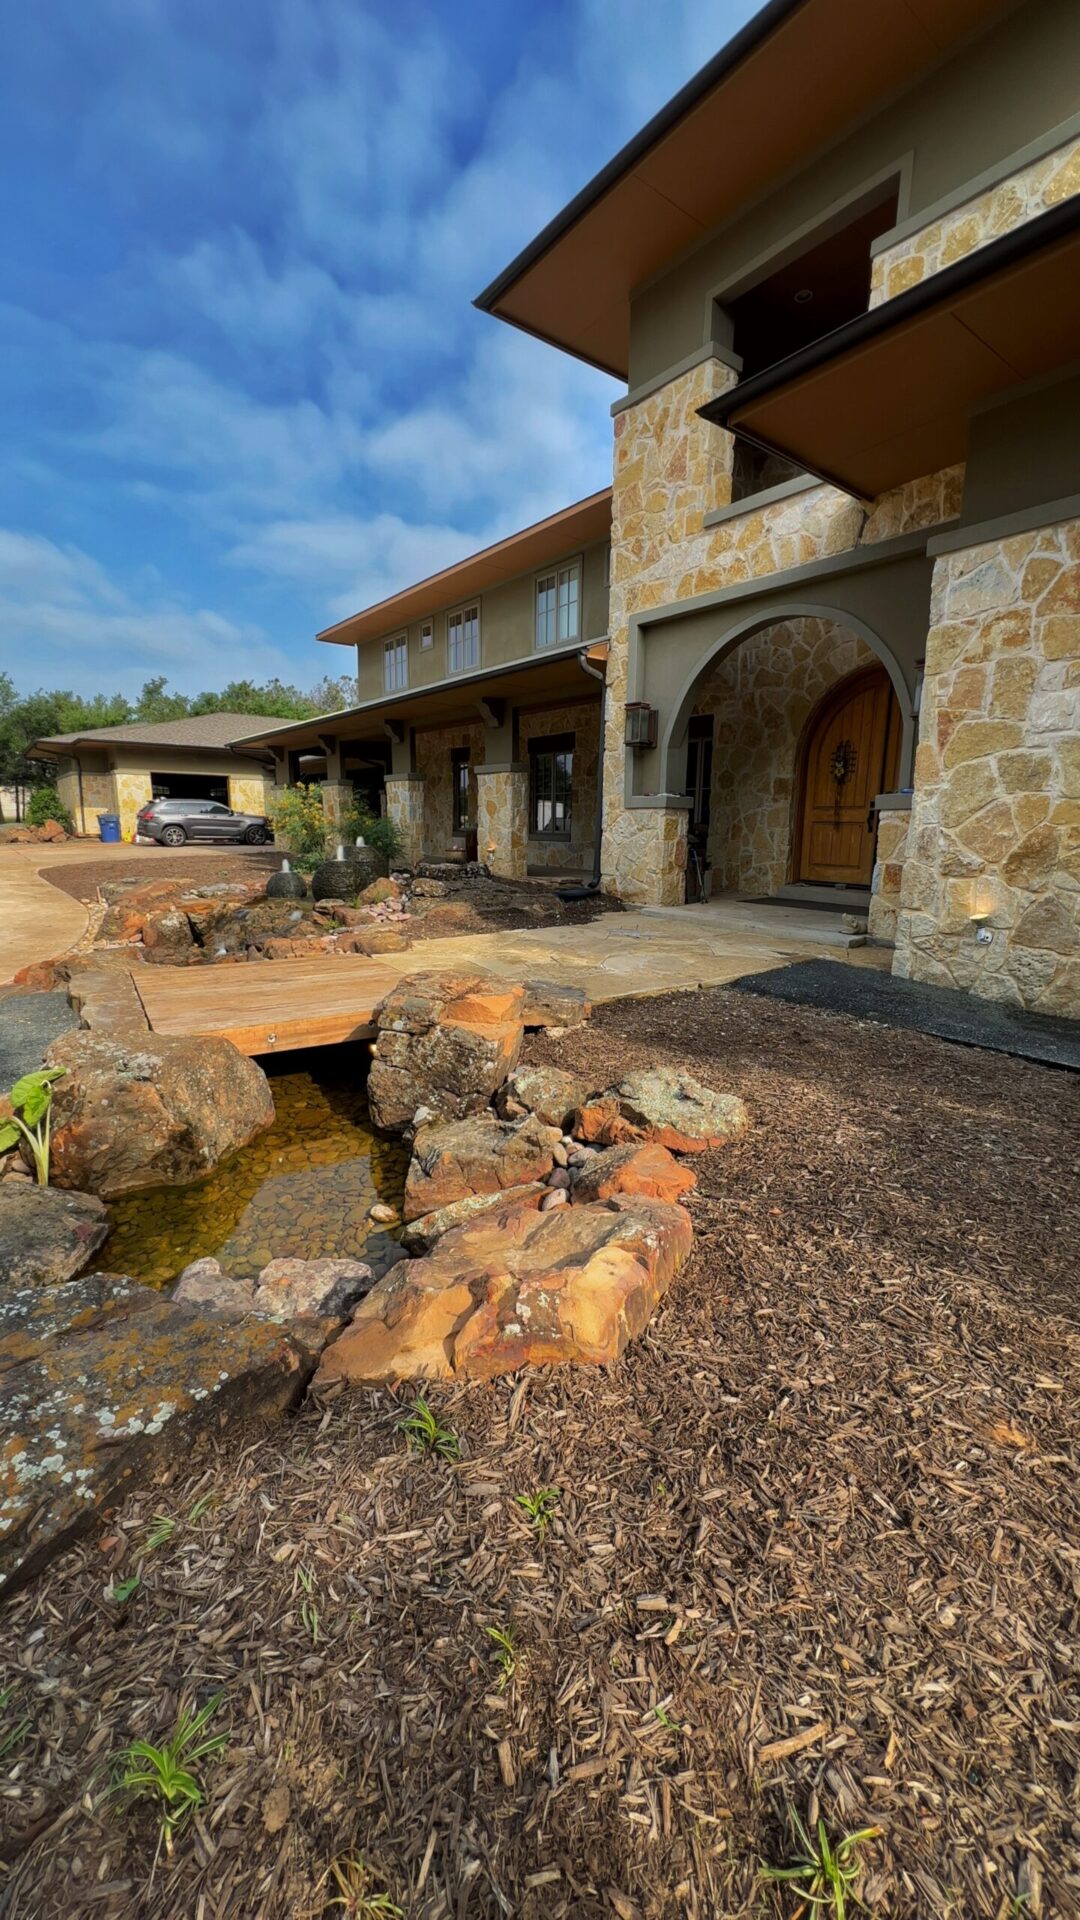
Begin by planning the location, size, and shape of your pond. Choose a location where you can easily observe and enjoy your pond. Make sure there is no risk of falling debris such as tree branches. Avoid areas that receive direct sunlight all day or the water in your pond can overheat, which can be harmful to fish.

The size and depth of the pond will depend on the types of fish you plan to keep. For example, koi require a larger and deeper pond than goldfish. As a general rule, plan for a pond that’s at least 2 feet deep for smaller fish and up to 3-4 feet for larger ones like koi.
Avoid placing your pond in an area where water runs off after heavy rainfall. Runoff water can infiltrate the space between the pond wall and its liner, causing the liner to rise upwards. This usually occurs if the liner wasn’t installed properly. When installing the liner, securely fasten it all around the pond’s edge, or you may have to empty the pond to mend it.
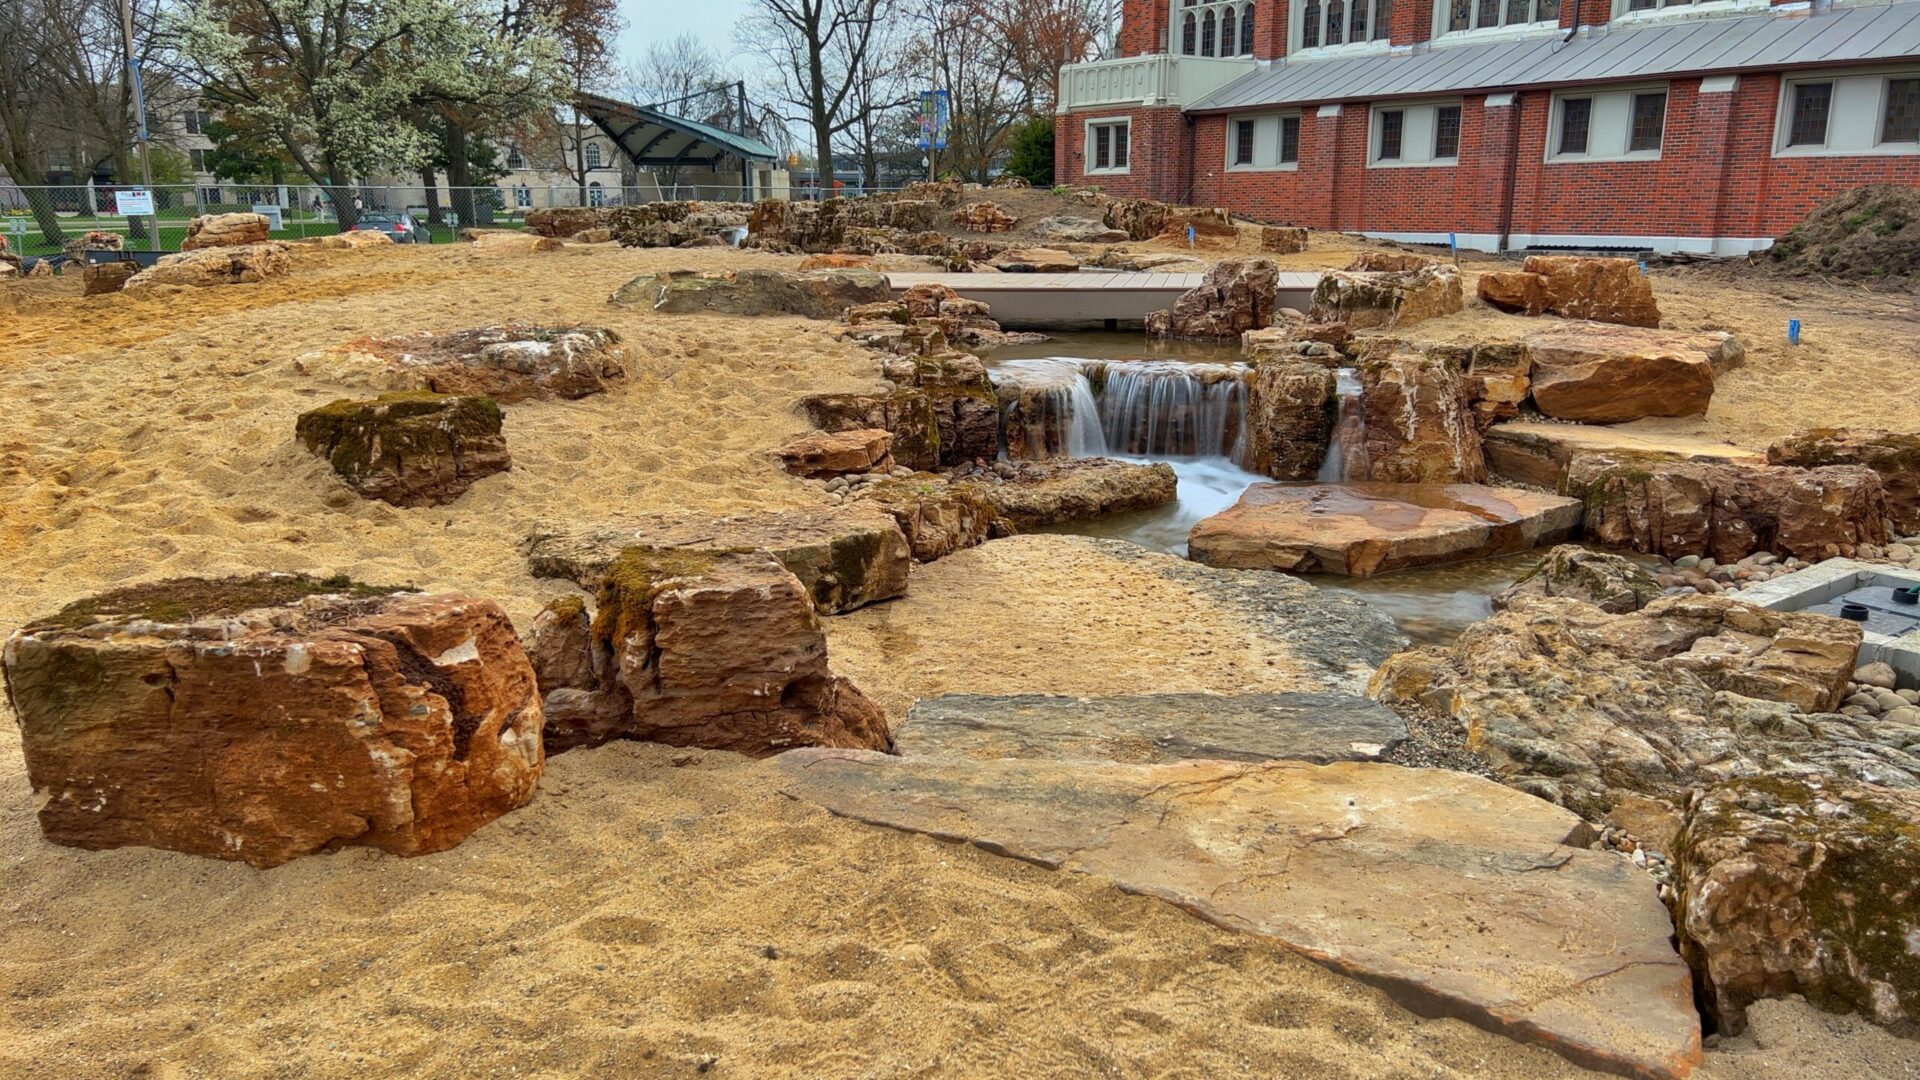
Time to Dig
Once you’ve chosen your pond’s location and design, mark the perimeter using a rope or spray paint. Start excavating within the marked boundaries. The walls should be slightly sloping rather than straight down. Leave a ledge around the edge of the pond for border decoration or plant shelves.
Ensure that the sides of the hole are level all around, as any unevenness will be visible when the pond is complete. The rim of the pond should be slightly elevated to prevent entry of rainwater runoff.
In the United States, it’s a legal obligation to contact Digline at 811 before initiating any digging work. This free service will provide information about any buried utility lines, cables, pipes, or other obstacles at your intended site.
Install a Pump
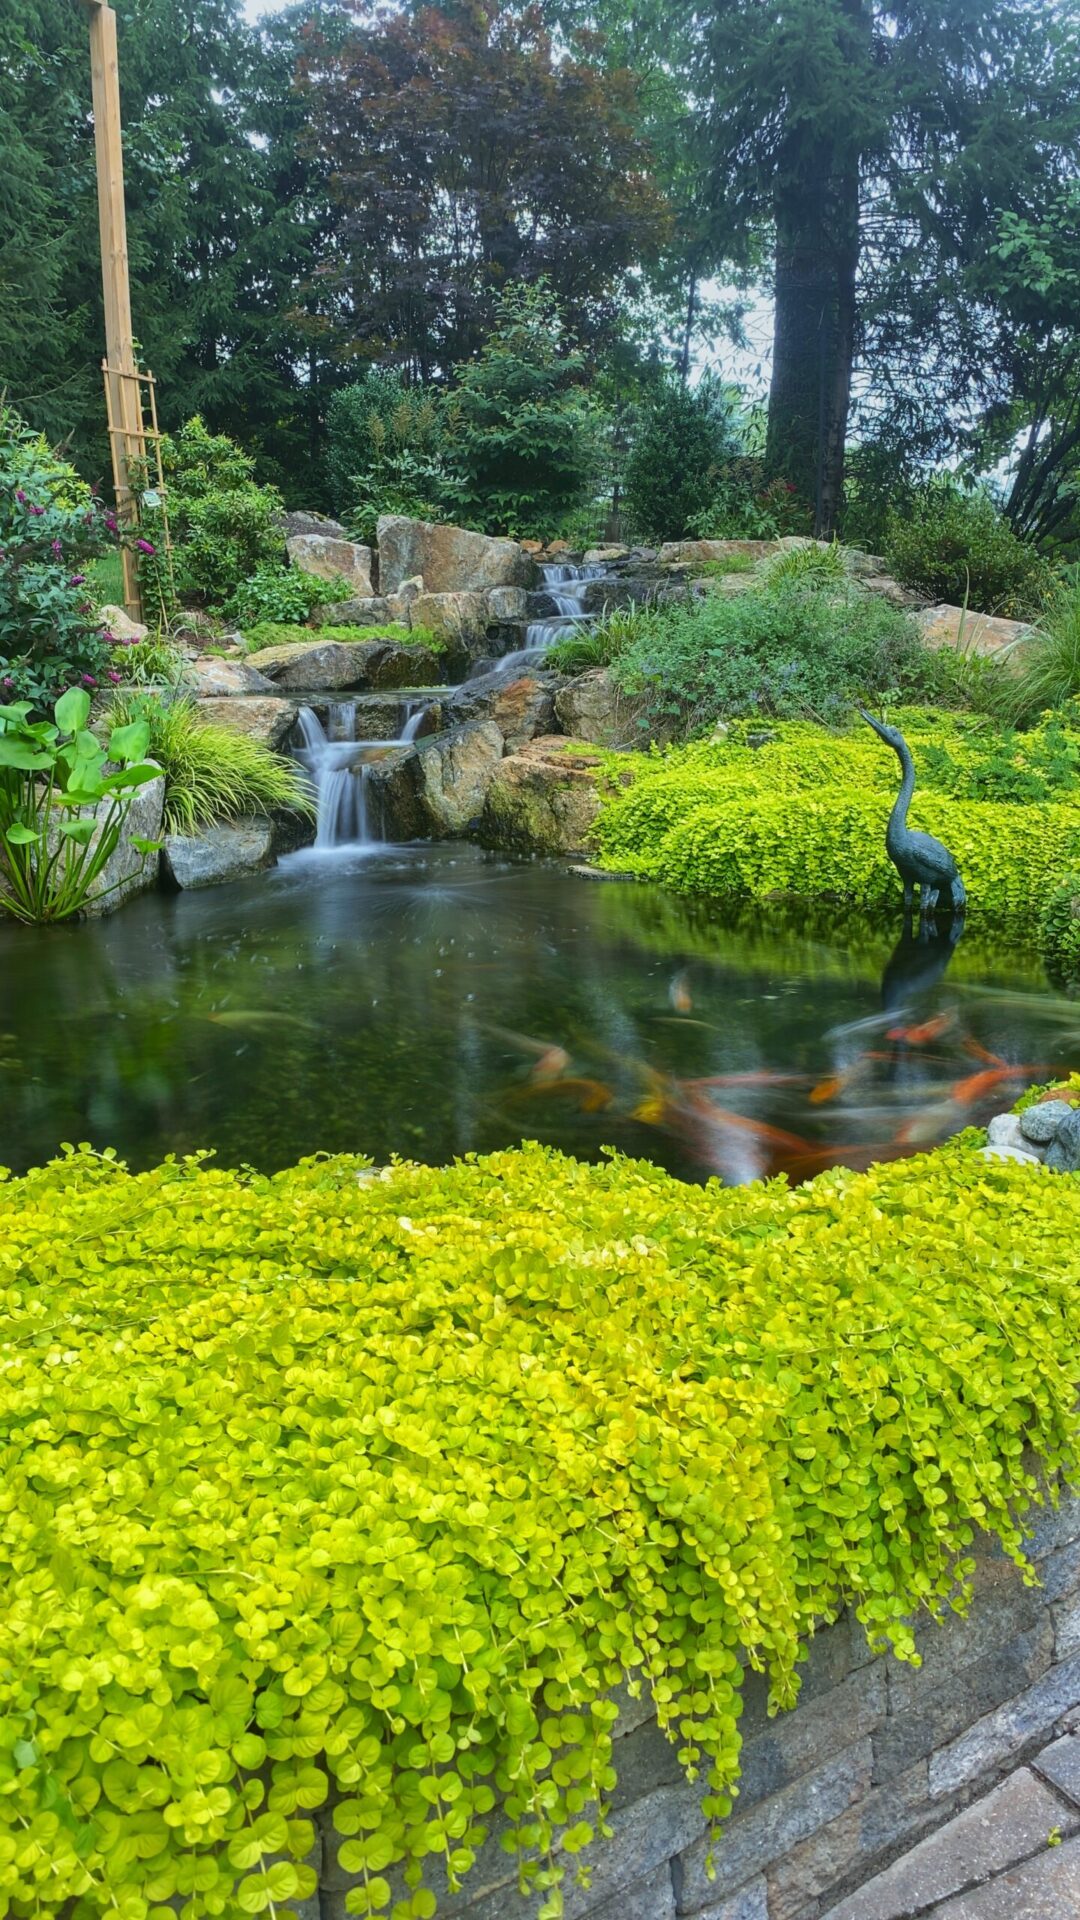
A pump can help keep your pond clean and maintain optimal oxygen levels by circulating the water at least twice every hour. For ponds up to 1,500 gallons (5,678.1 L), a 1 1/2” pump is recommended. If your pond holds more than 1,500 gallons of water, opt for a 2” pump.
For a pond larger than 2,500 gallons (9,463.5 L), consider a 3” or 4” pump. Look for a PVC pump as PVC pumps are usually more affordable than flex hoses and are simpler to install. Purchase and set up the pump before laying down your pond liner.
Pond pumps come in all shapes and sizes. If you have trouble choosing the right size of pond pump, consult a fish pond installer near you in Randolph.
Install the Bottom Drain
Make sure that the bottom drain is fitted with an anti-vortex cover. Without one, the fish risk being drawn into the grating. The drain should be securely sealed through the pond liner and underlayment to ensure no leakage. If the drain fails to provide a tight seal, the whole pond could potentially fail.
Install a Pond Liner
Next, you’ll need to install a pond liner to prevent water from soaking into the ground. There are several types of liners, including PVC, EPDM, and butyl rubber. EPDM liners are quite popular due to their durability and flexibility.
To determine the size of liner you will require, follow these steps: start by dangling a string 18” from the edge of the pond where the water reaches its highest point. Let the string follow the widest part of the hole, contouring to the hole’s curves. Then, mark the string 18” away from the opposite edge. Measure the marked string. Repeat this process for the length of your pond.
Every pond liner will naturally descend and sink to the bottom of the pond as it gets filled with materials like gravel, rocks, plants, and silt. It’s crucial to procure an additional 1 foot (0.30 m), or better yet, 18-24 inches (46-61 cm) more than your initial measurements in both length and width for the liner. Should the liner retreat beneath the water’s edge, you will need to empty the pond and reinstall the liner.
Place a layer of underlayment or old carpet under the liner to protect it from sharp stones. Then lay the liner in the hole, press it into the corners, and let it follow the contours of the pond. Trim off any excess, leaving some overlap.
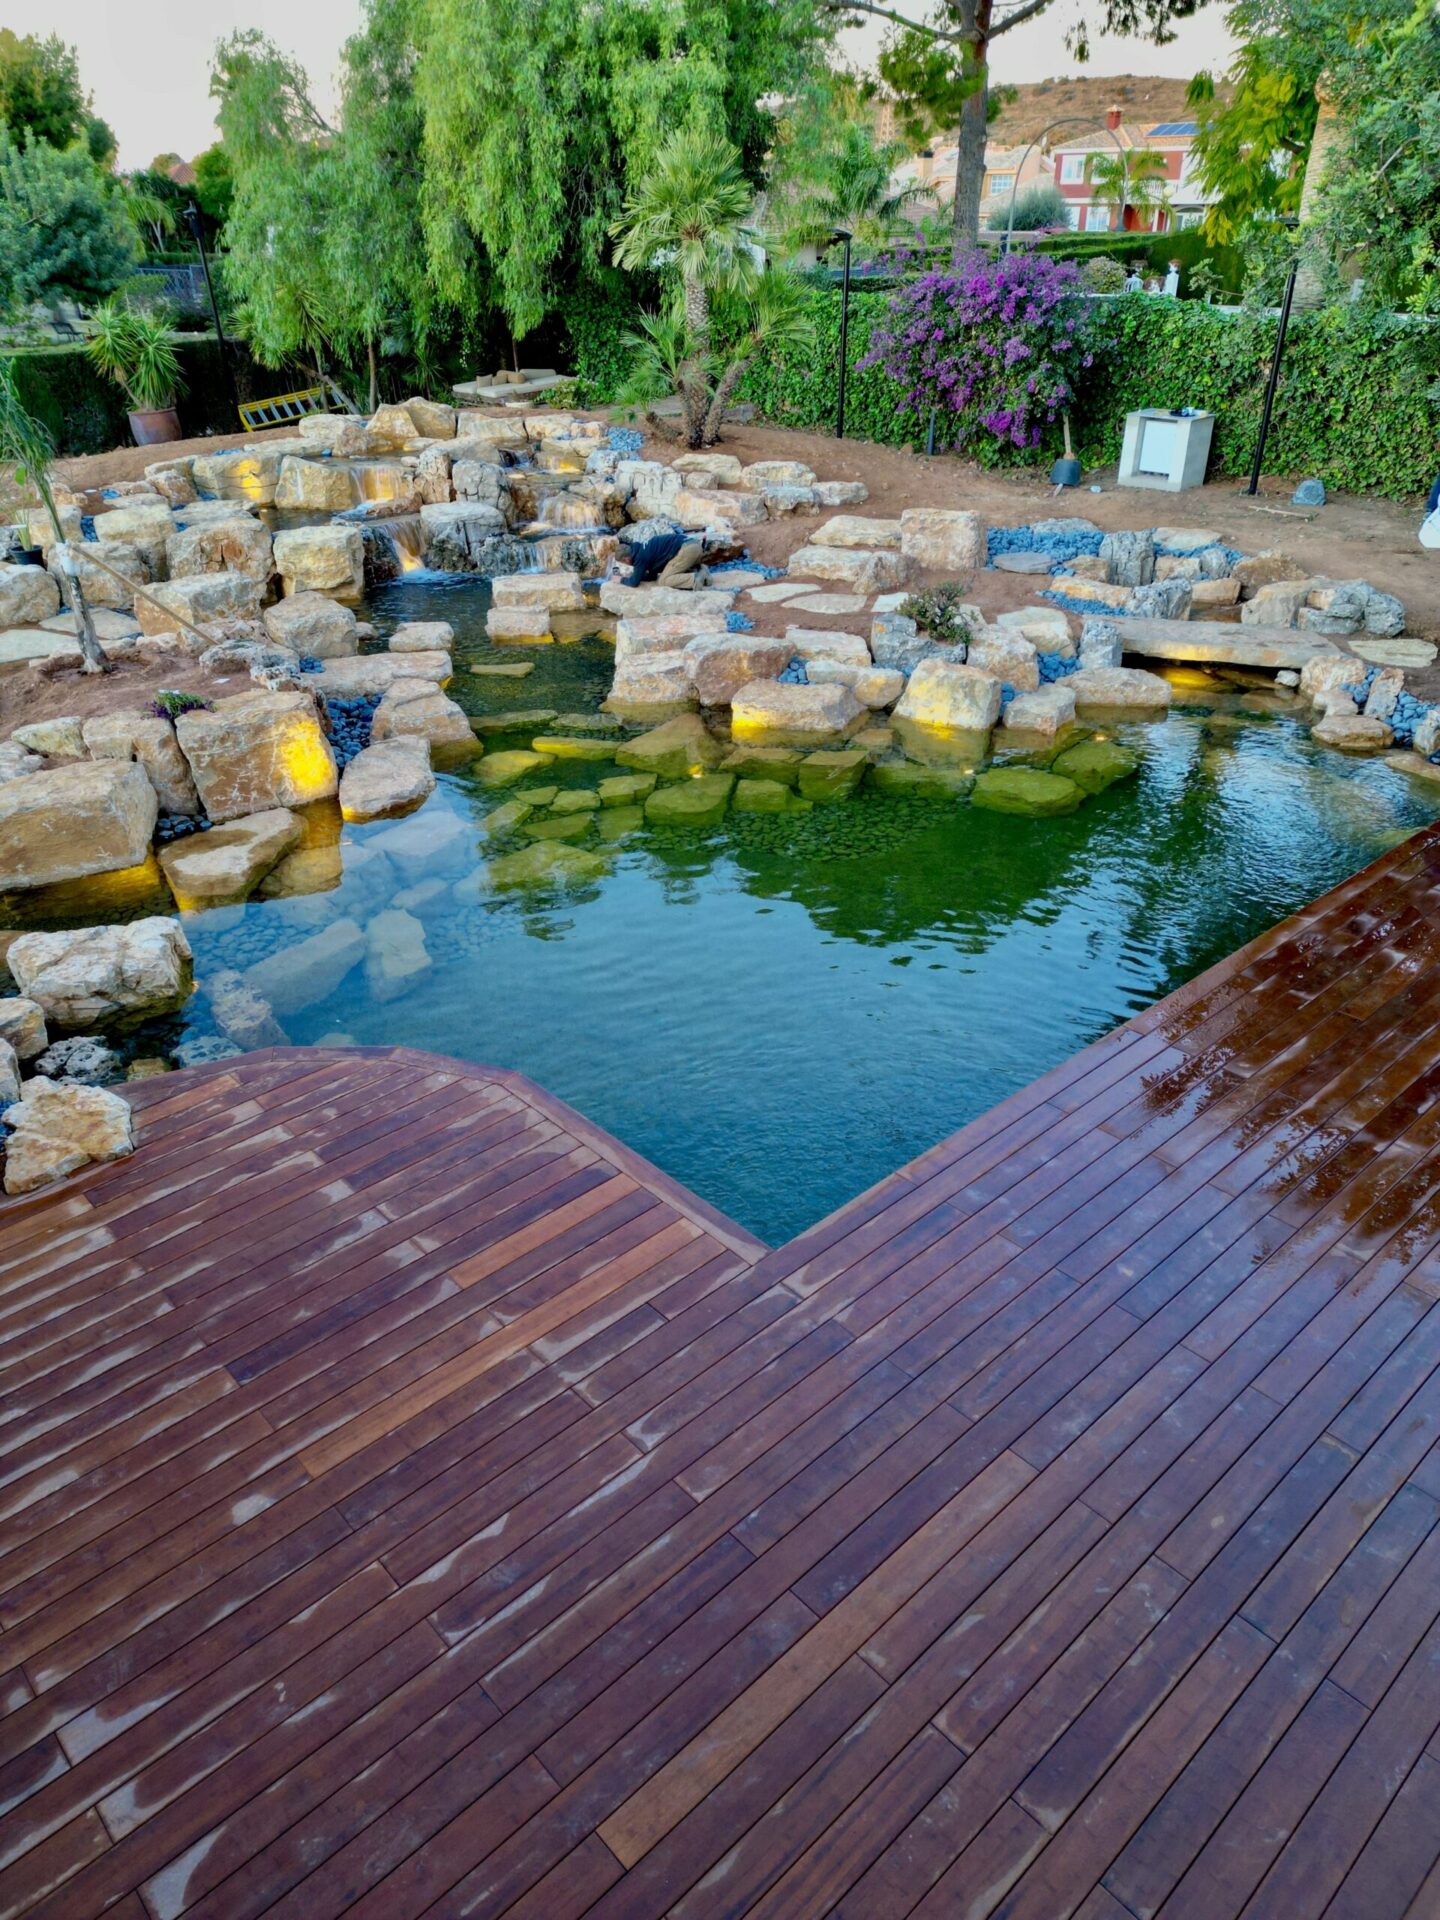
Install Eductor Jets and a Skimmer
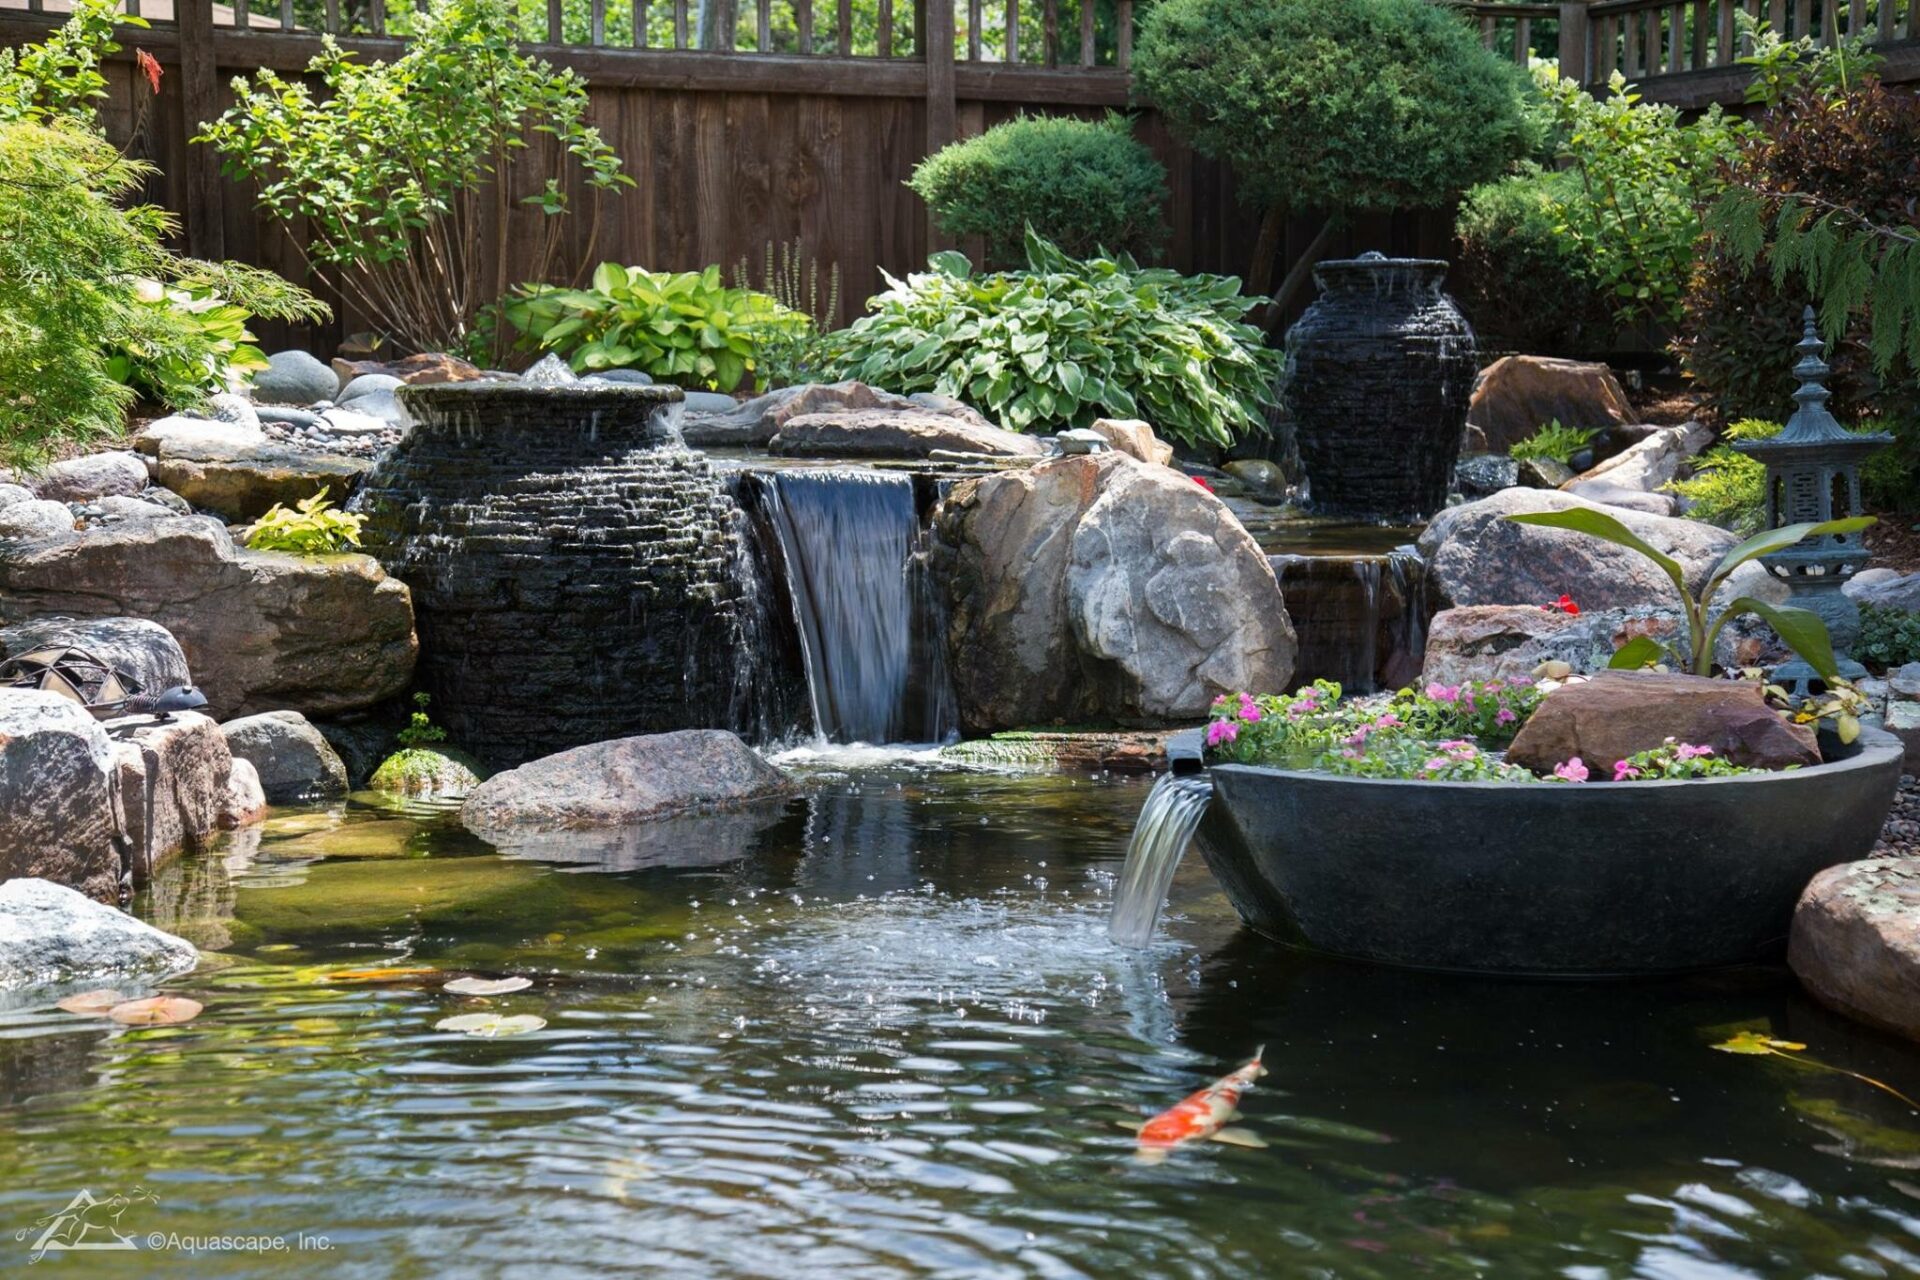
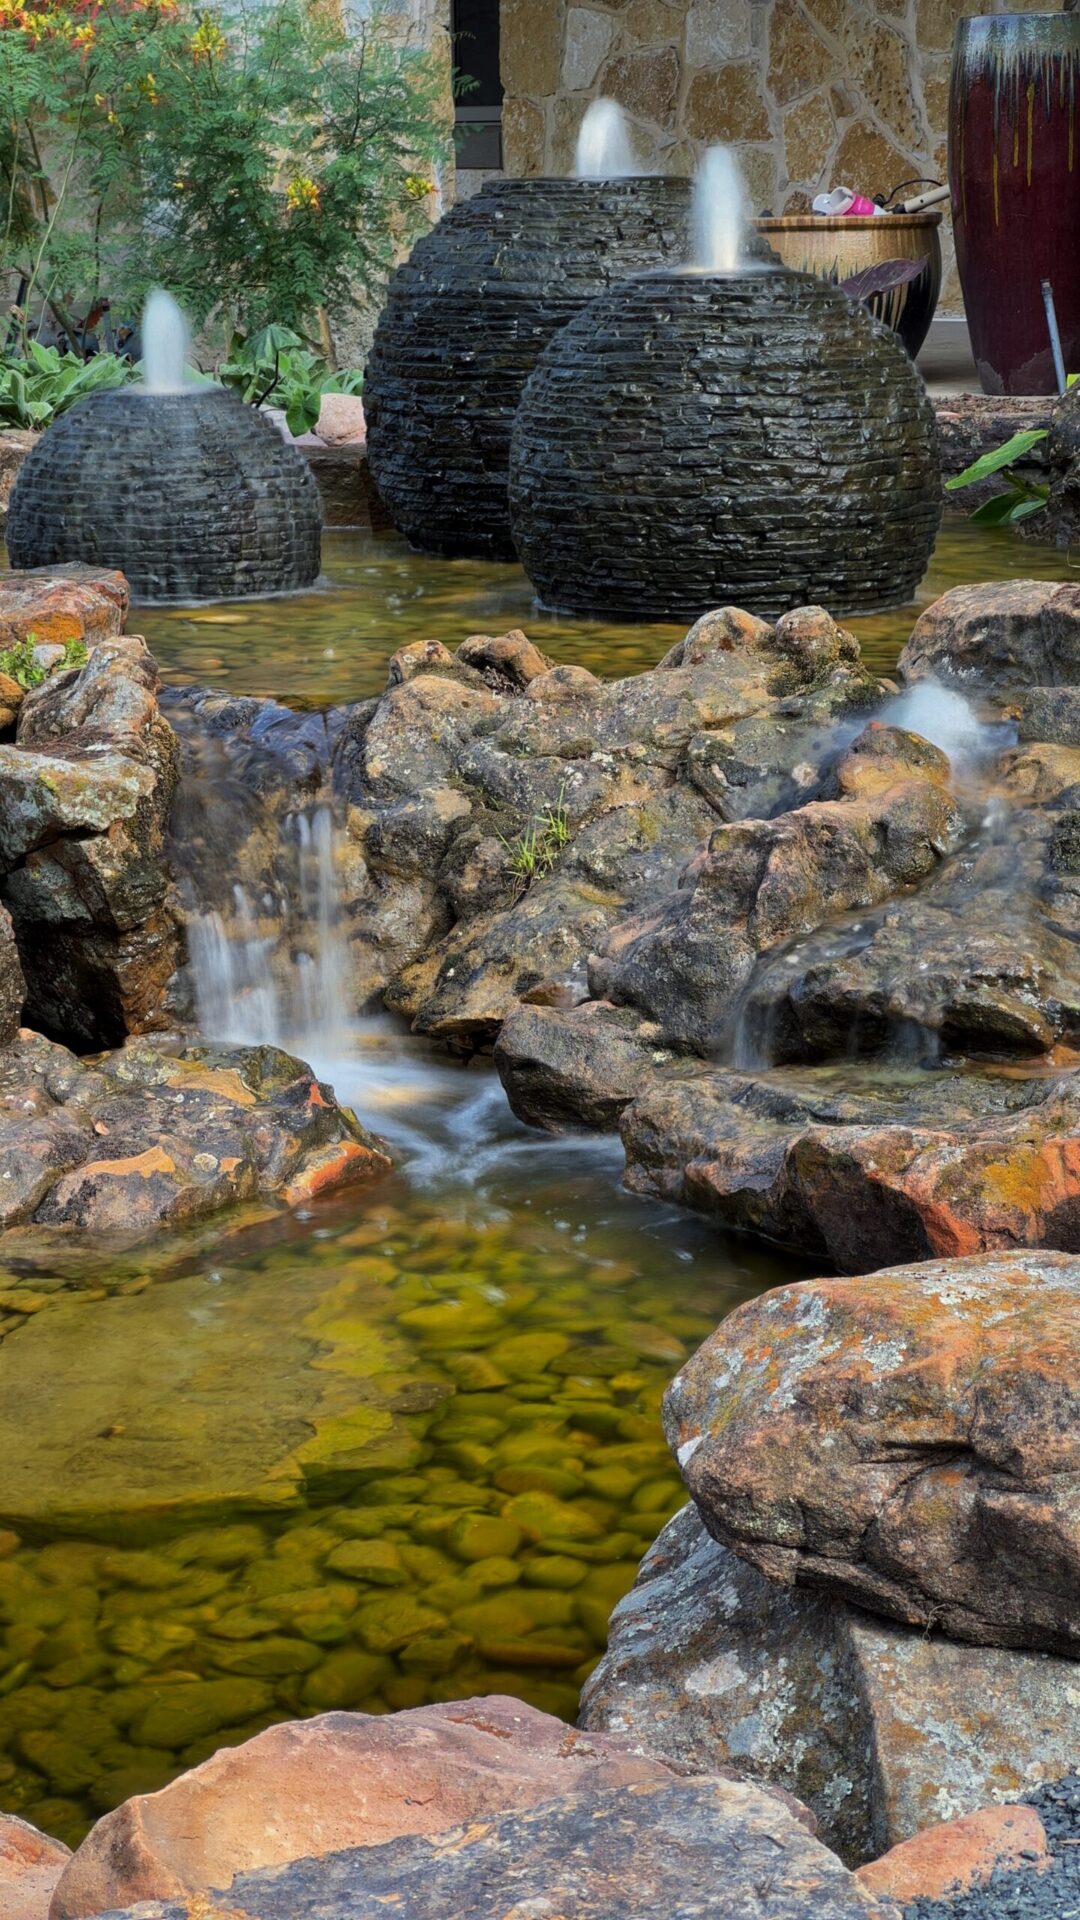
Eductor jets create underwater currents, pushing pond water to prevent any zones of stillness from forming. The skimmer, designed to be safe for fish, is essentially a bucket that enables the system to automatically collect fallen leaves and other debris from the water’s surface.
It’s vital to inspect the filter and filtration system at least two to three times every week to prevent any potential damage to the pump or filtration system. Regular checks will help maintain cleanliness consistently.
At this point, you will also want to install a bead filter and UV water clarifier. A bead filter captures sand and debris and also provides a habitat for beneficial bacteria, crucial for maintaining the health of a pond and the aquatic life in it. A UV clarifier works to eliminate algae blooms, helping keep pond water clean.
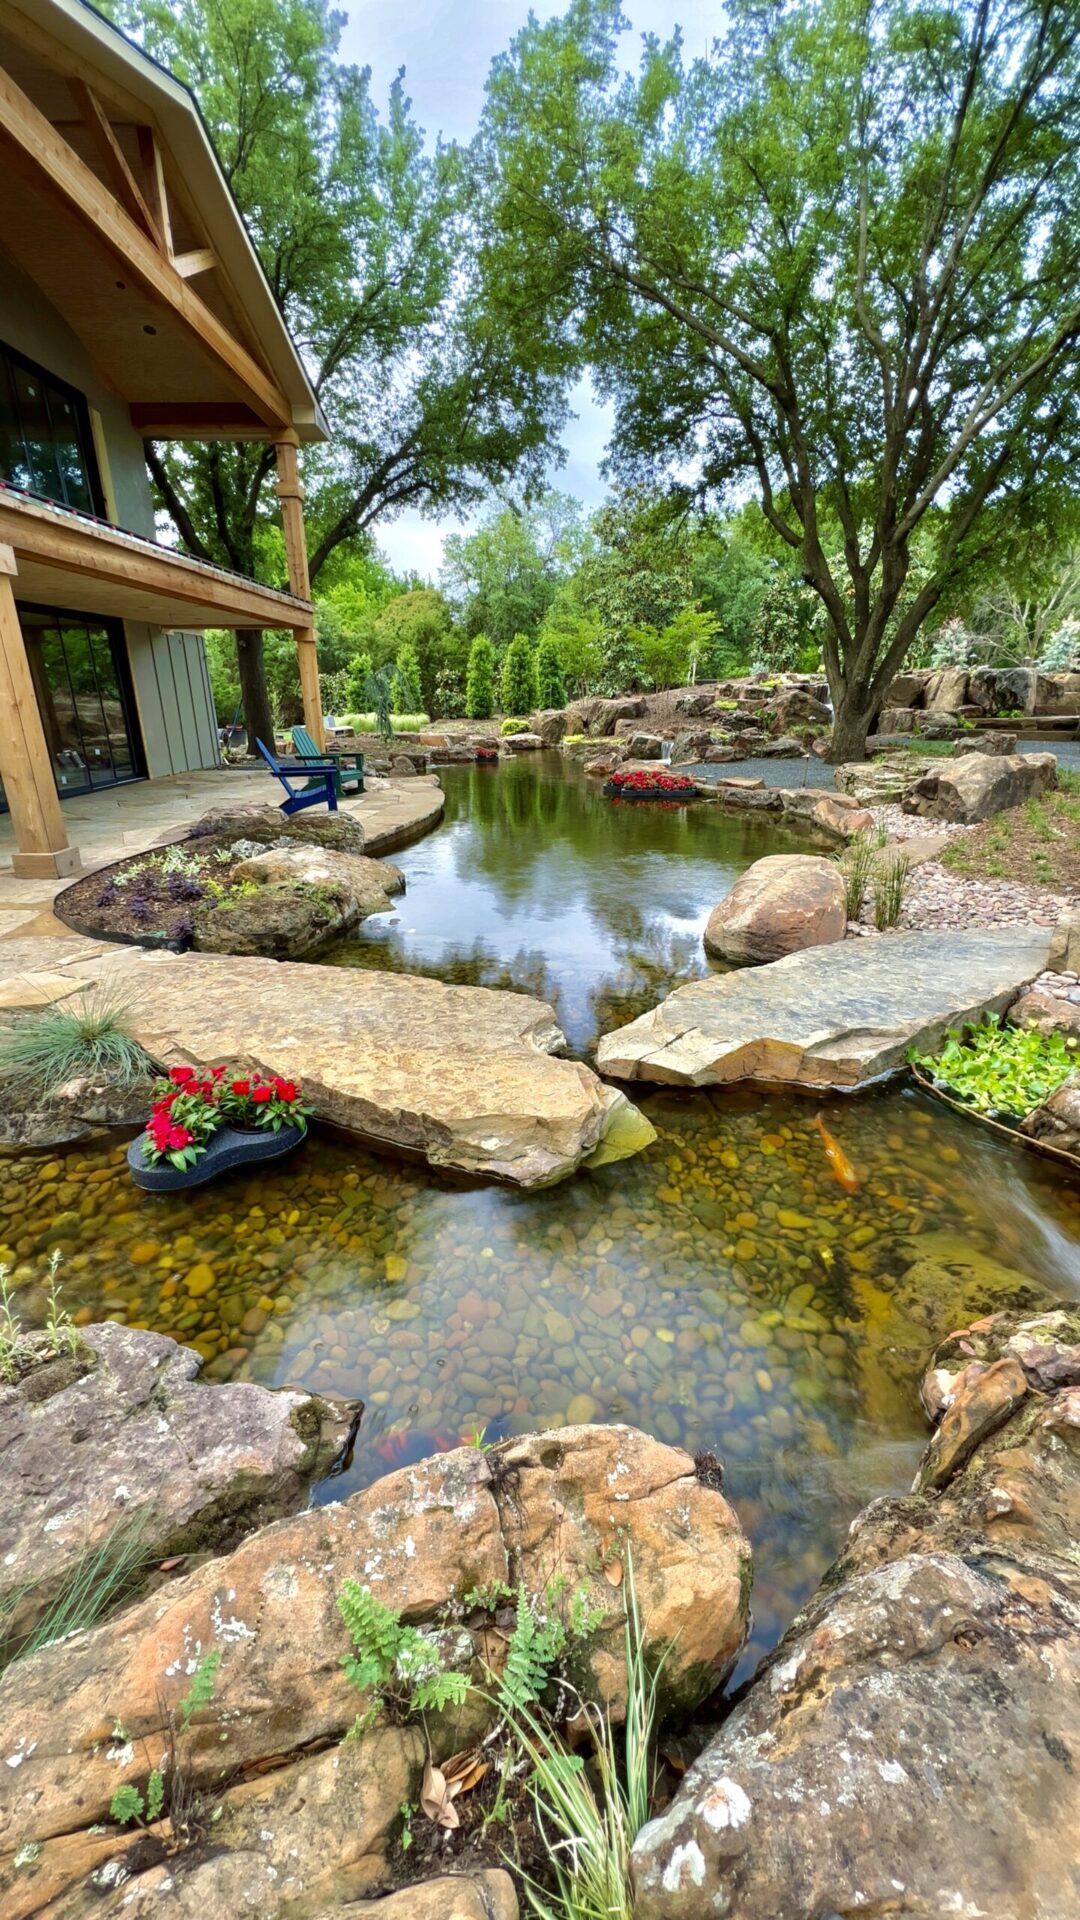
Add Water and Fish
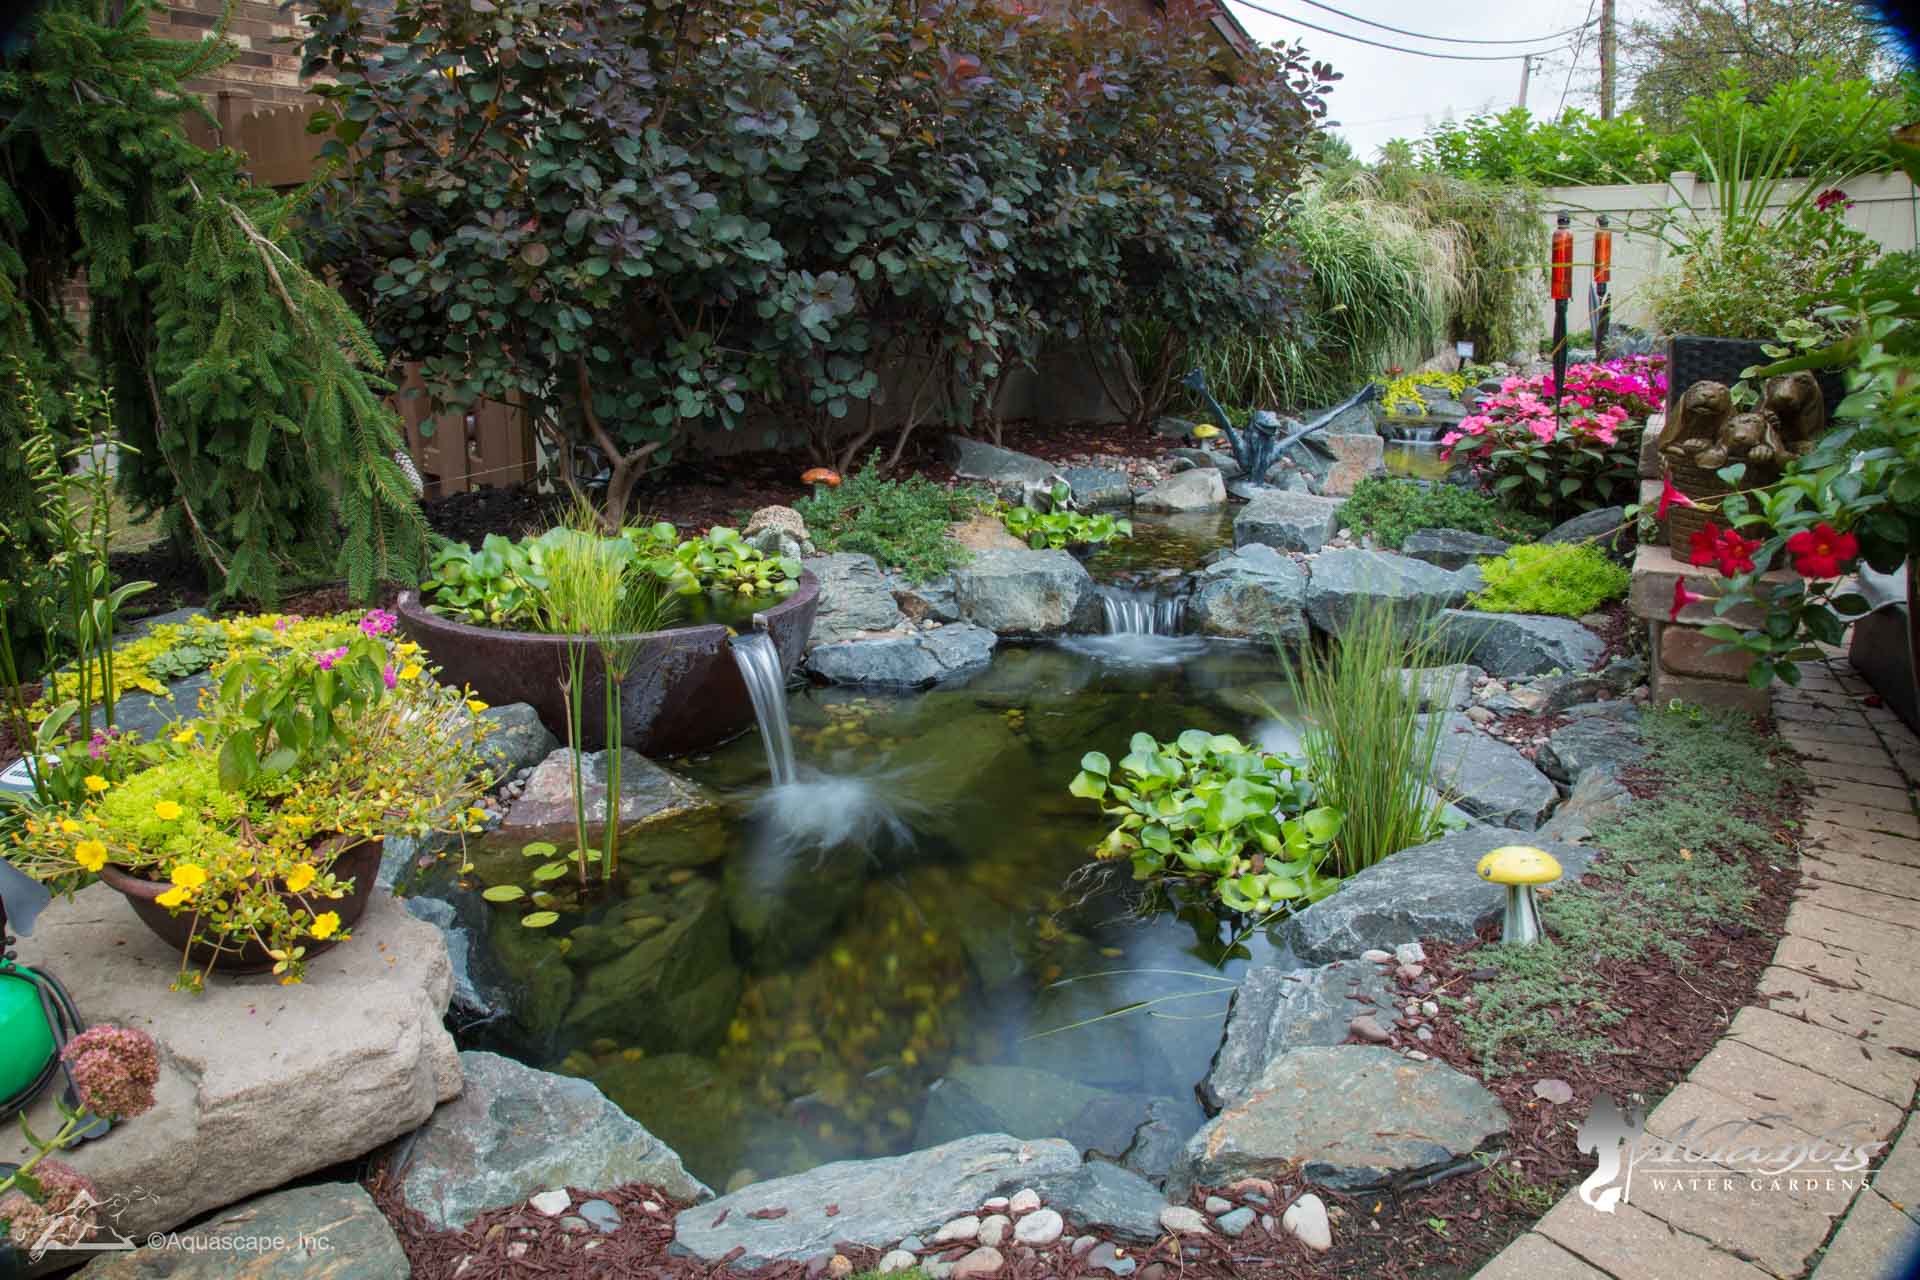
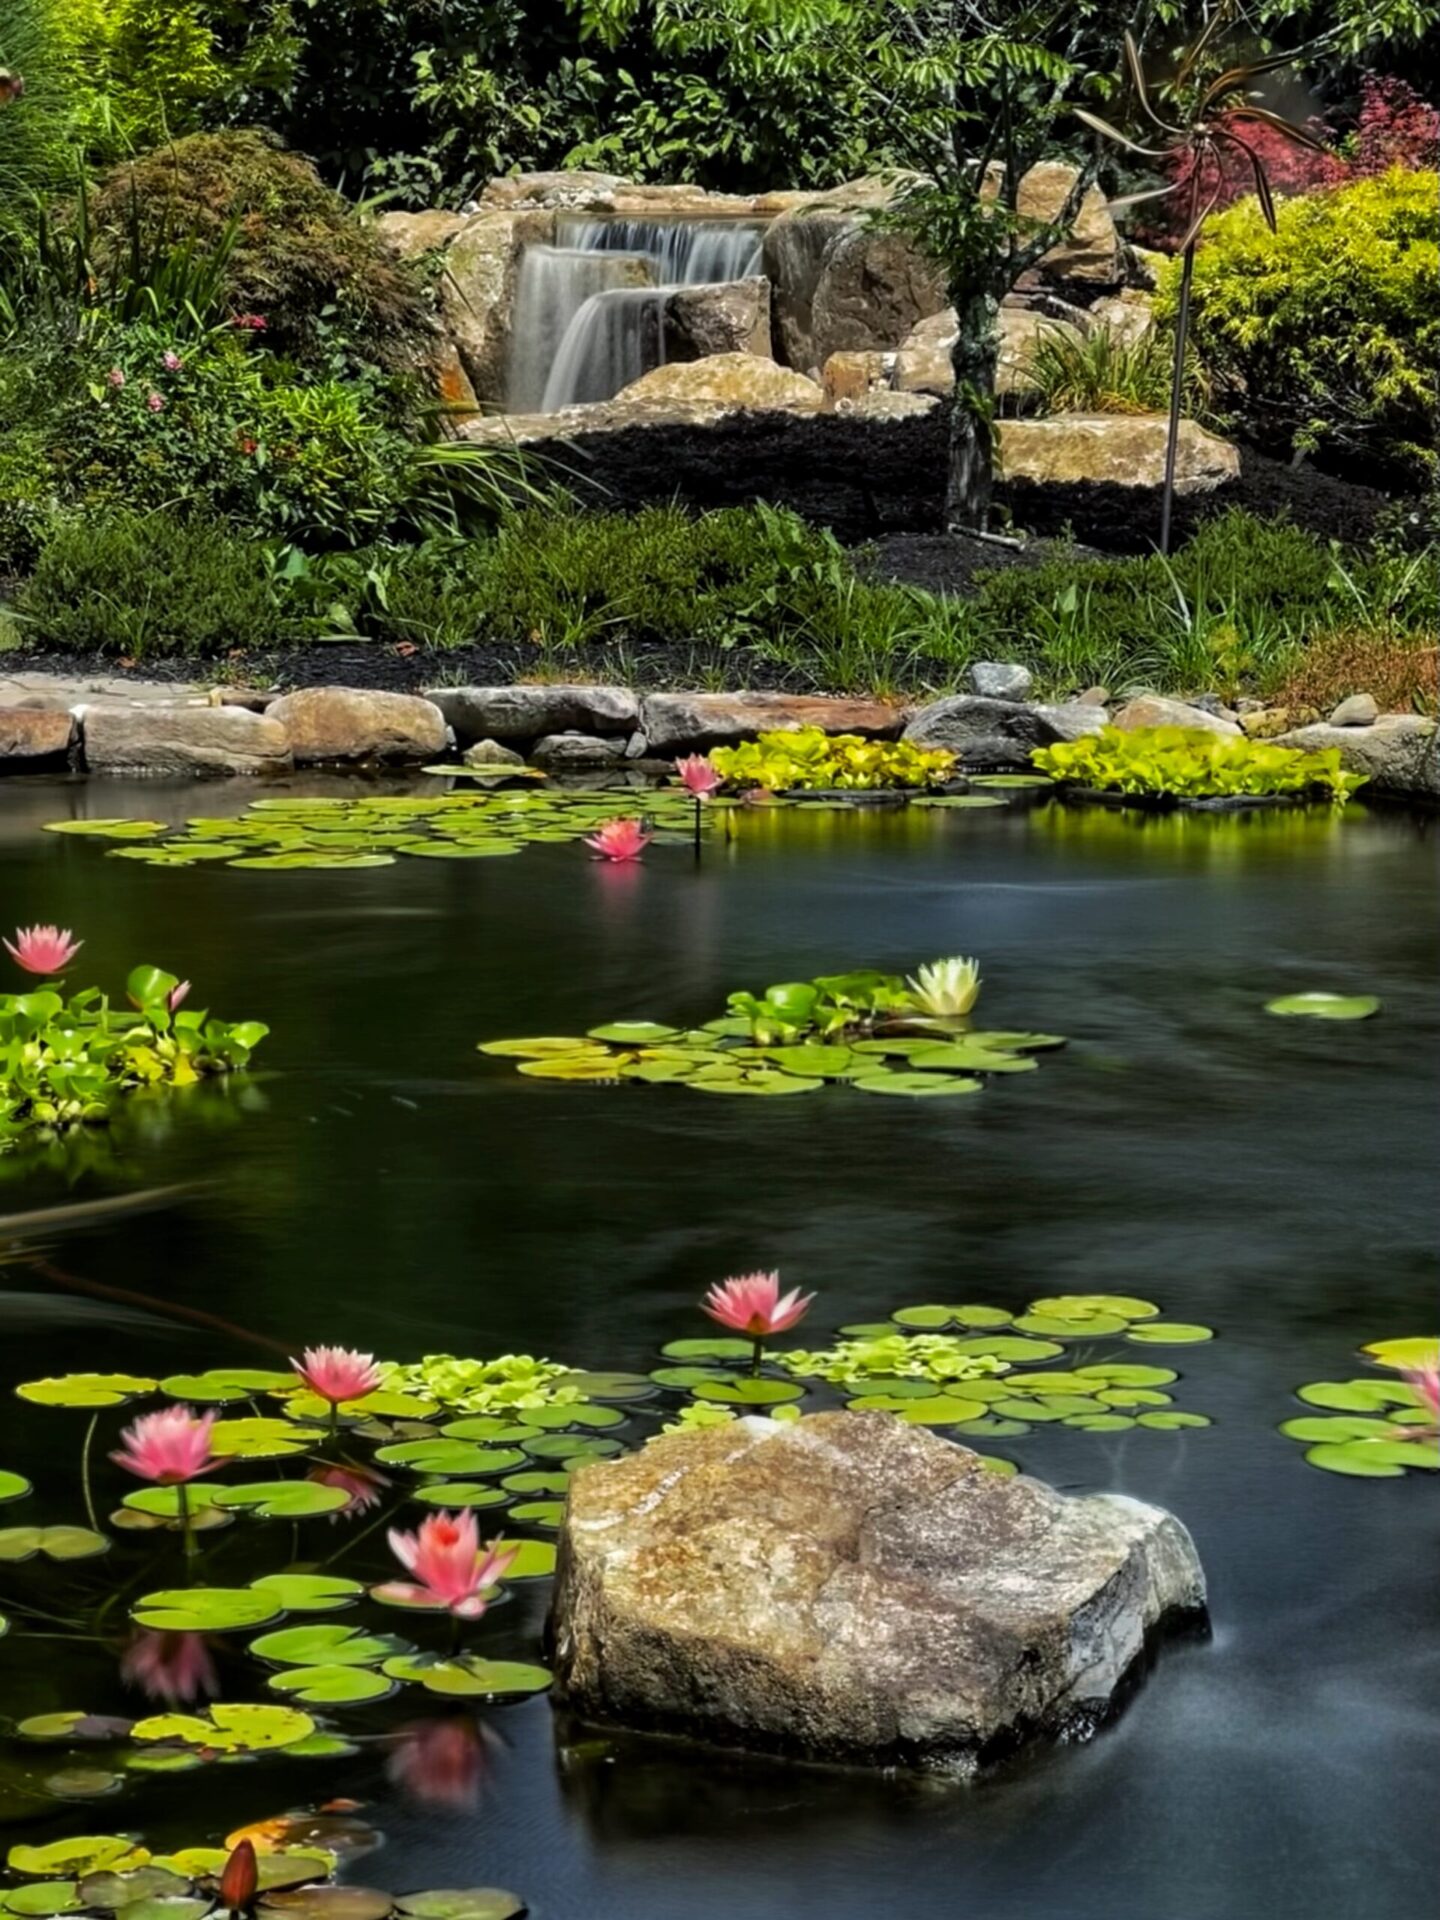
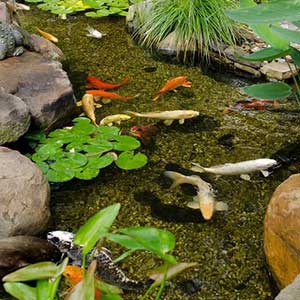
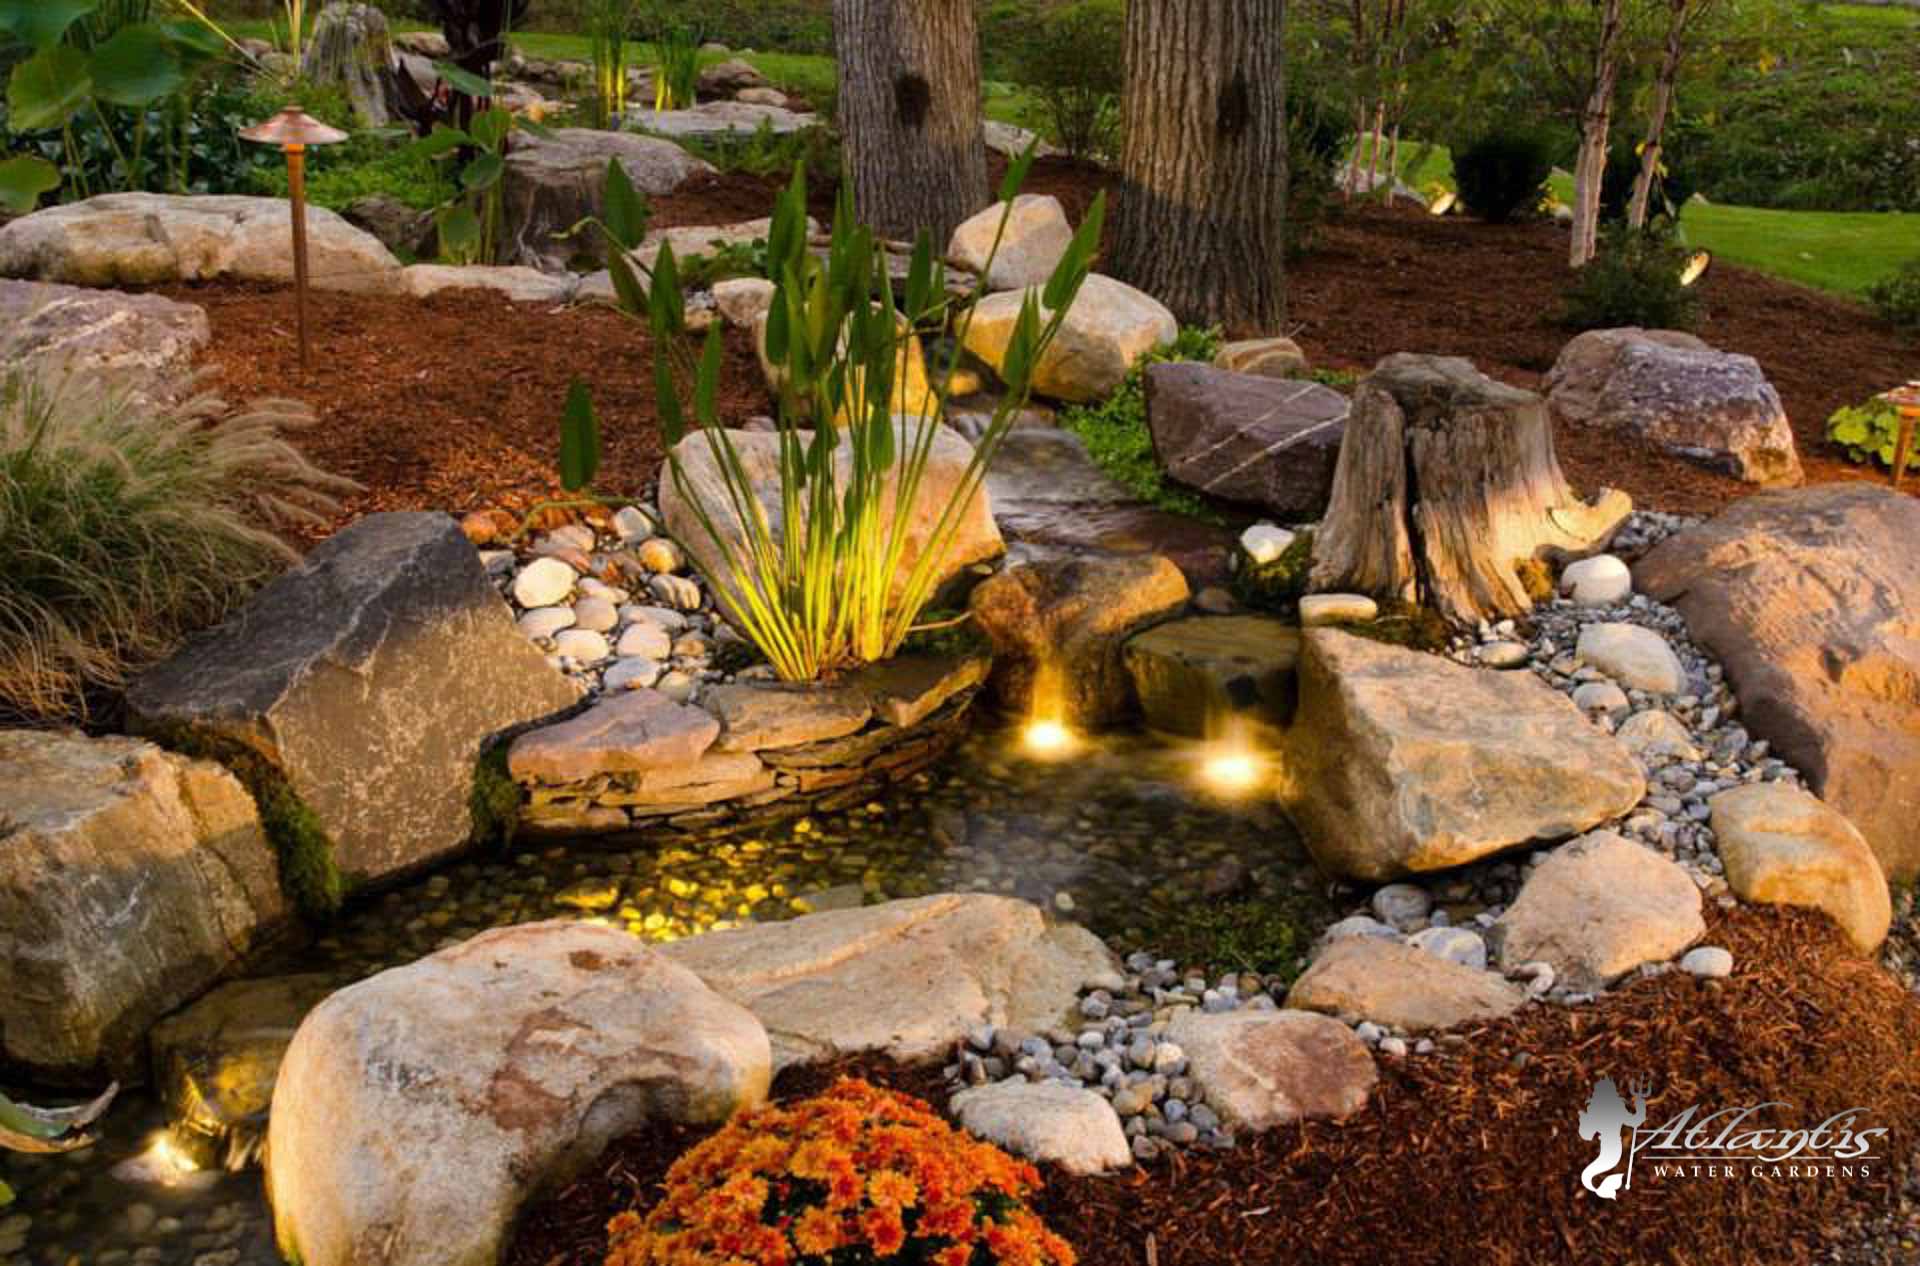
Add water to your pond. If you’re using tap water, treat it first to remove harmful chlorine before introducing fish. Add some aquatic plants, as they can help maintain water quality and provide cover for fish. Add fish gradually, over a few weeks. Start with hardy species as they will help establish the pond’s ecosystem.
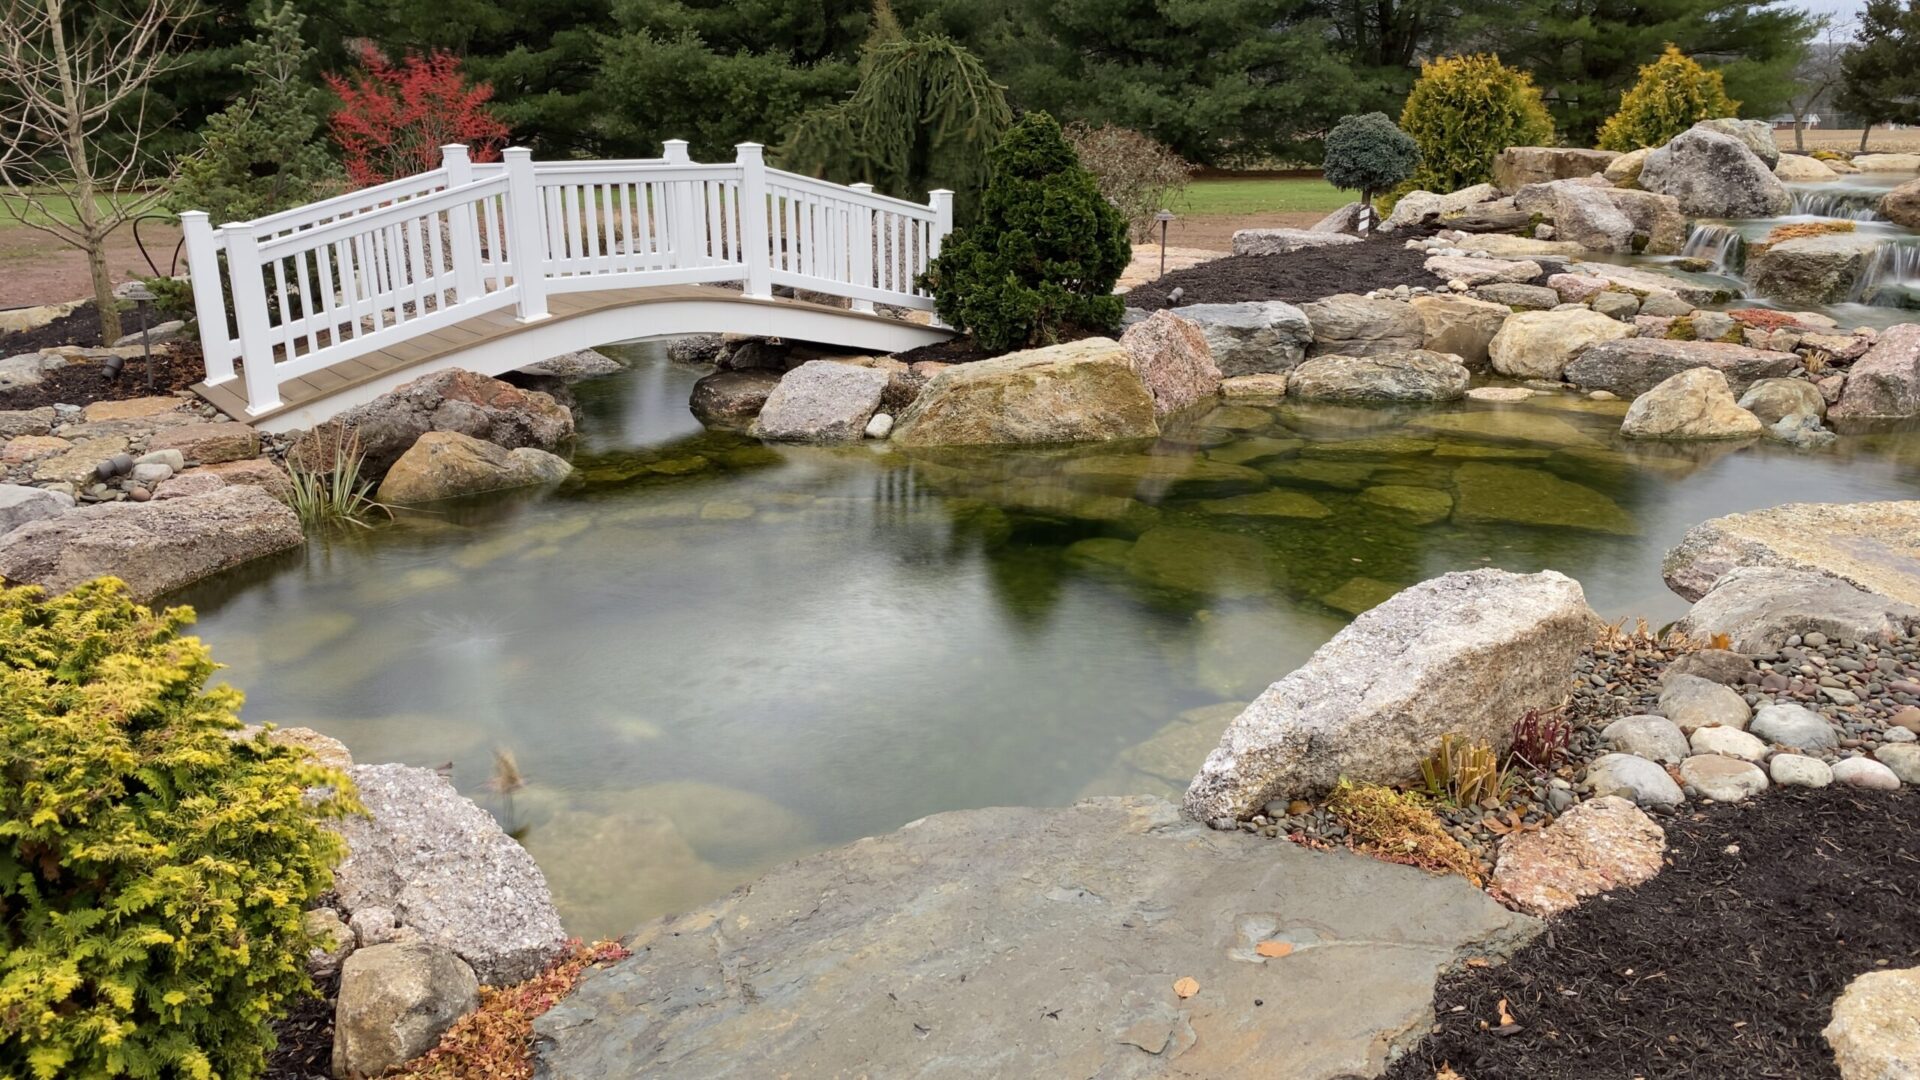
Atlantis Water Gardens is a leading pond builder in Denville, NJ. Our water feature experts have years of experience transforming dull backyards into oases with stunning water features. To make an appointment, call 973-627-0515.
Take The Plunge!
Schedule a phone call and get to pick the brain of one of our experienced designers about your project Schedule My Call NowLovin’ It? Want more pics?
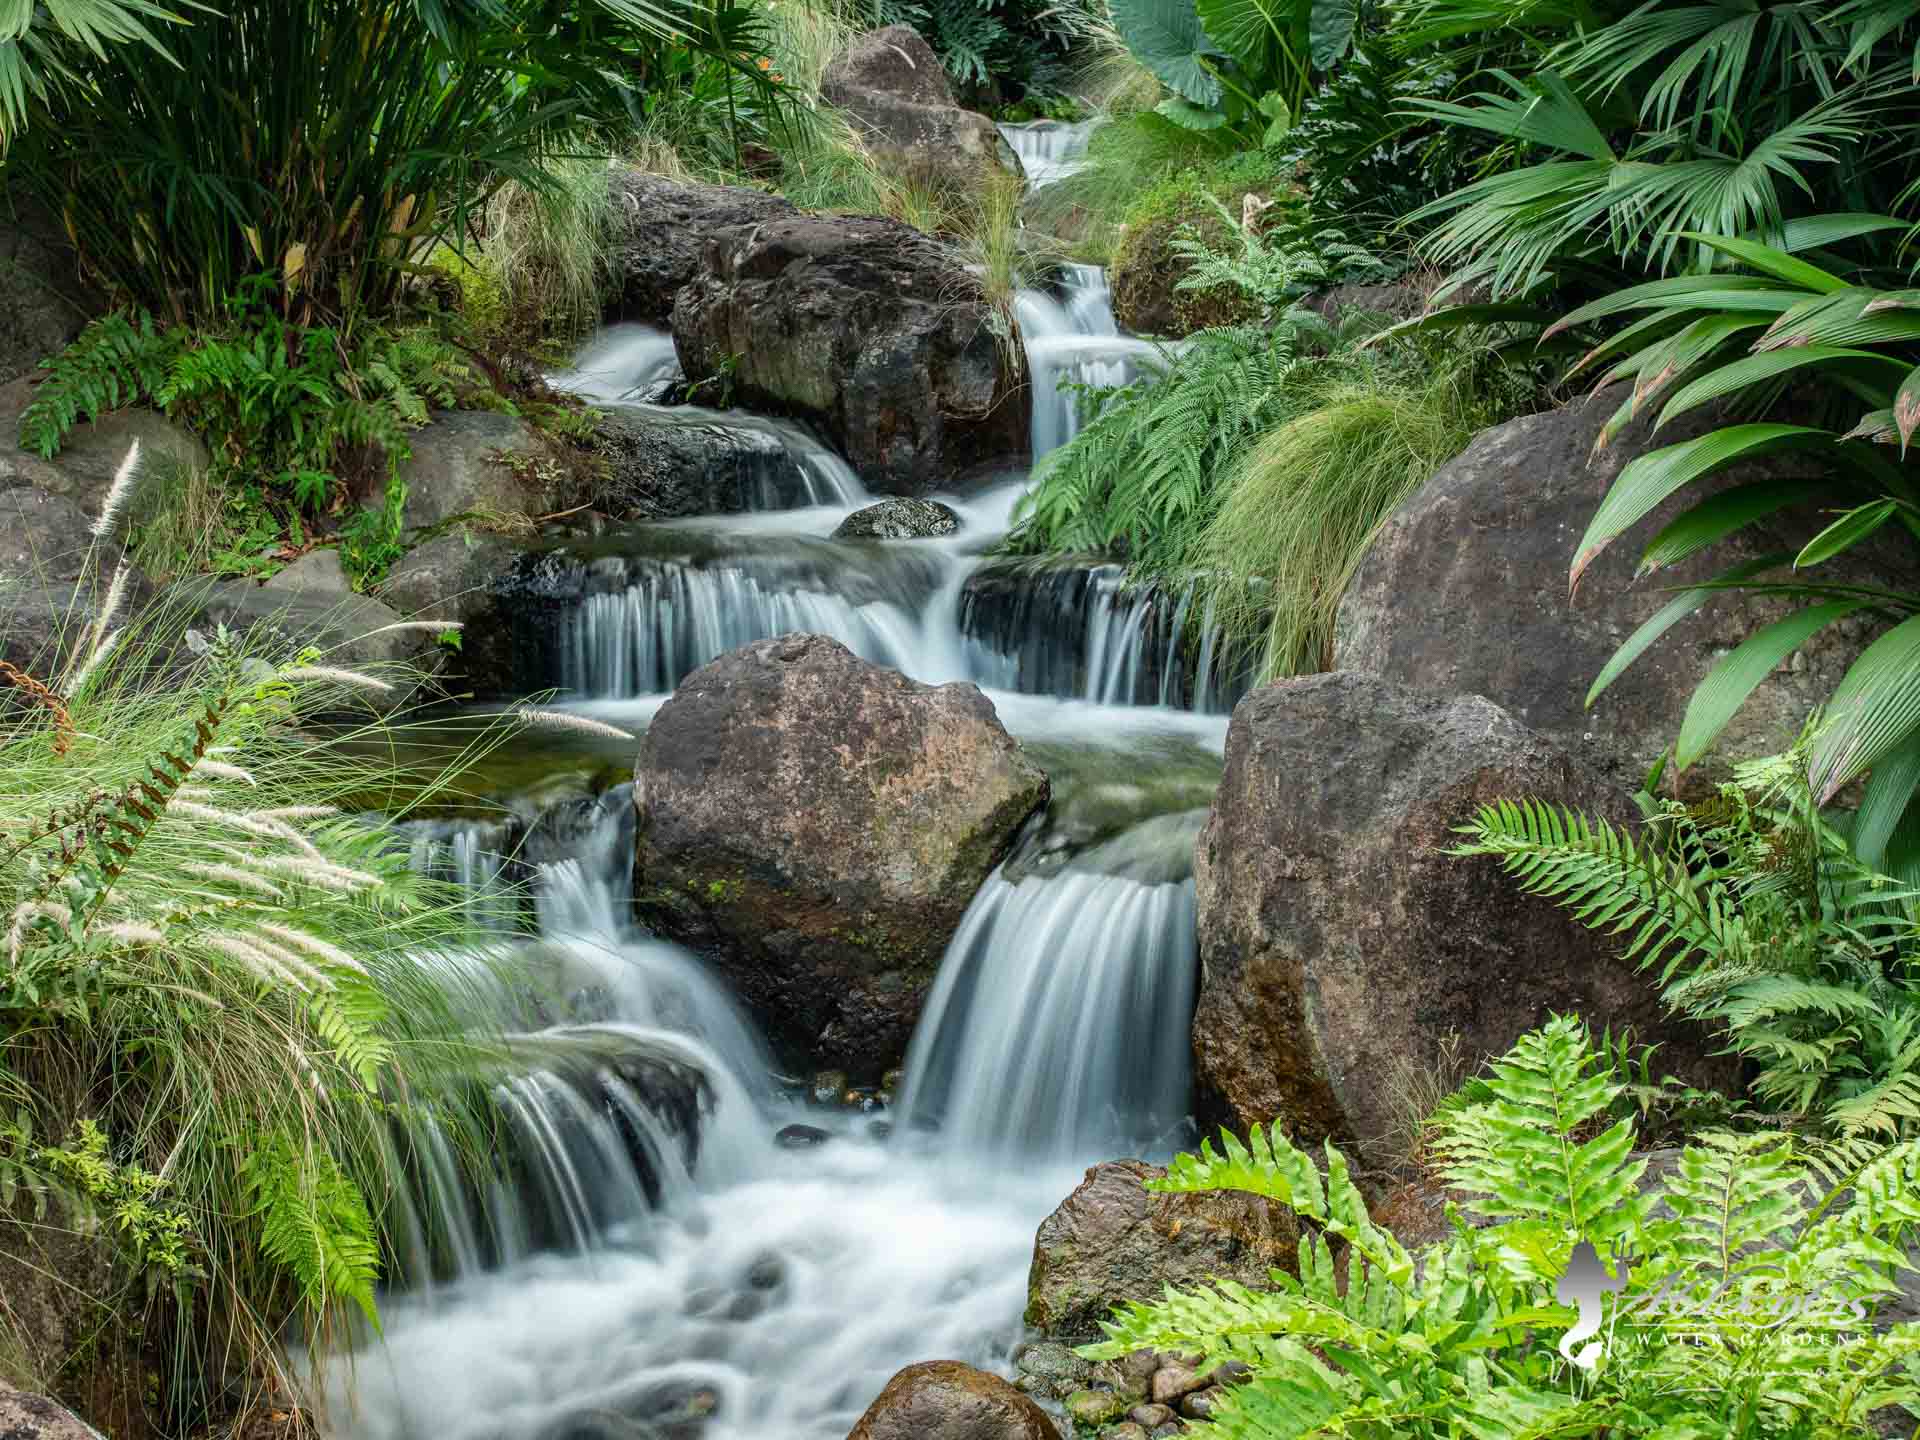
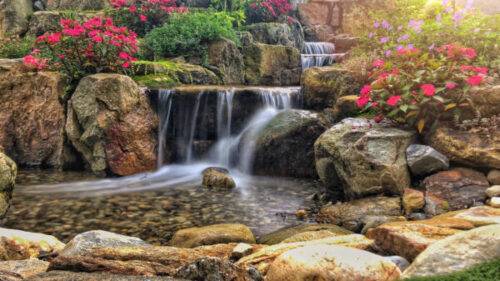
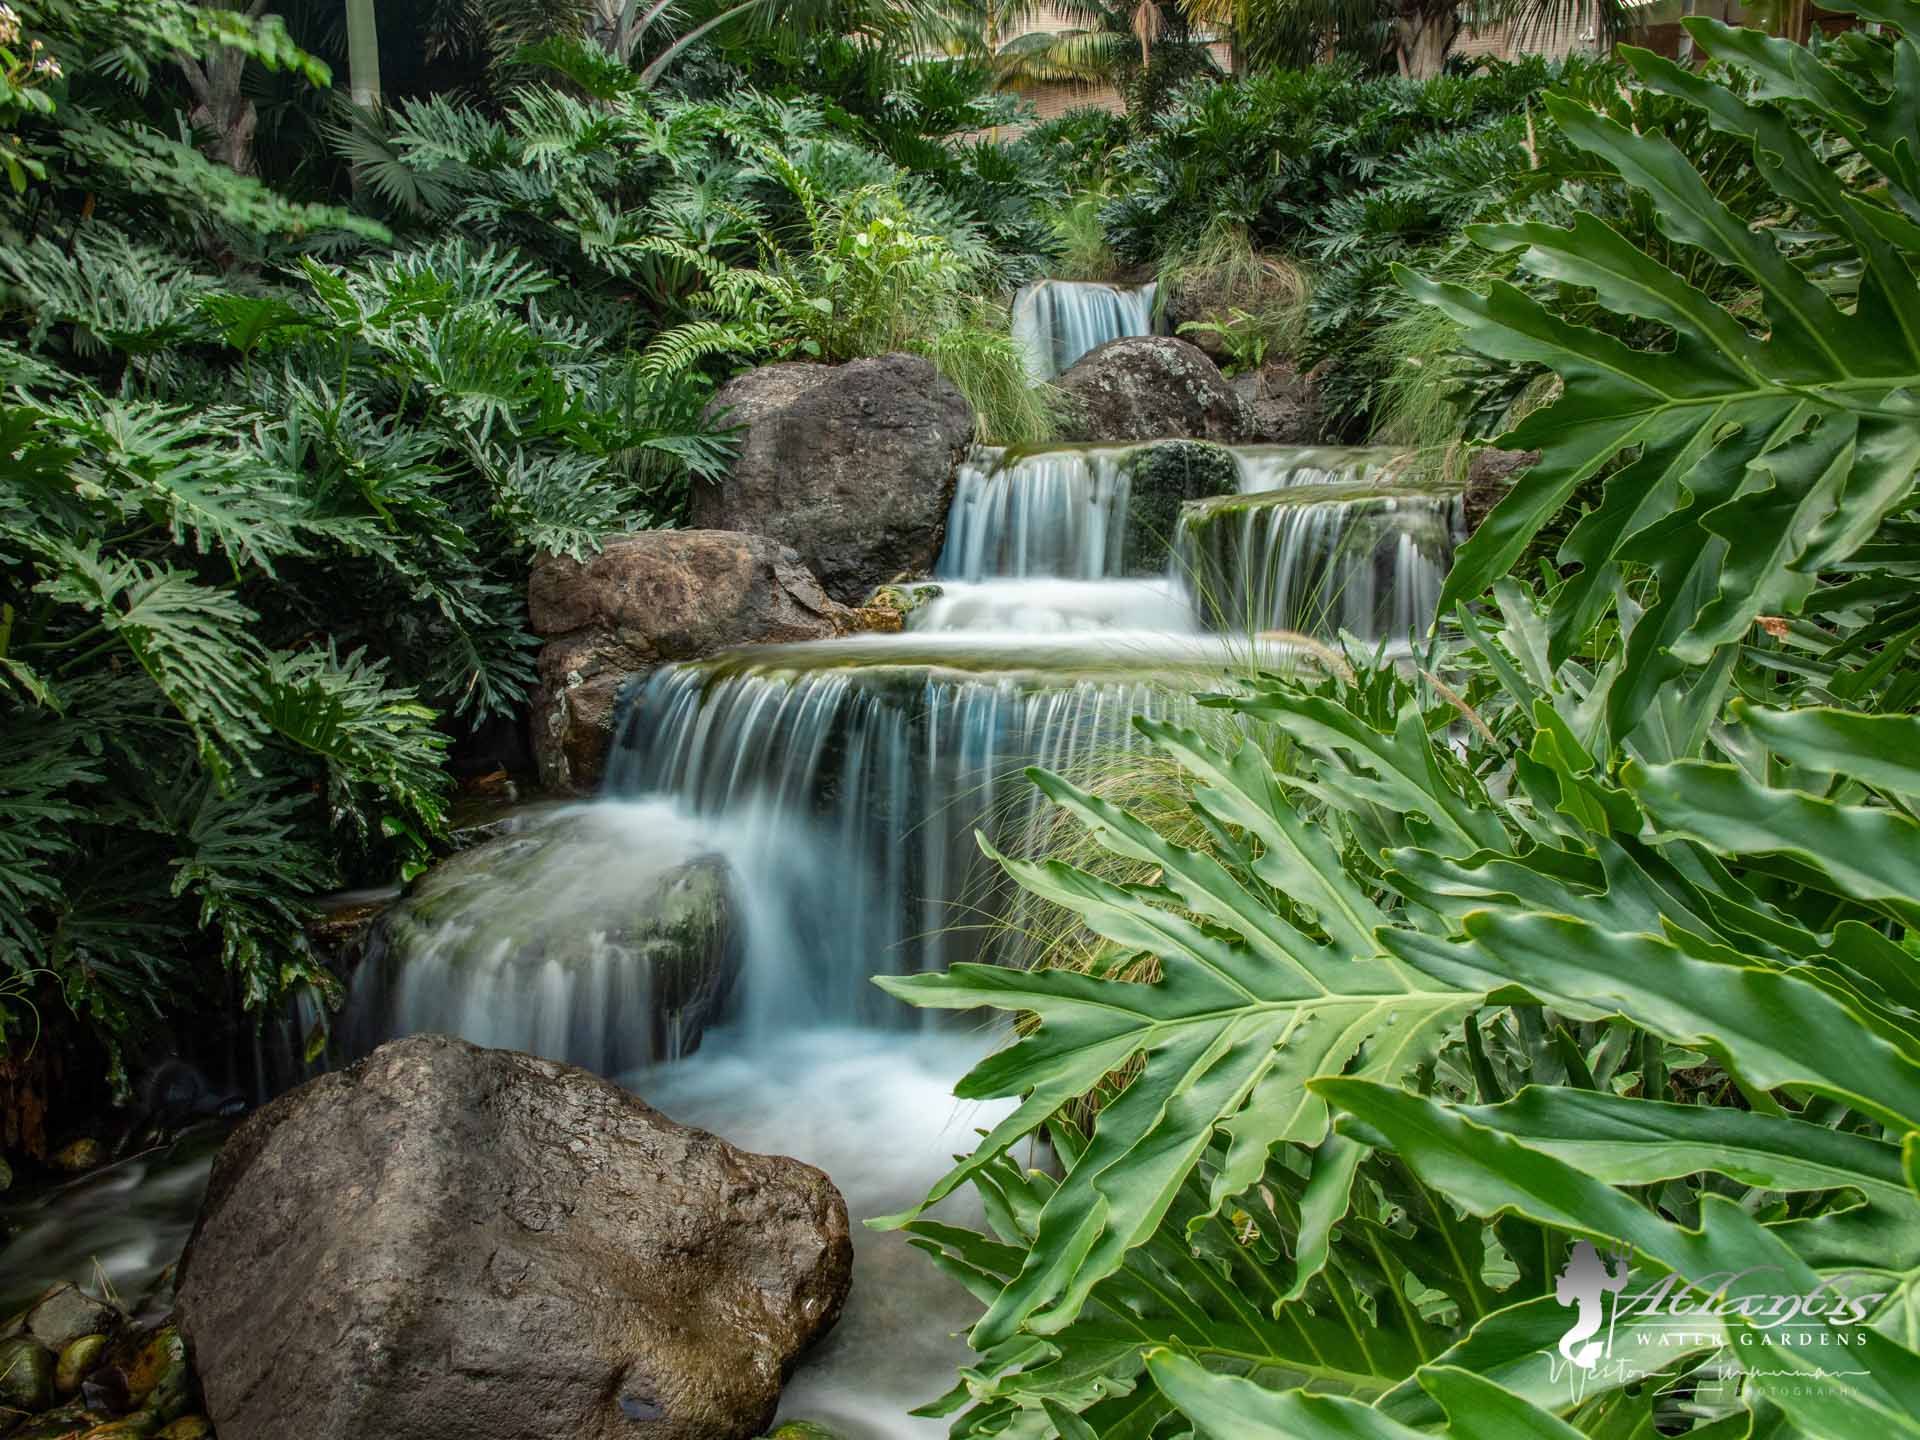
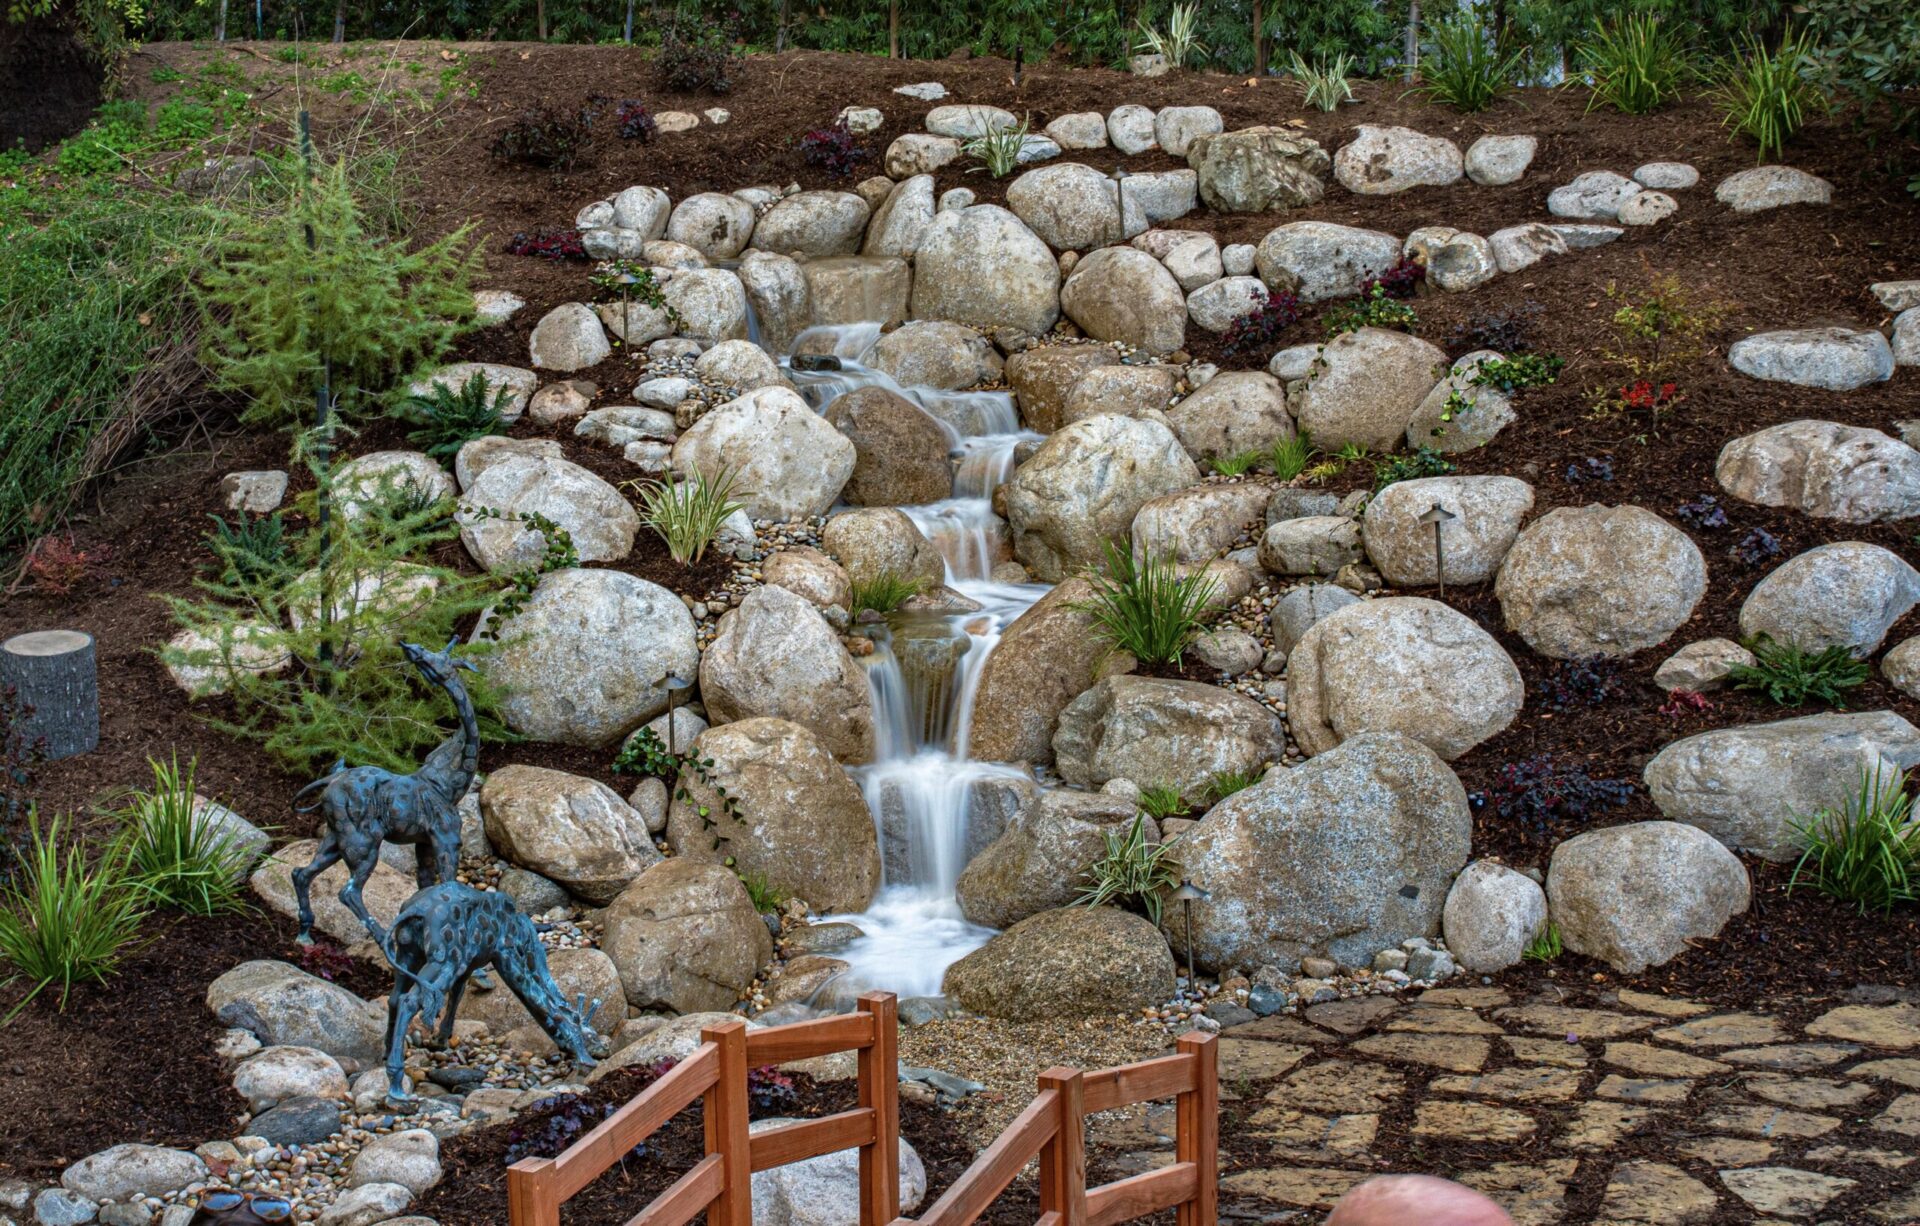
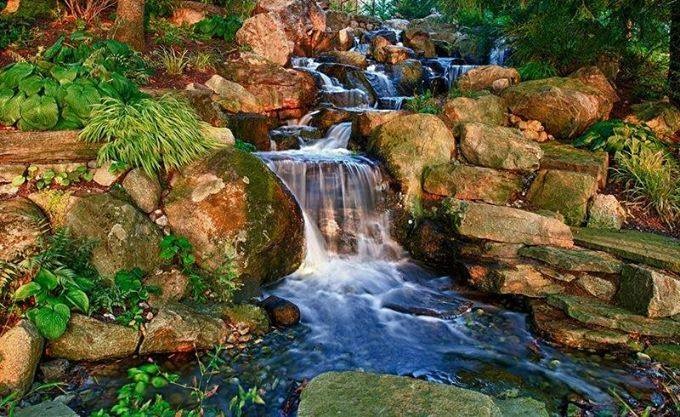
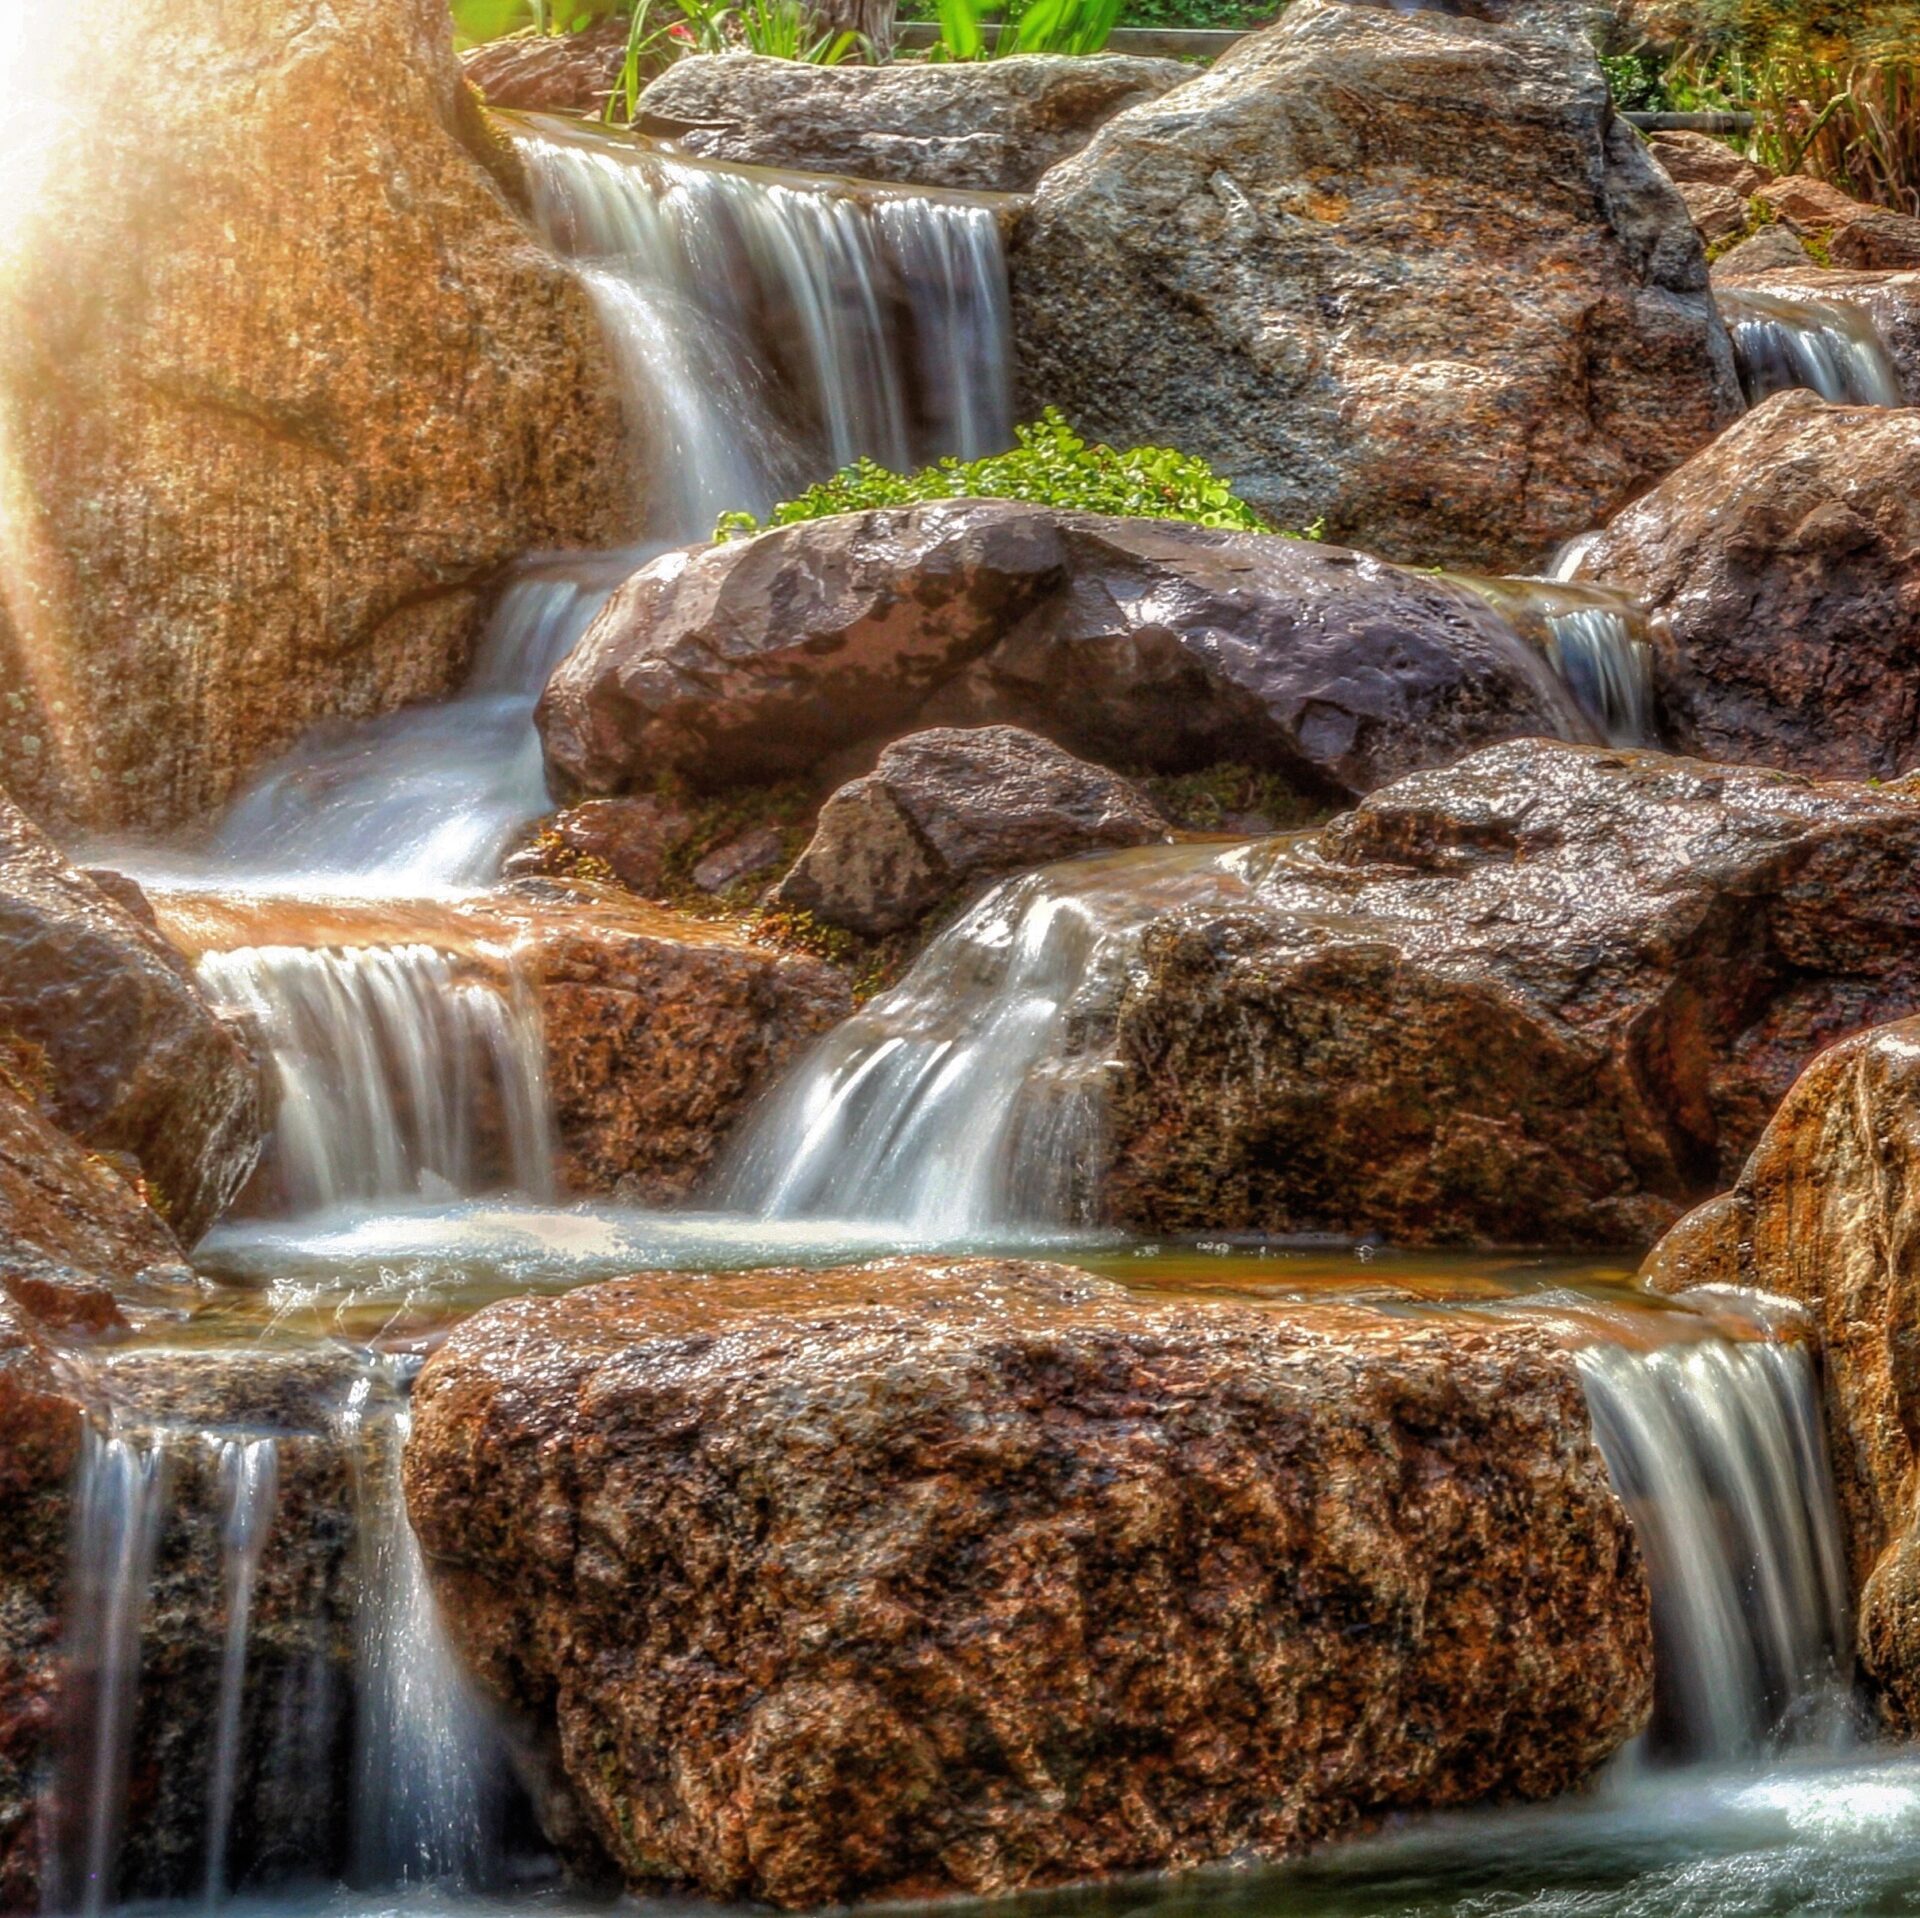
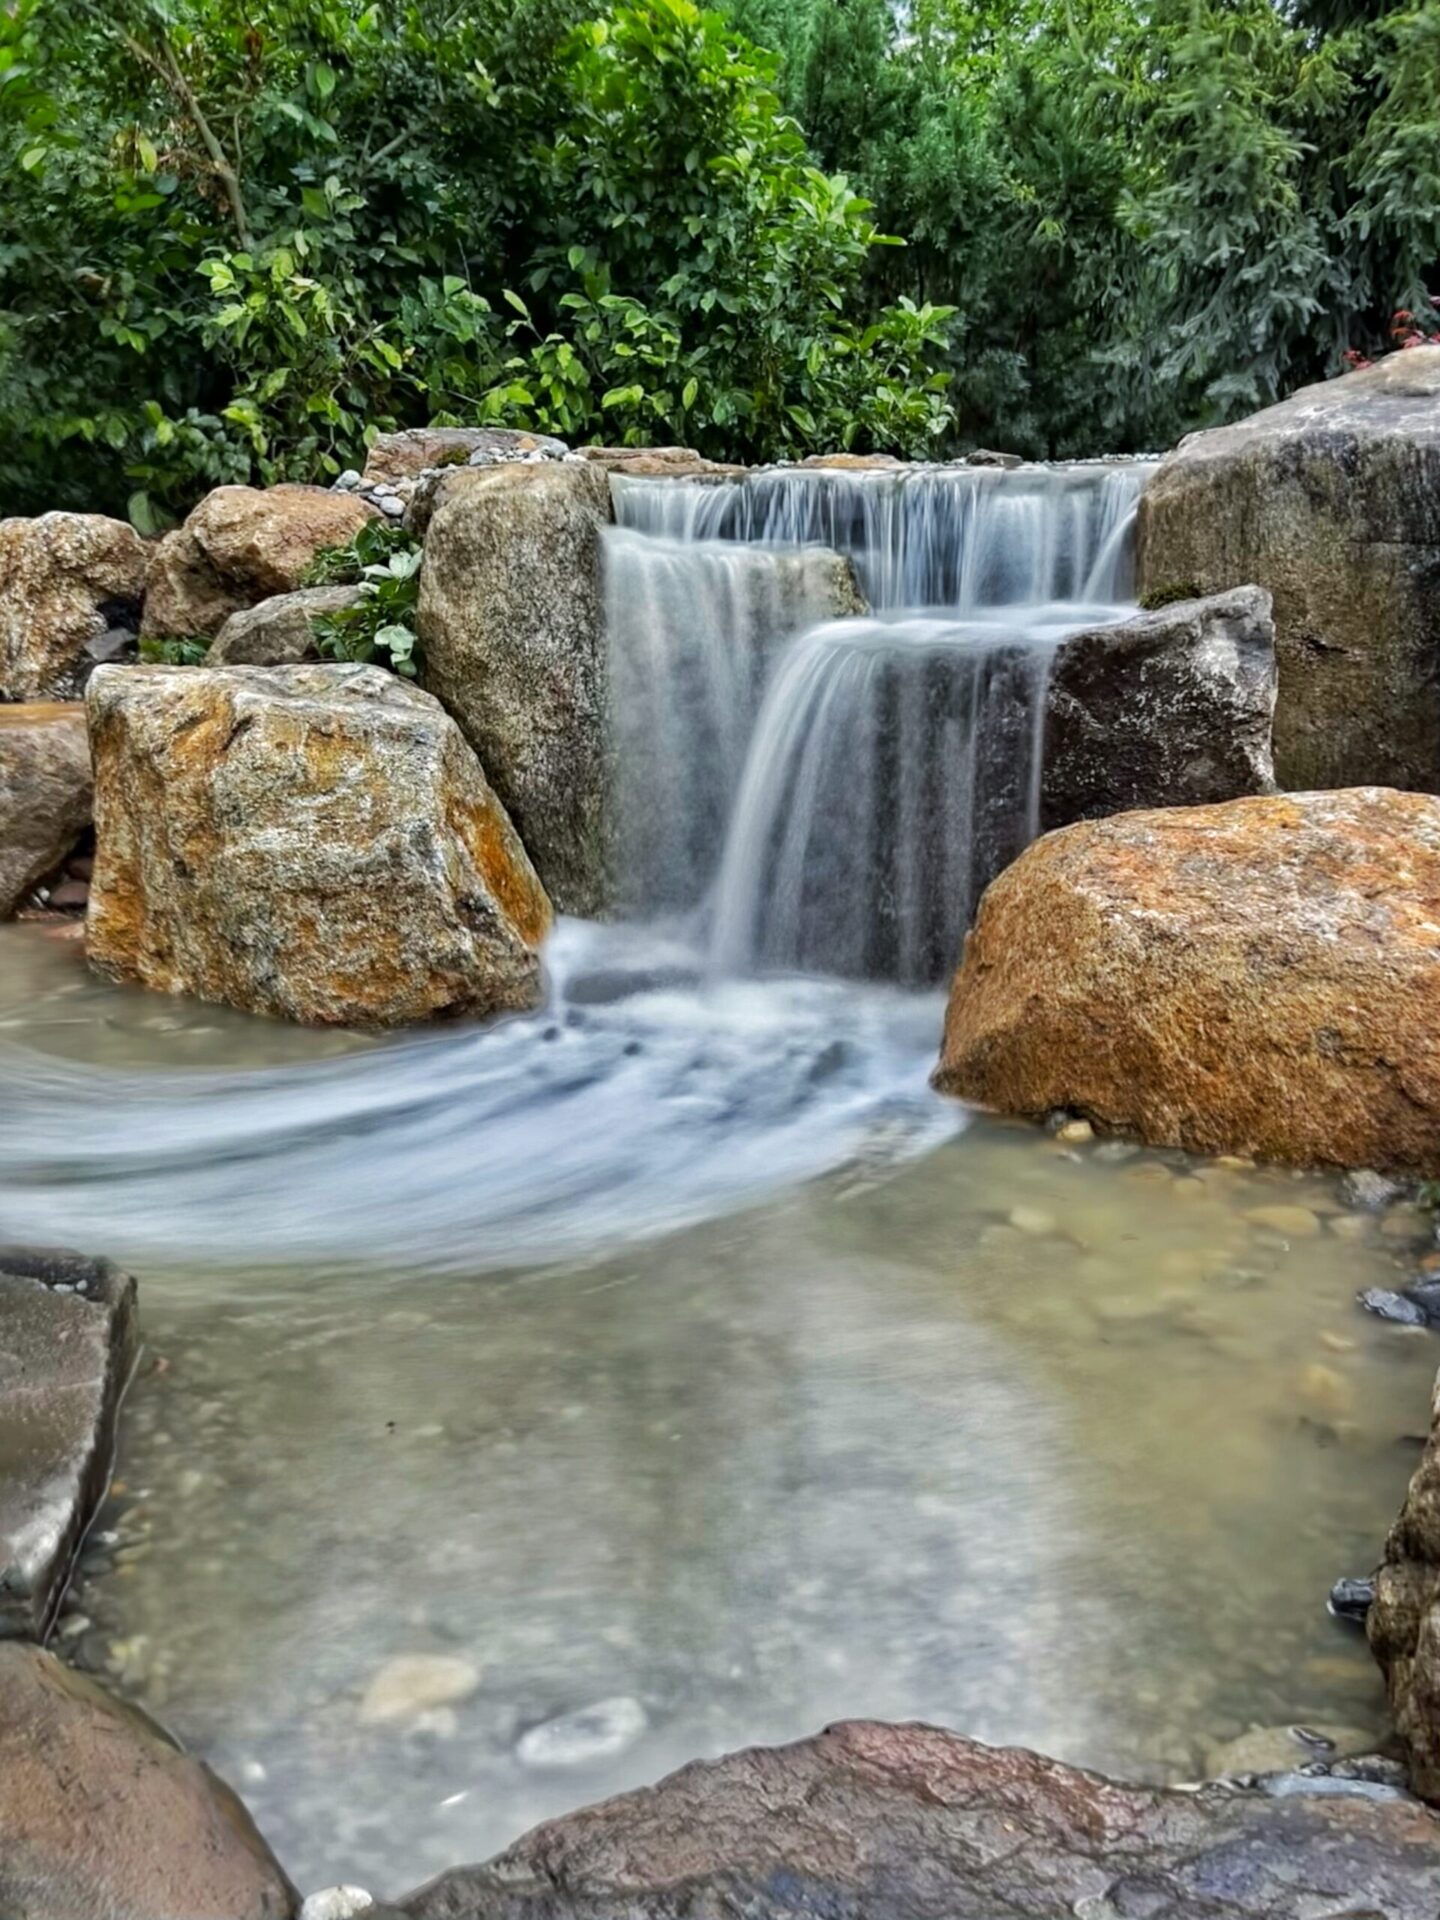
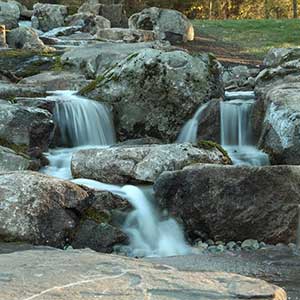
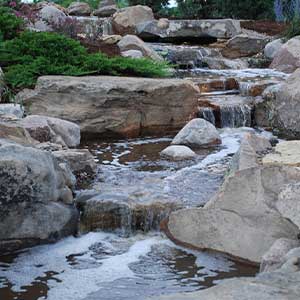
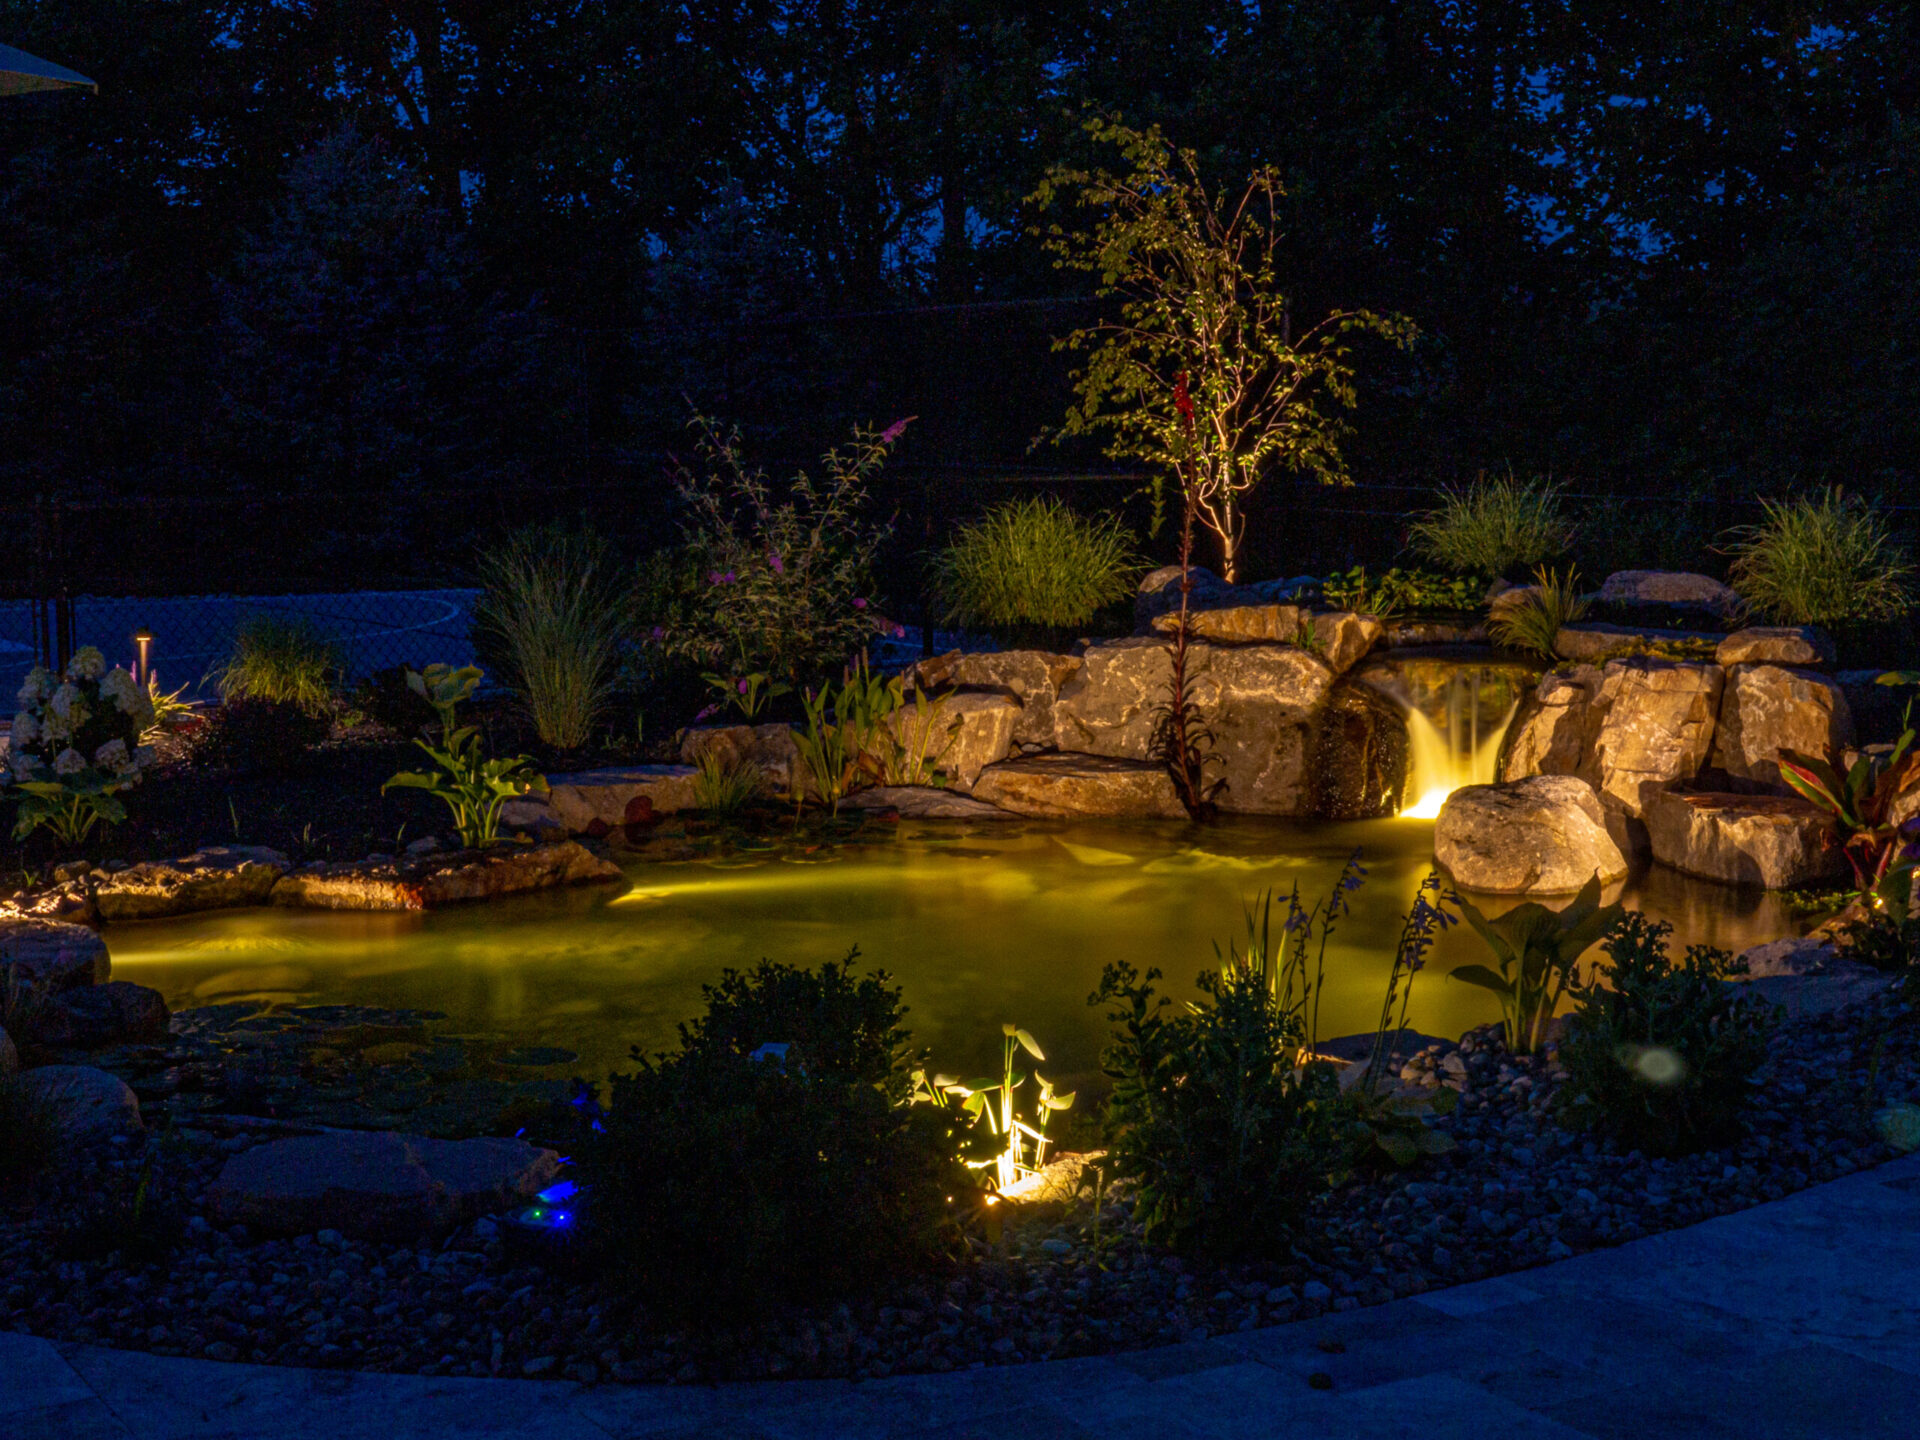
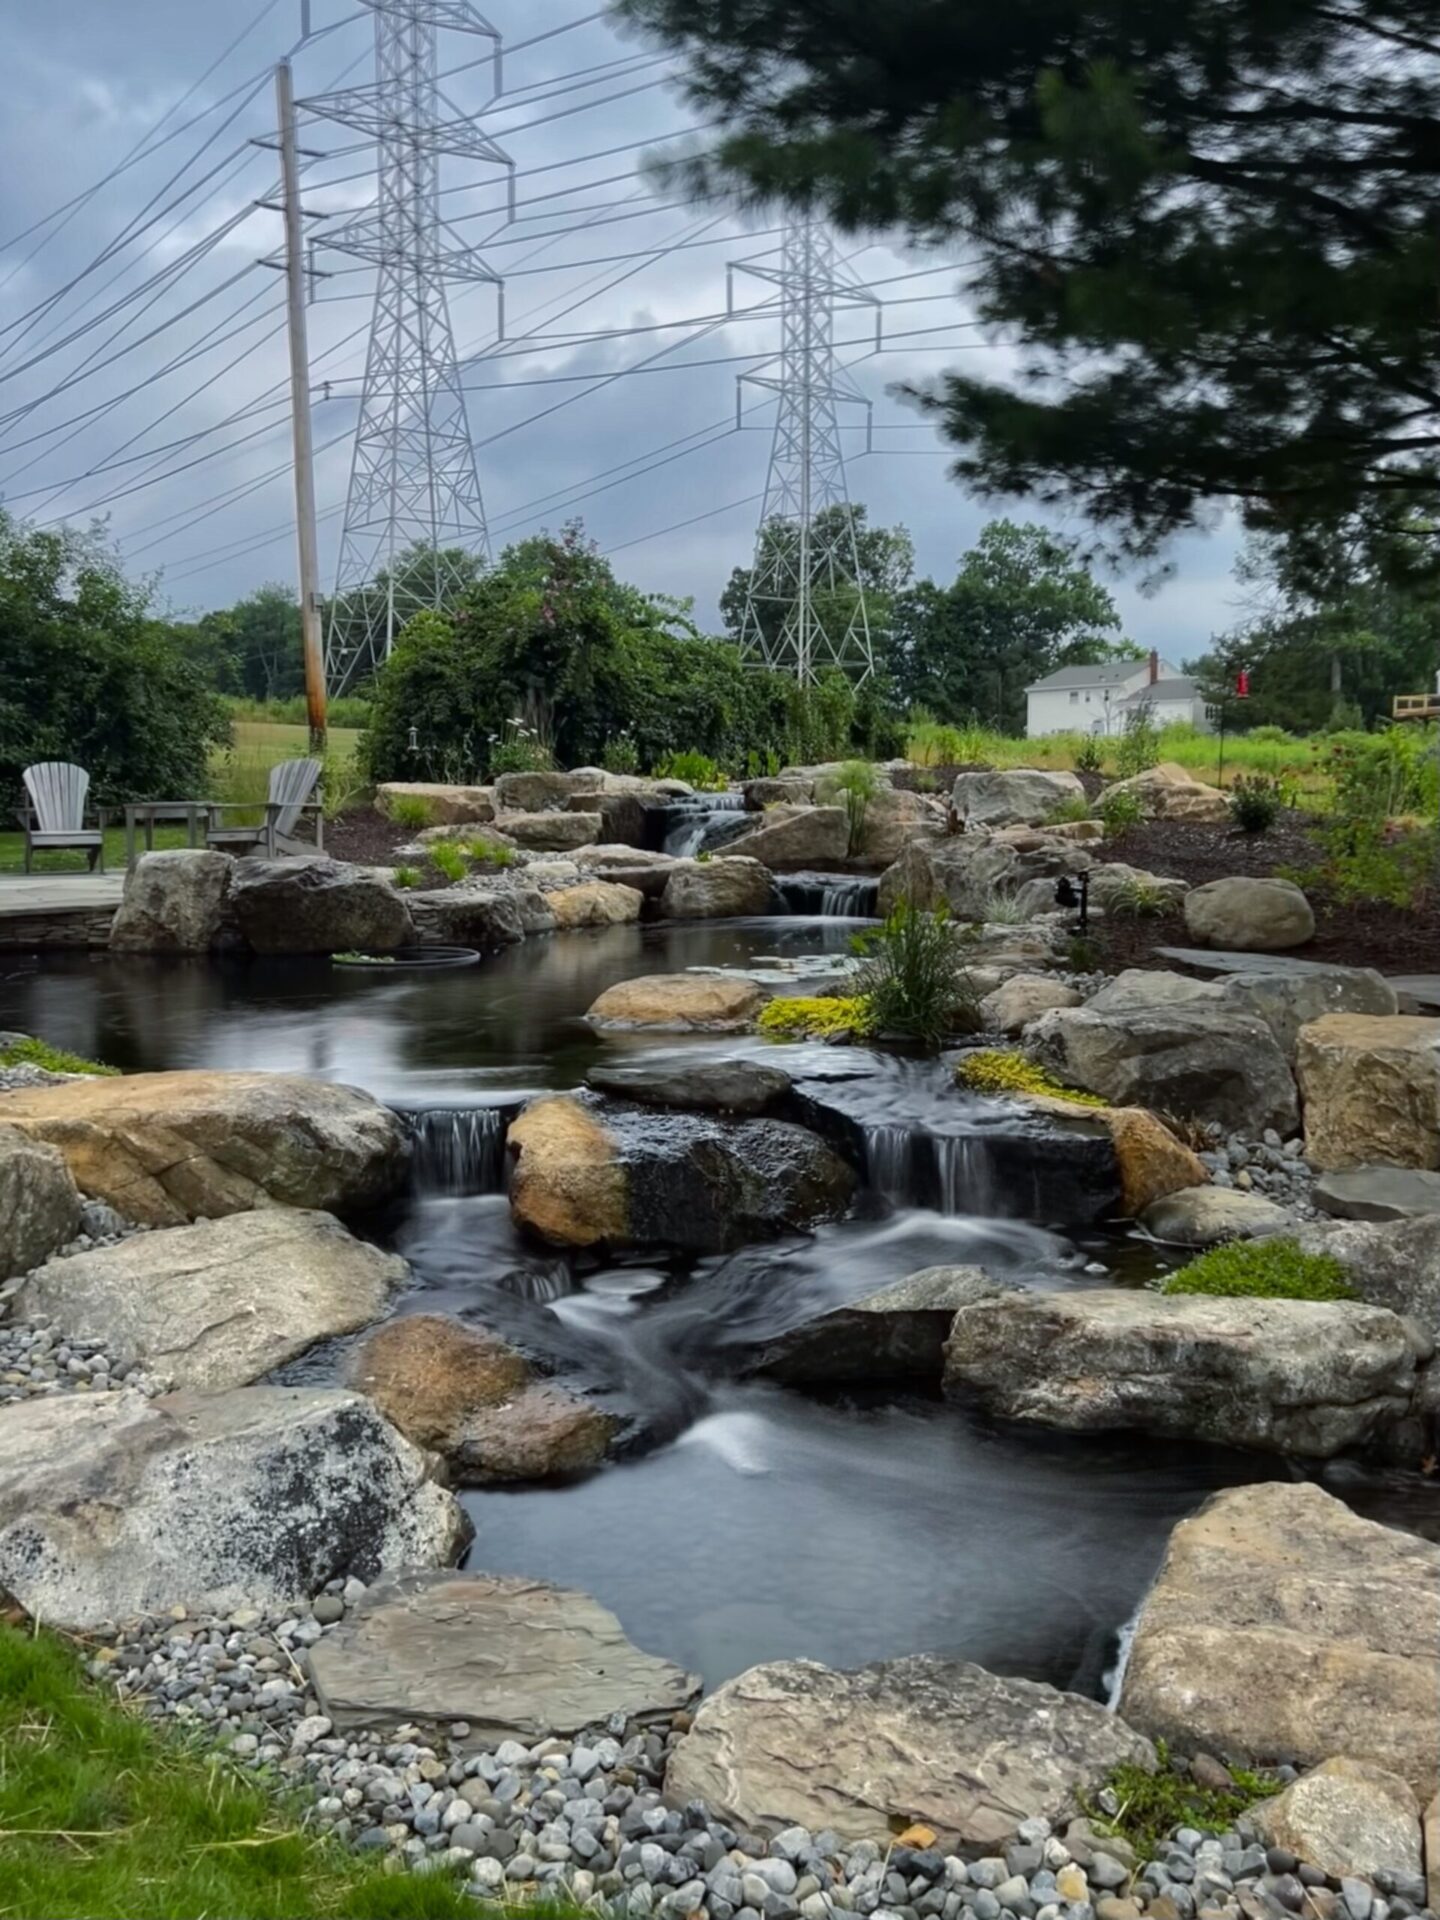
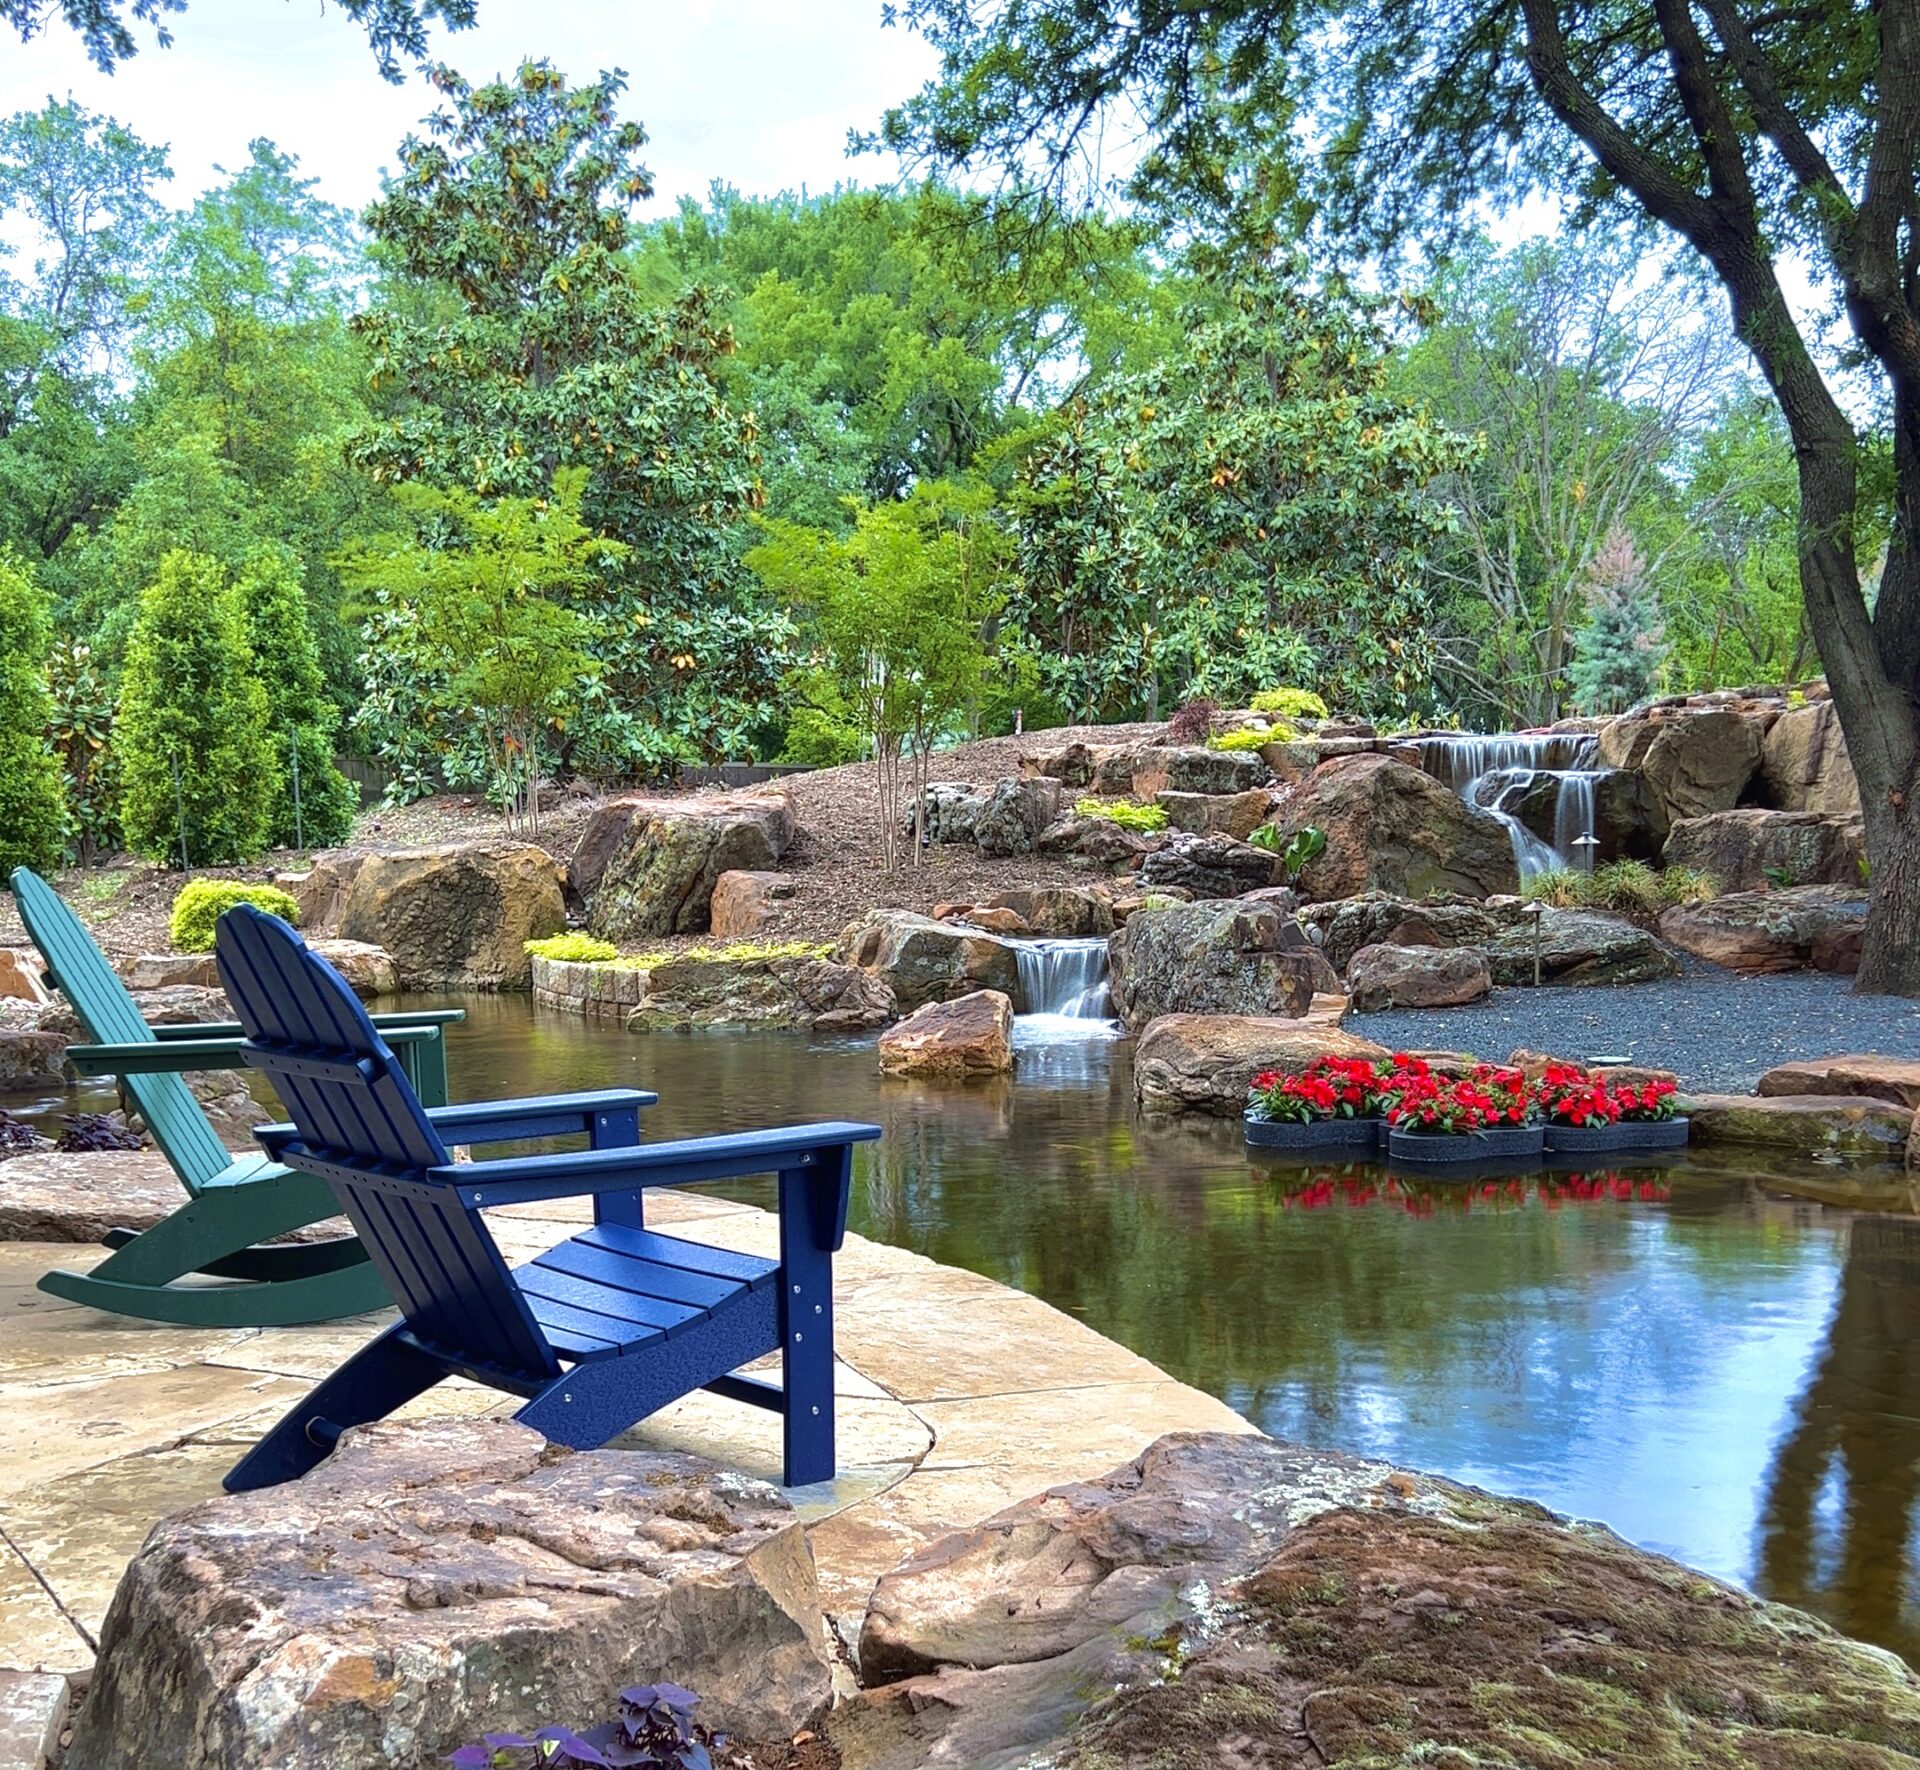
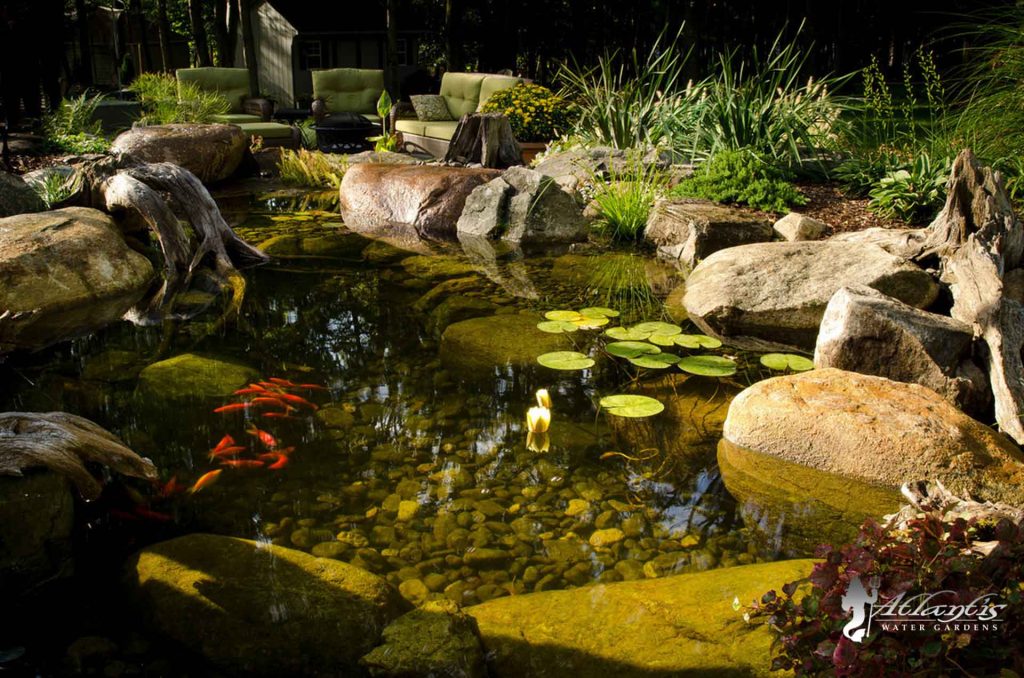
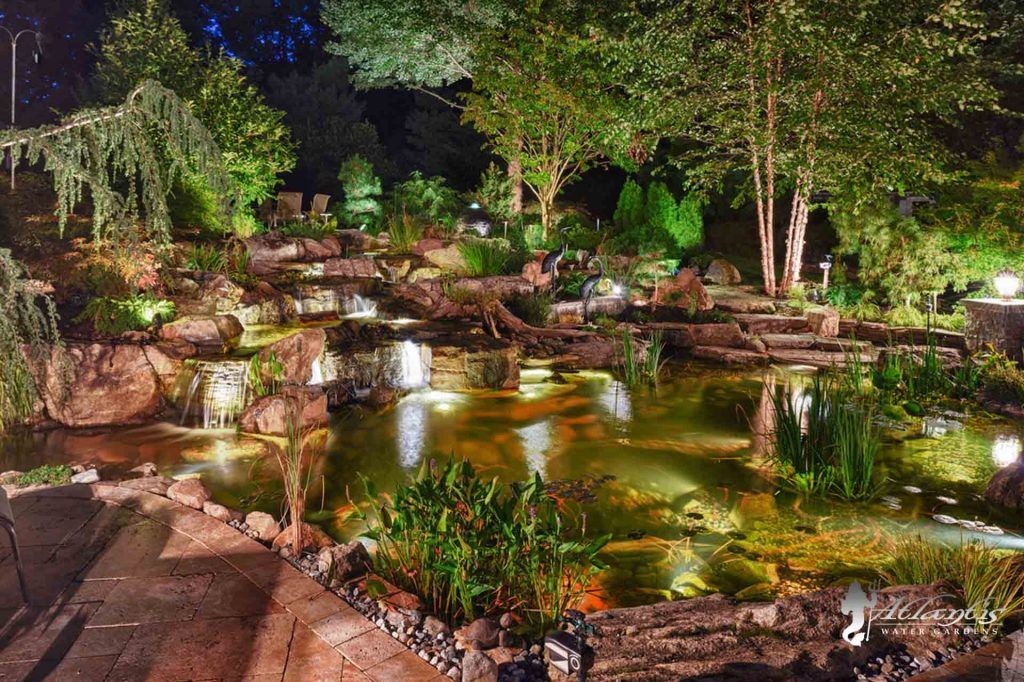
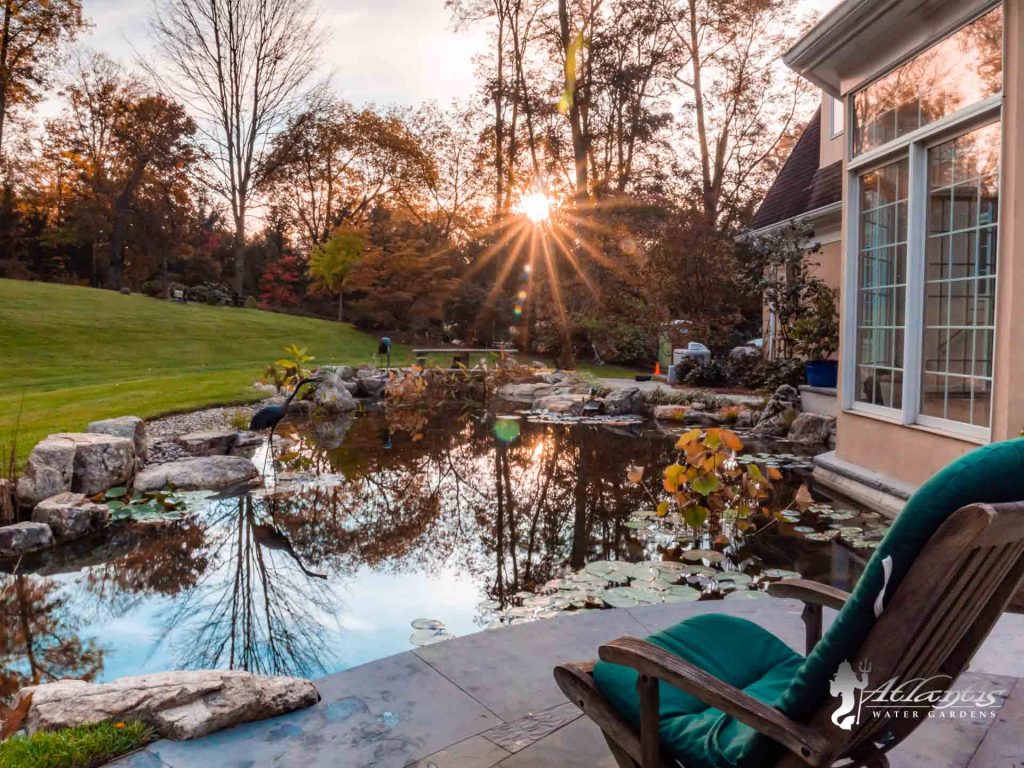
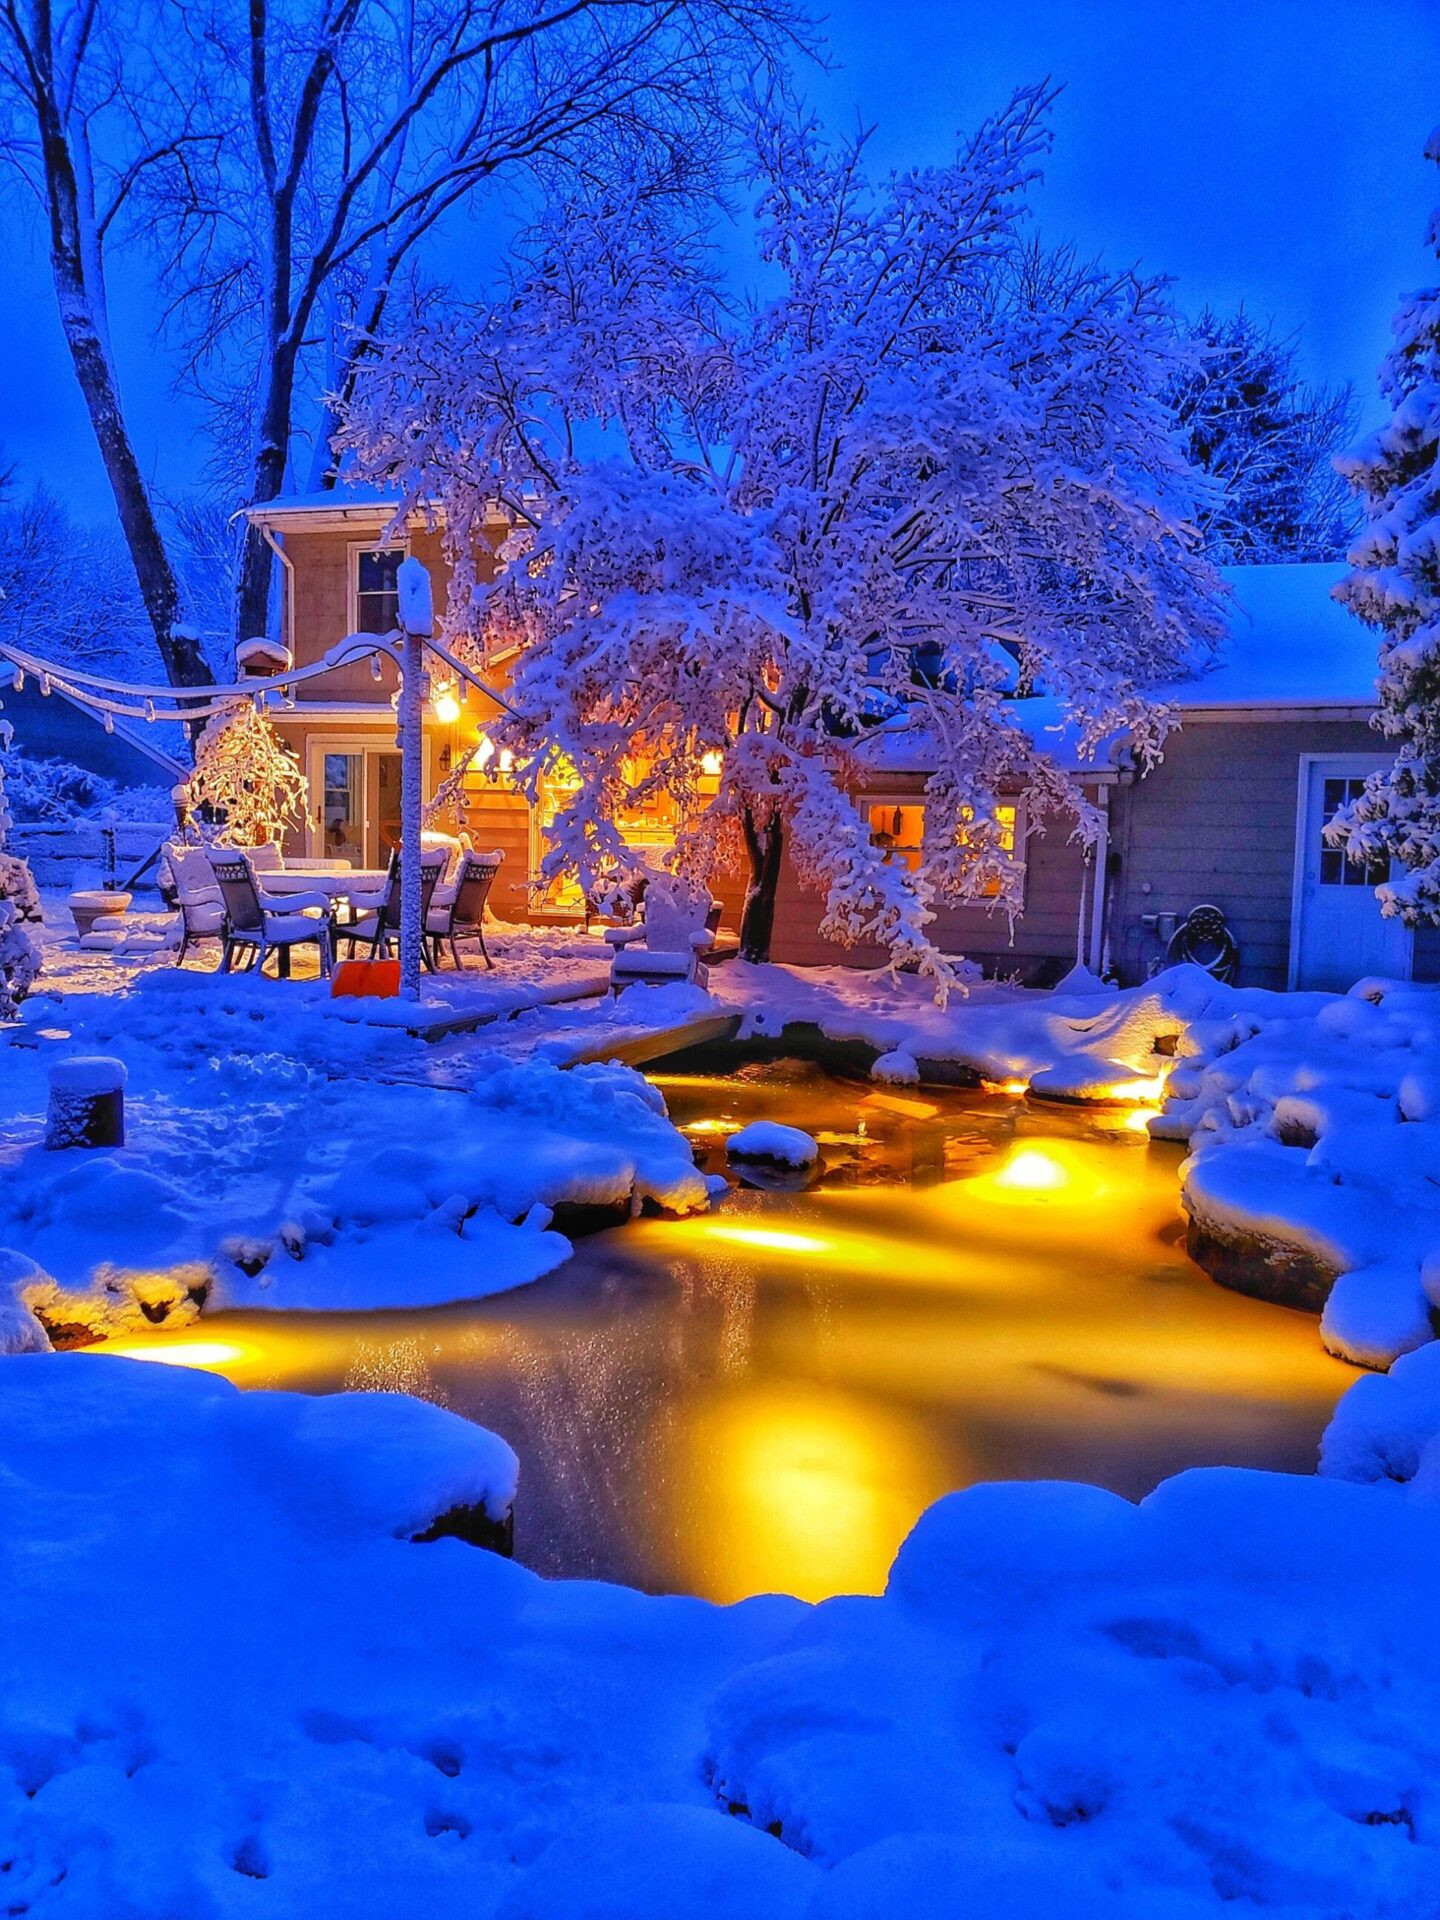
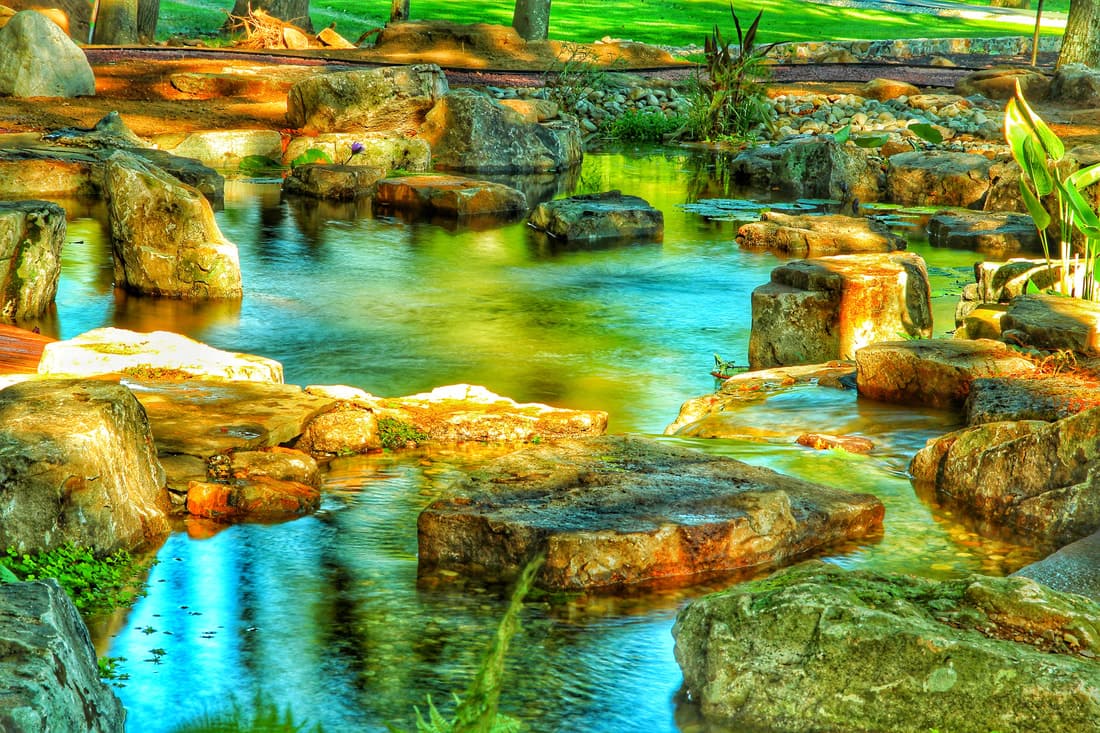
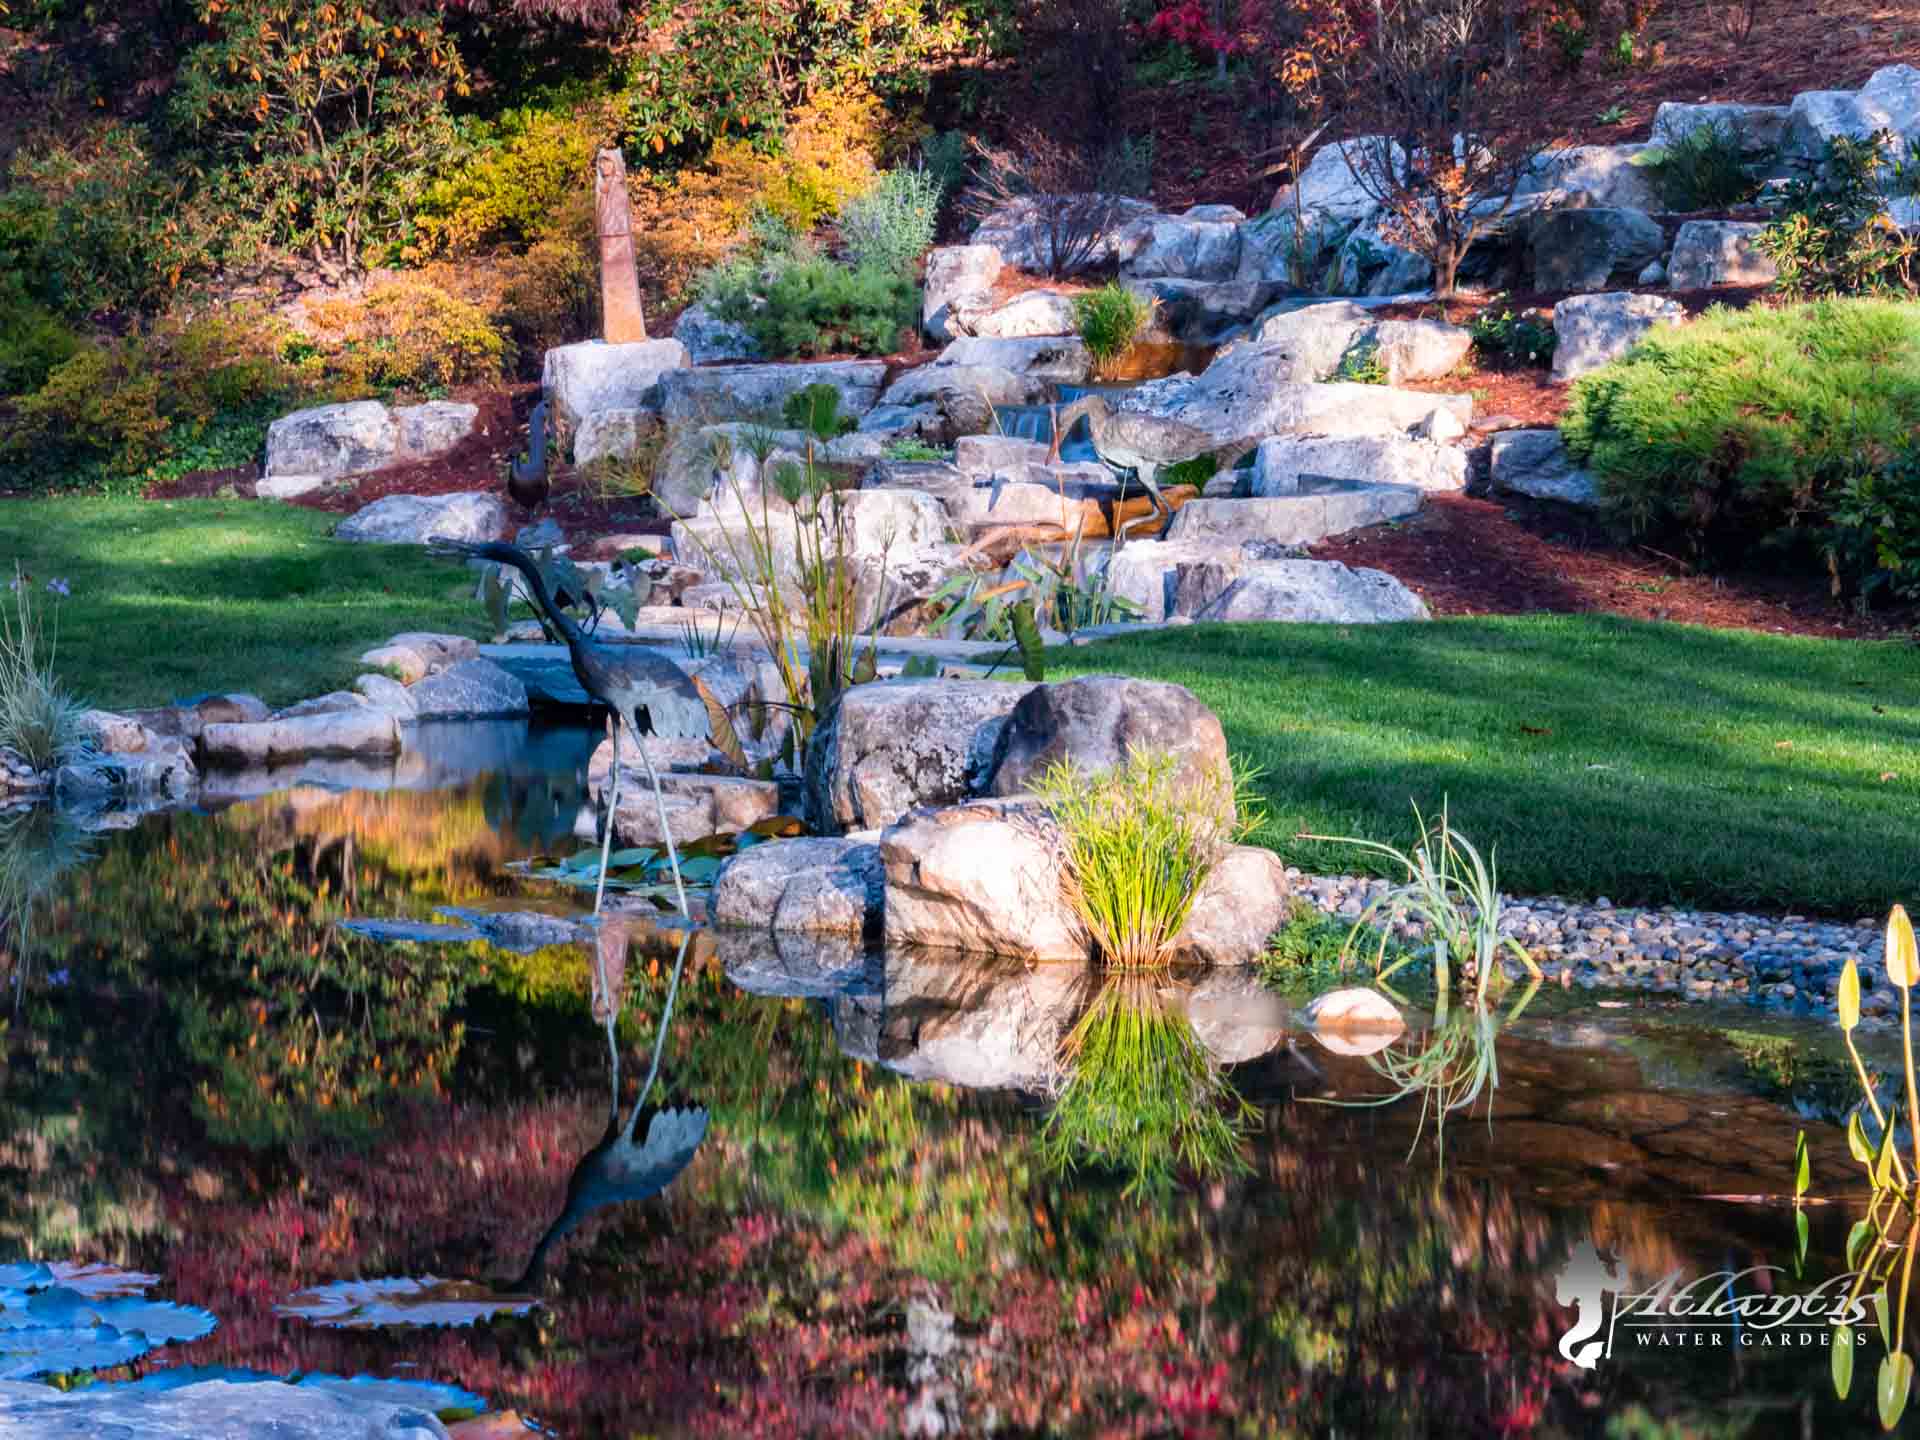
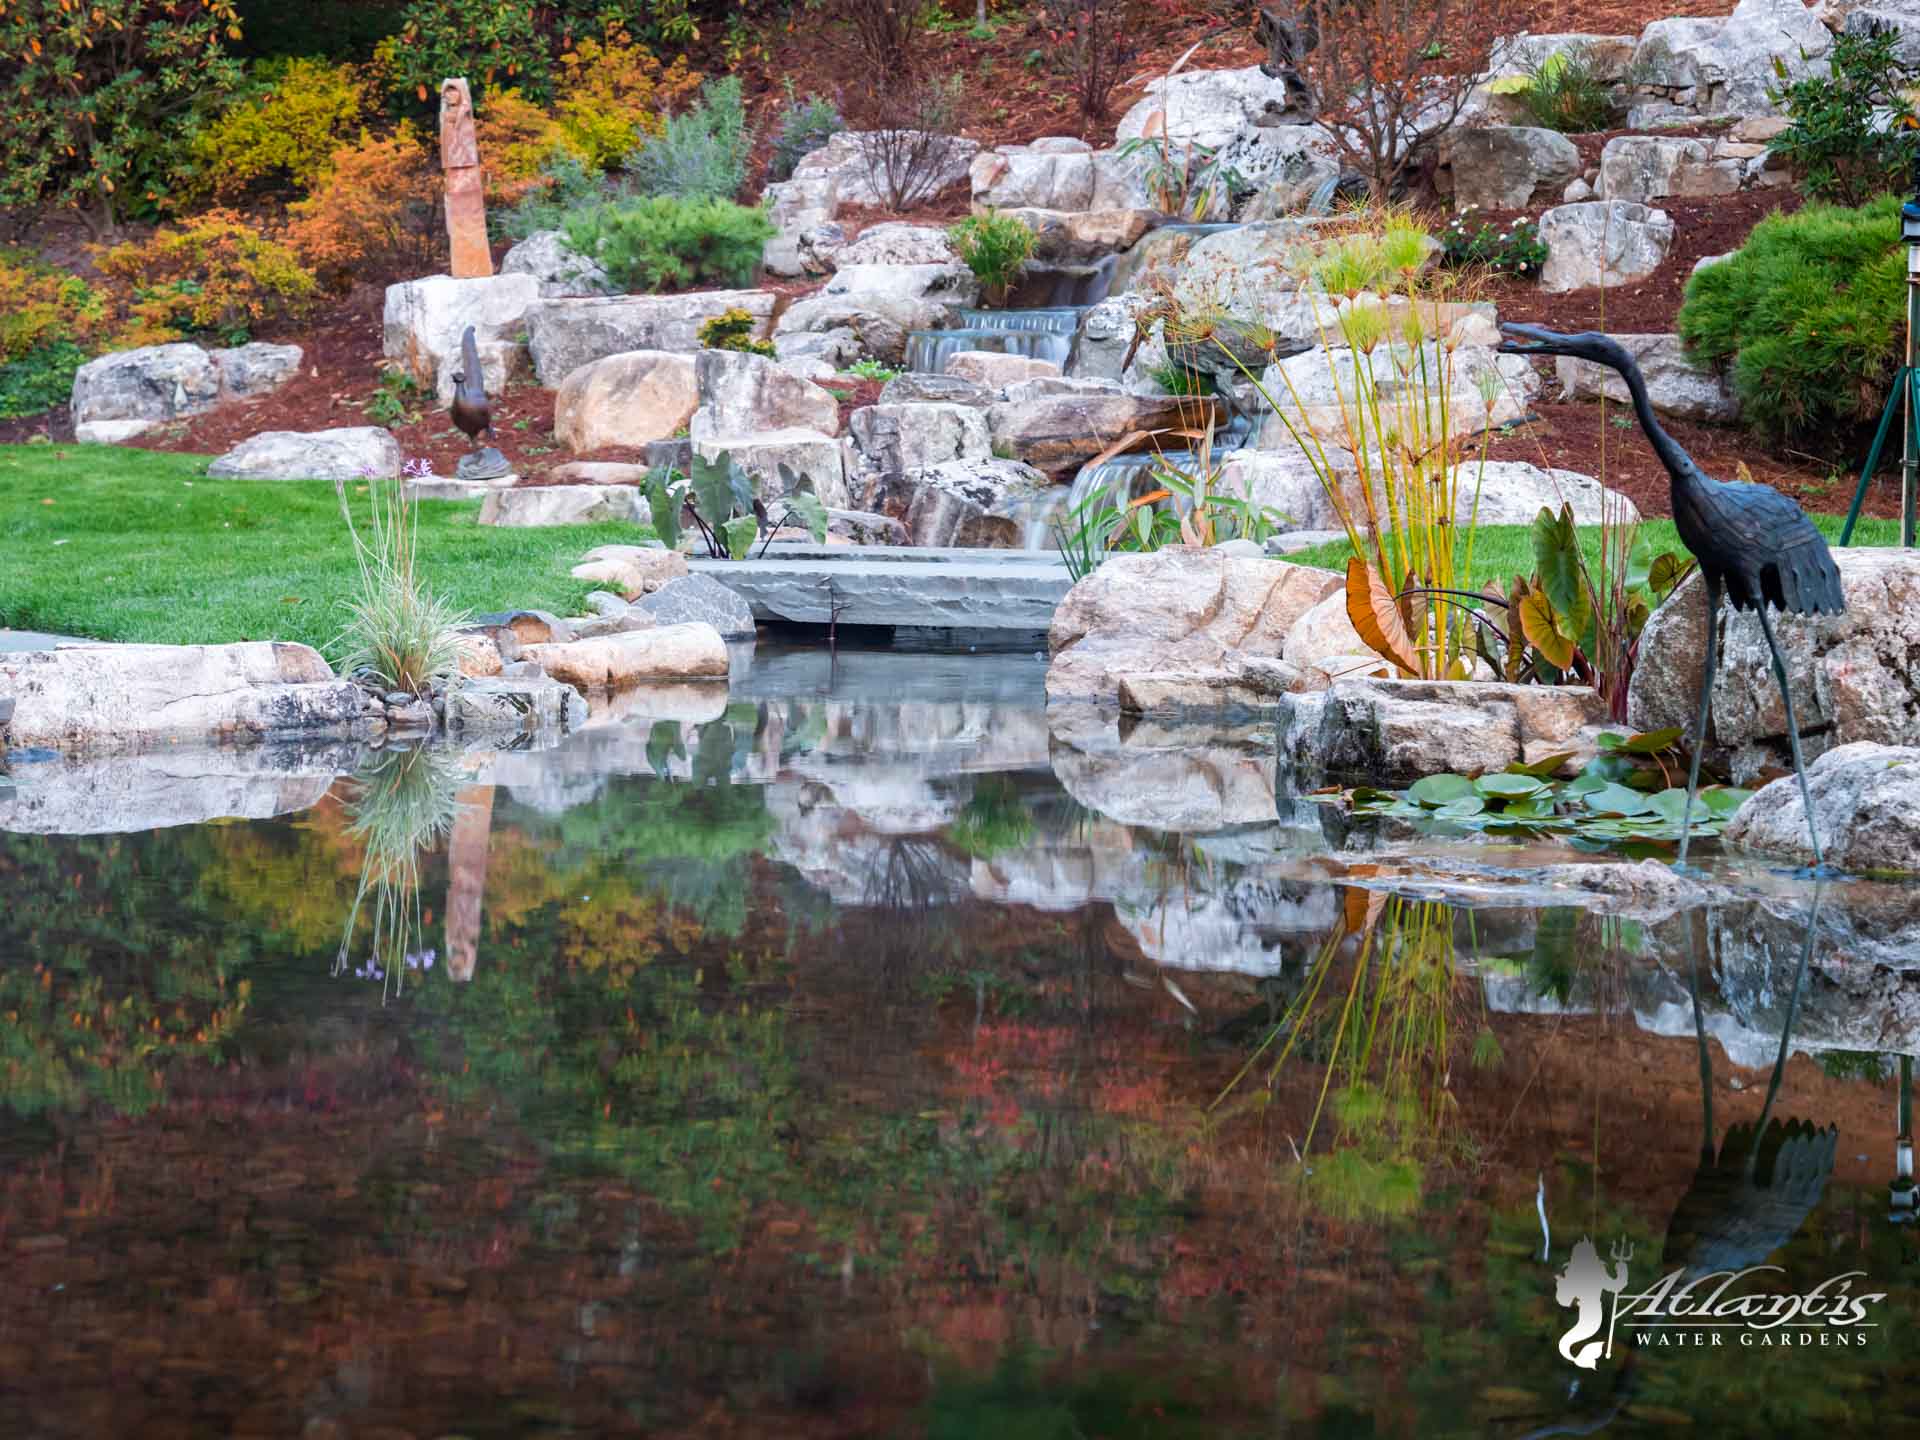
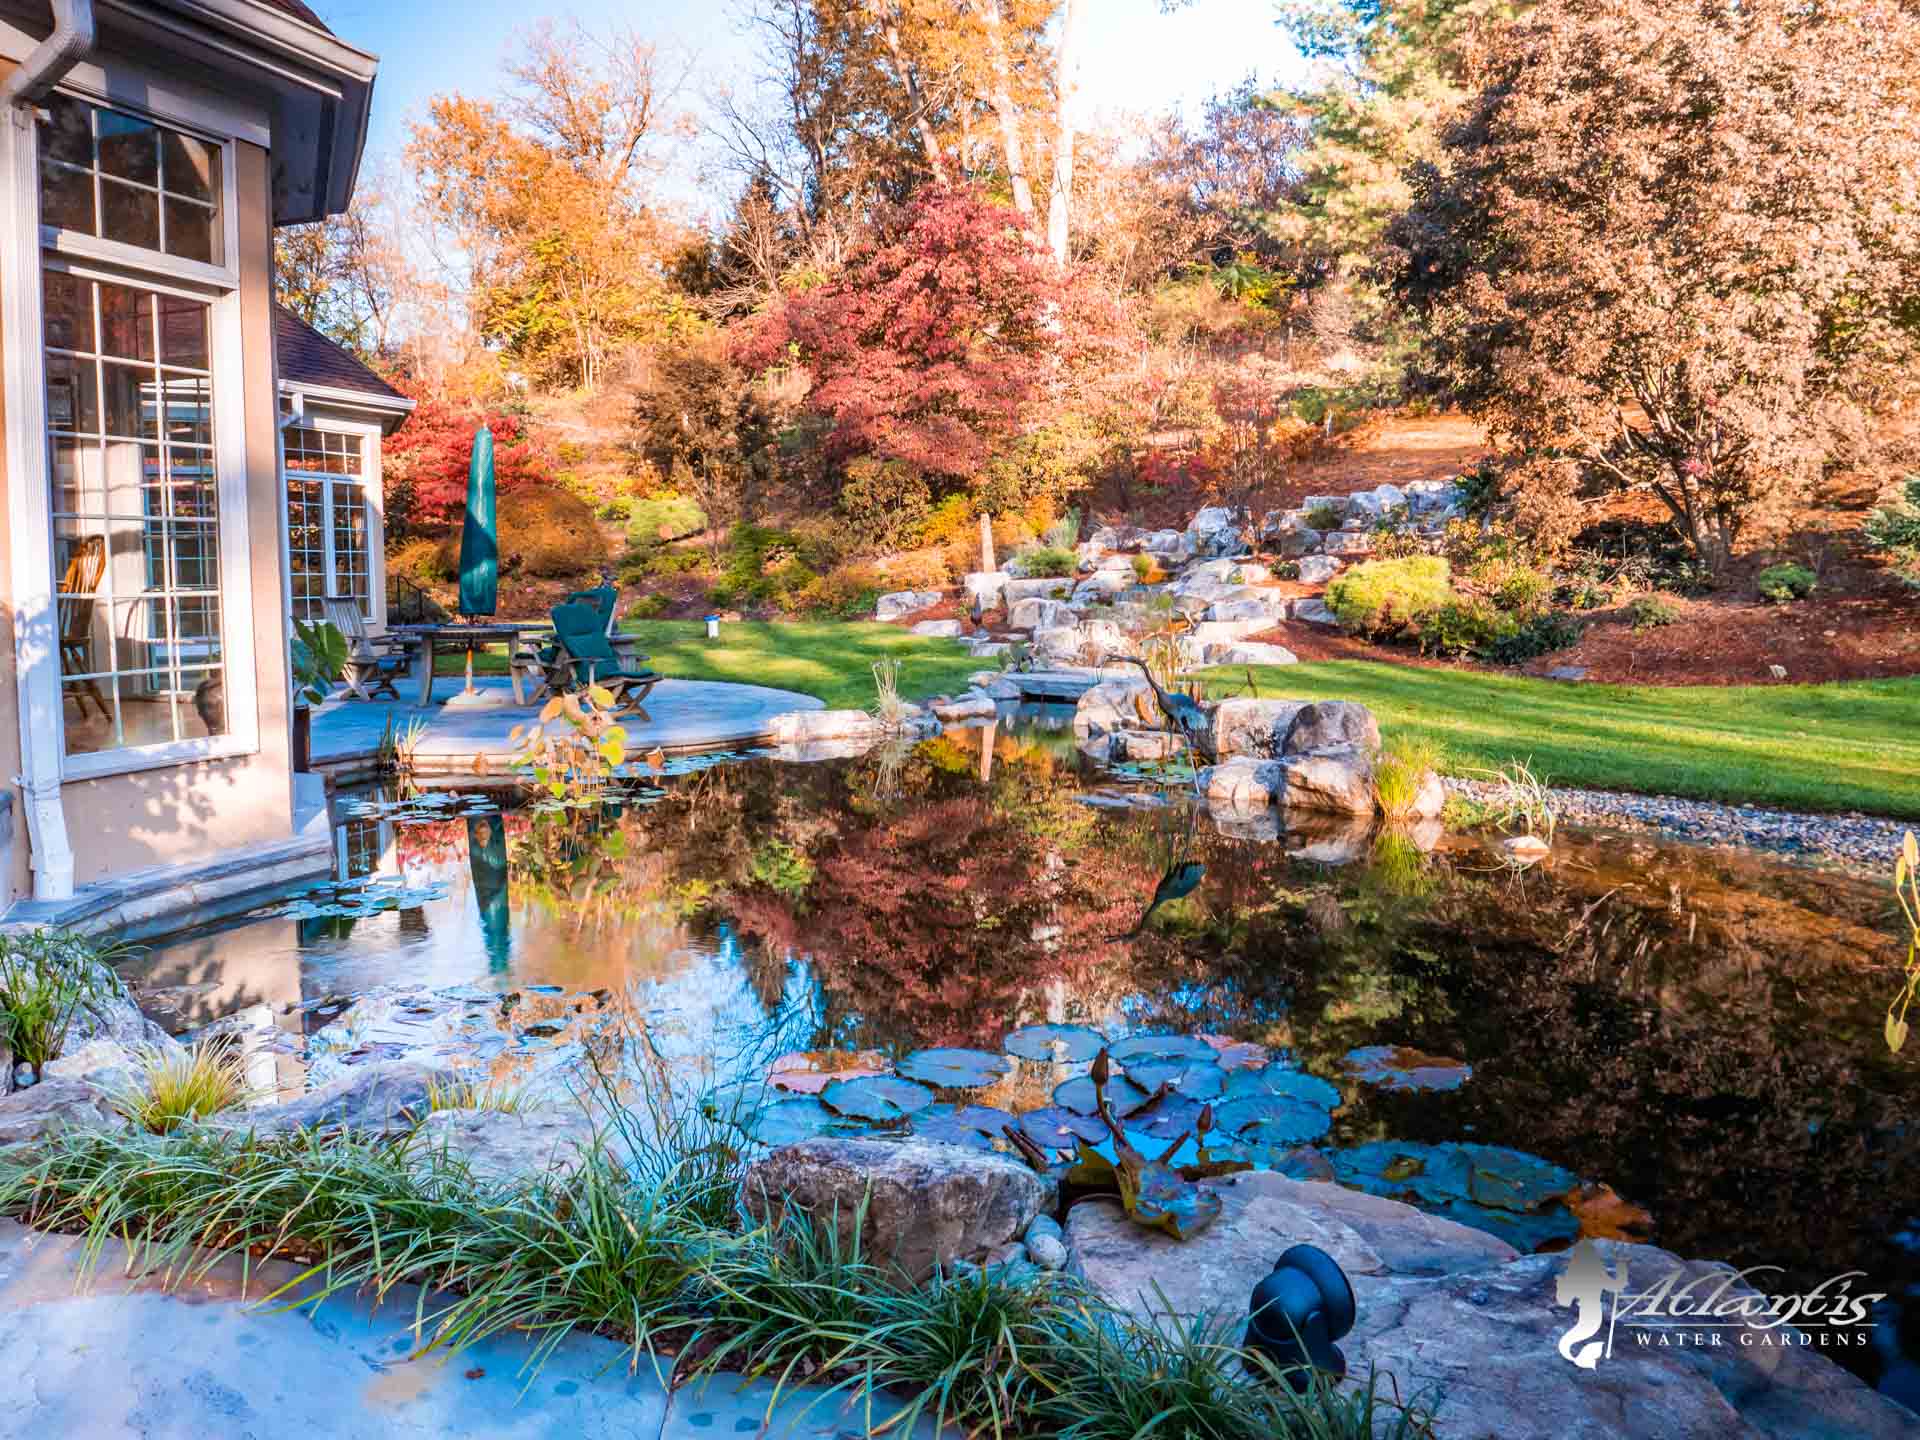
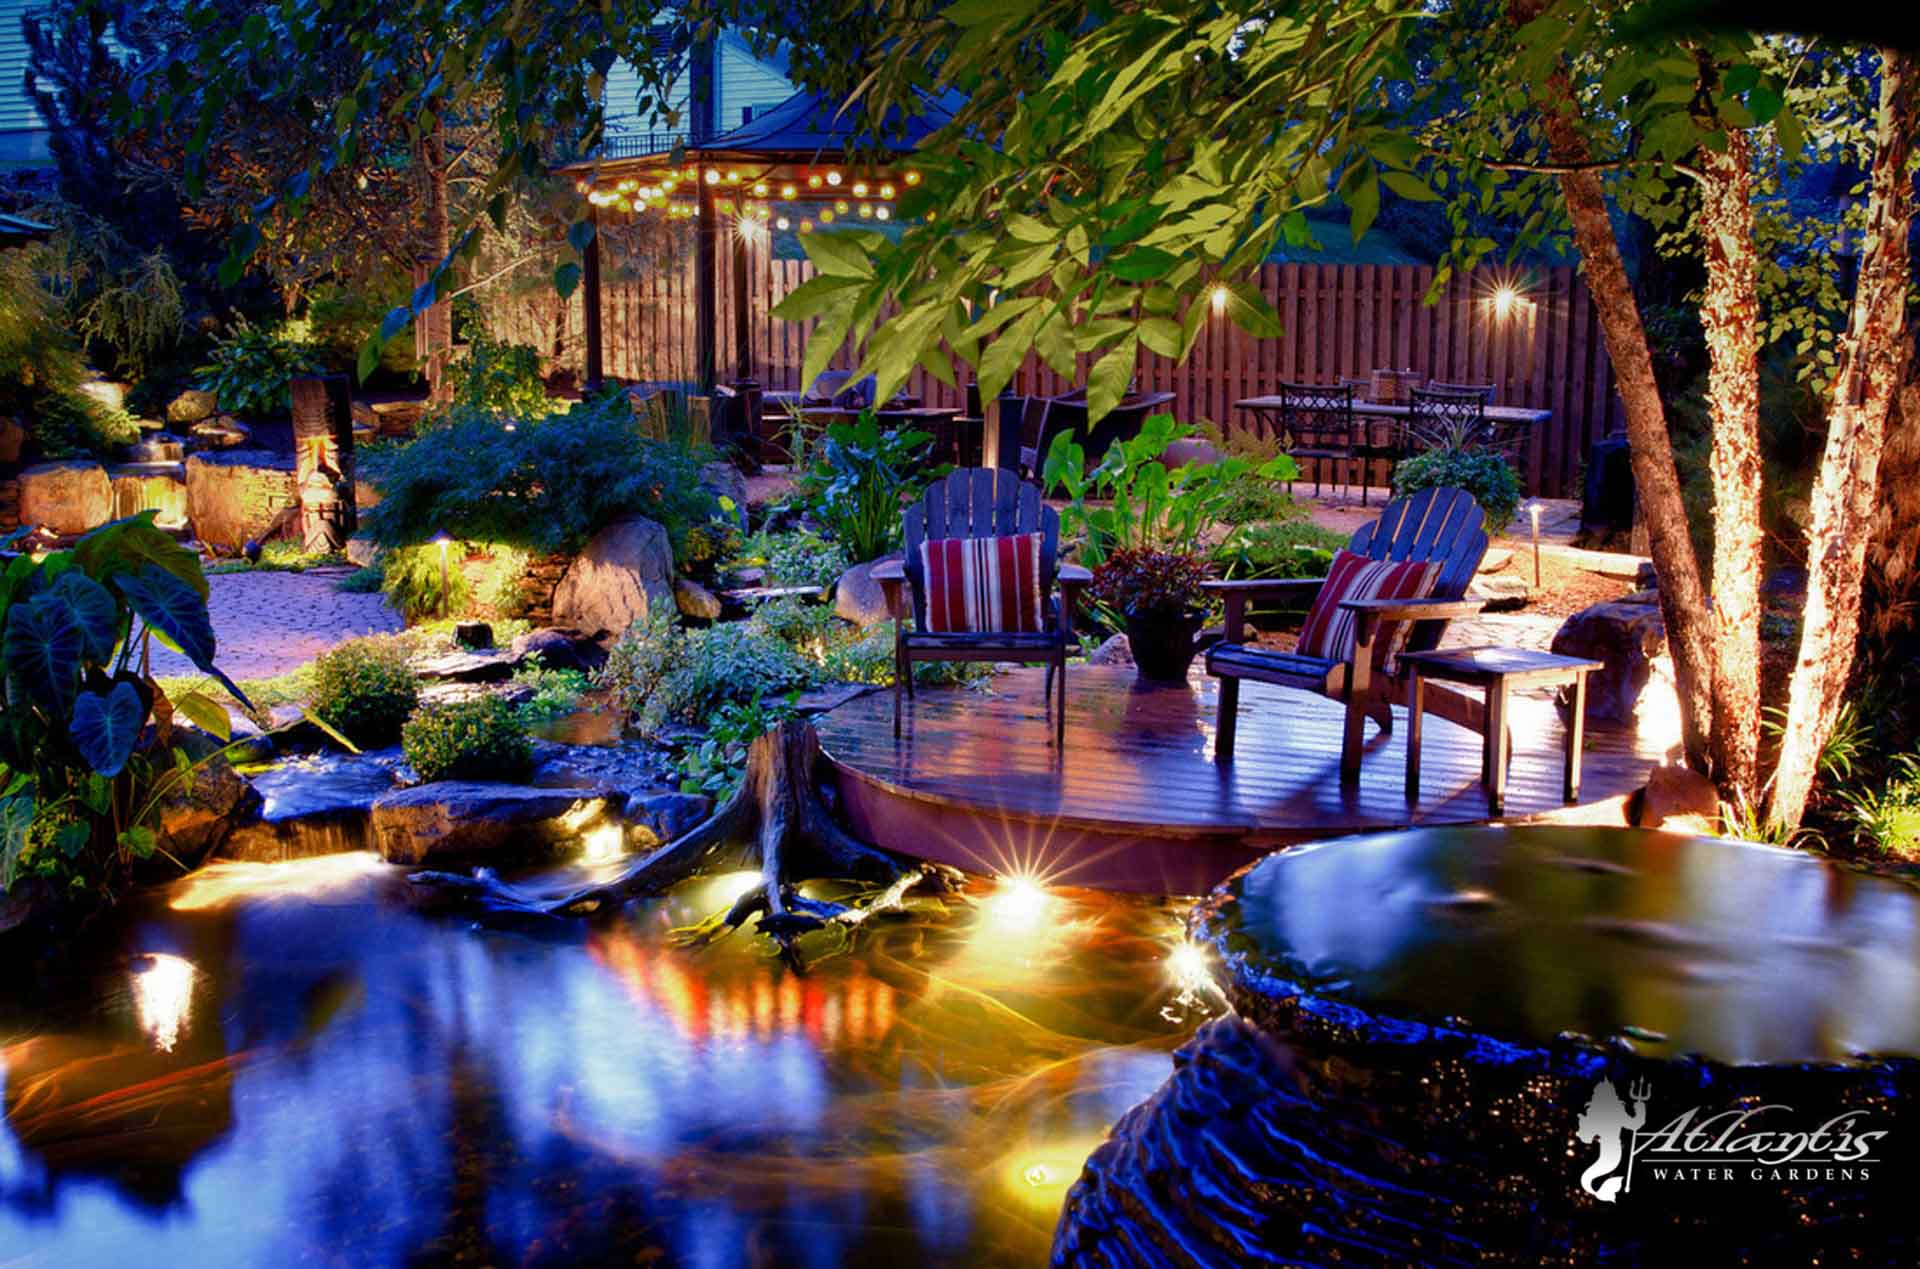
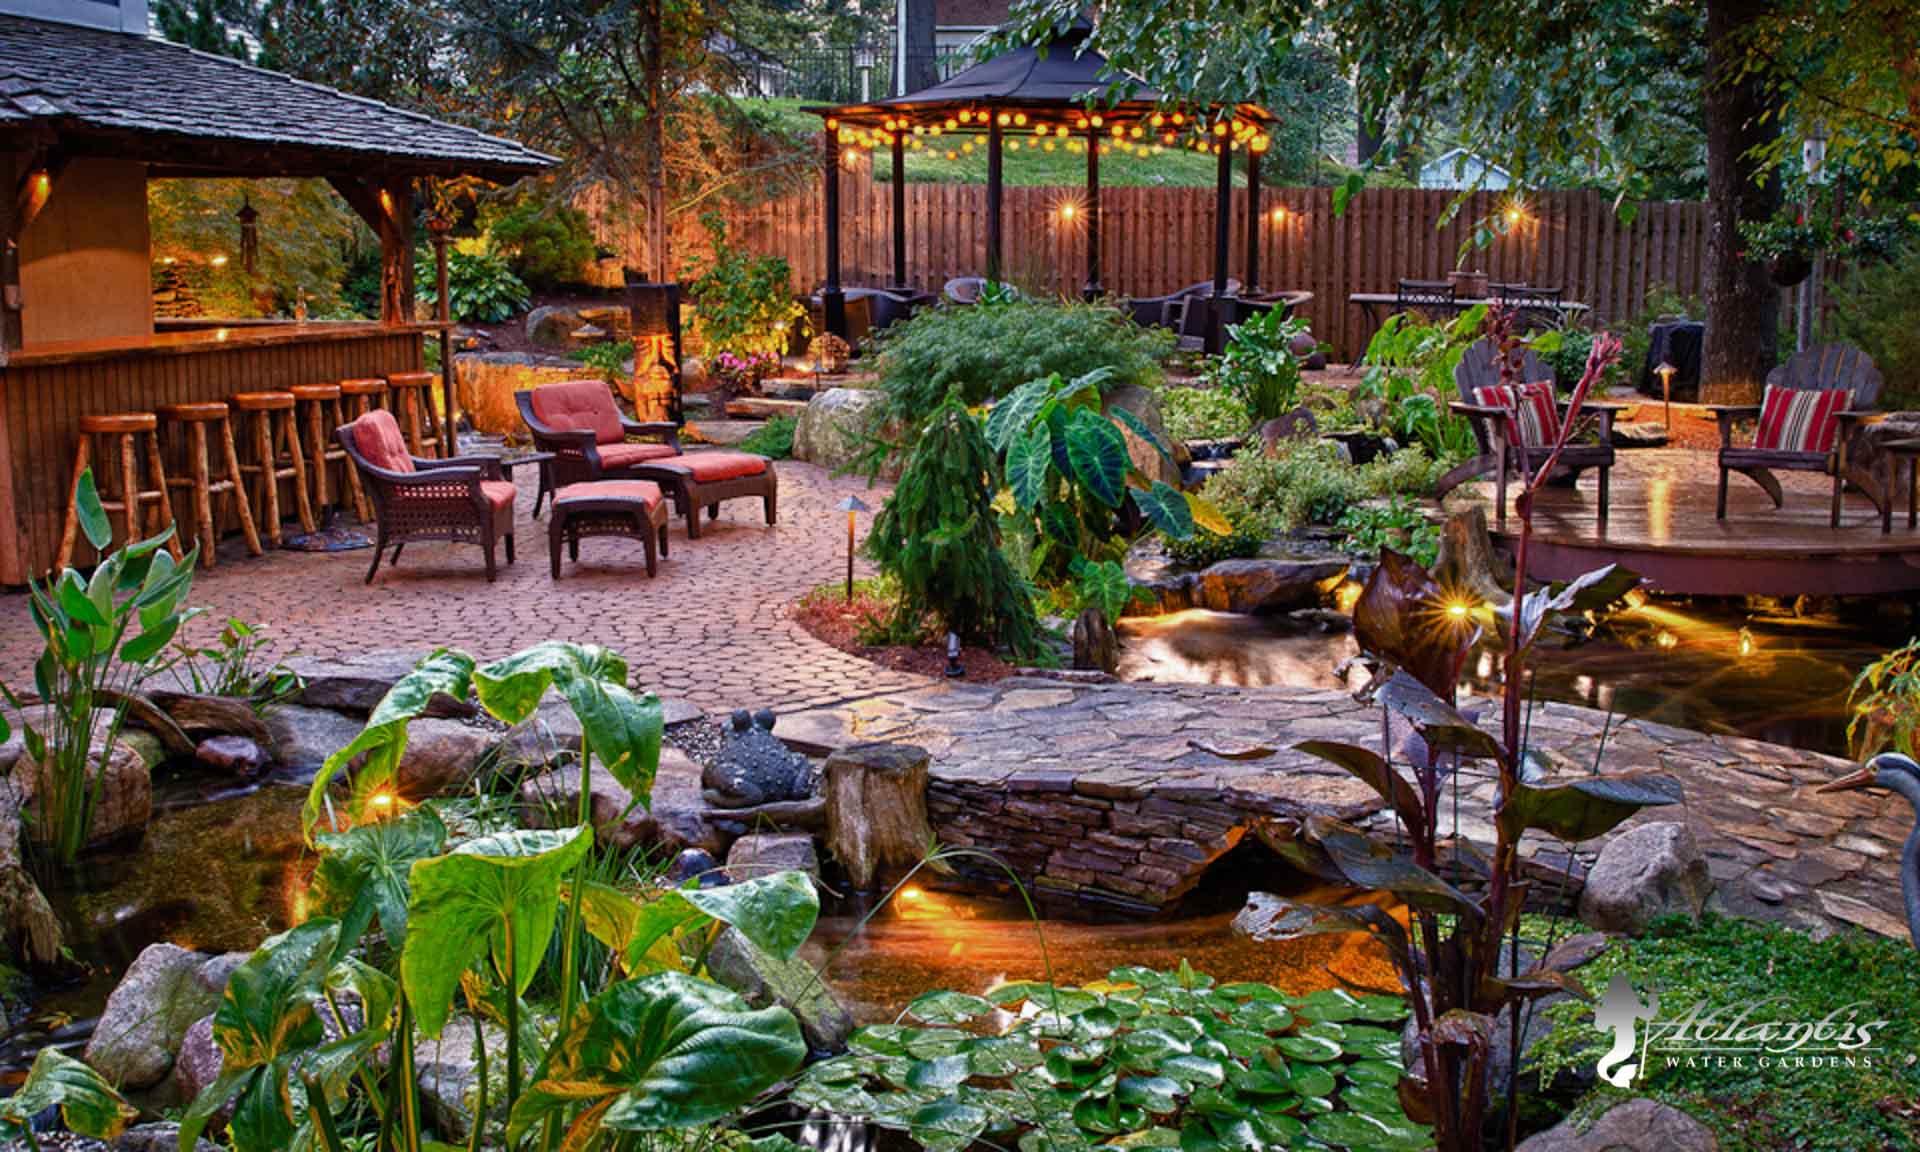
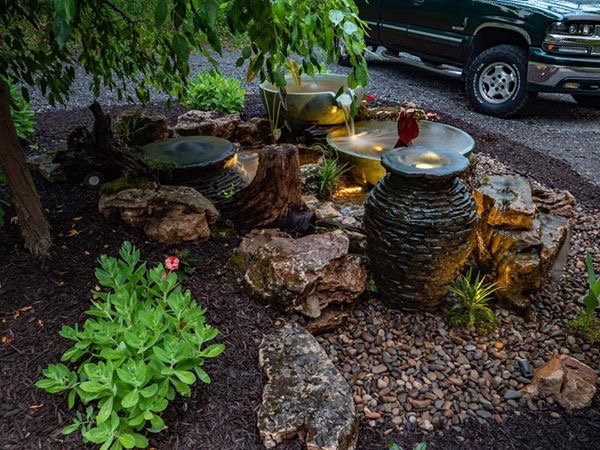
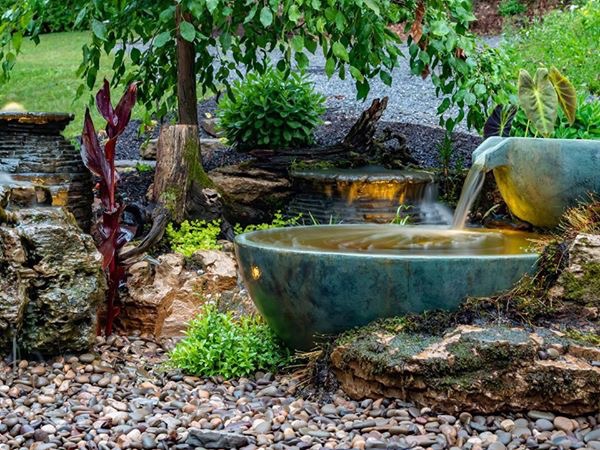
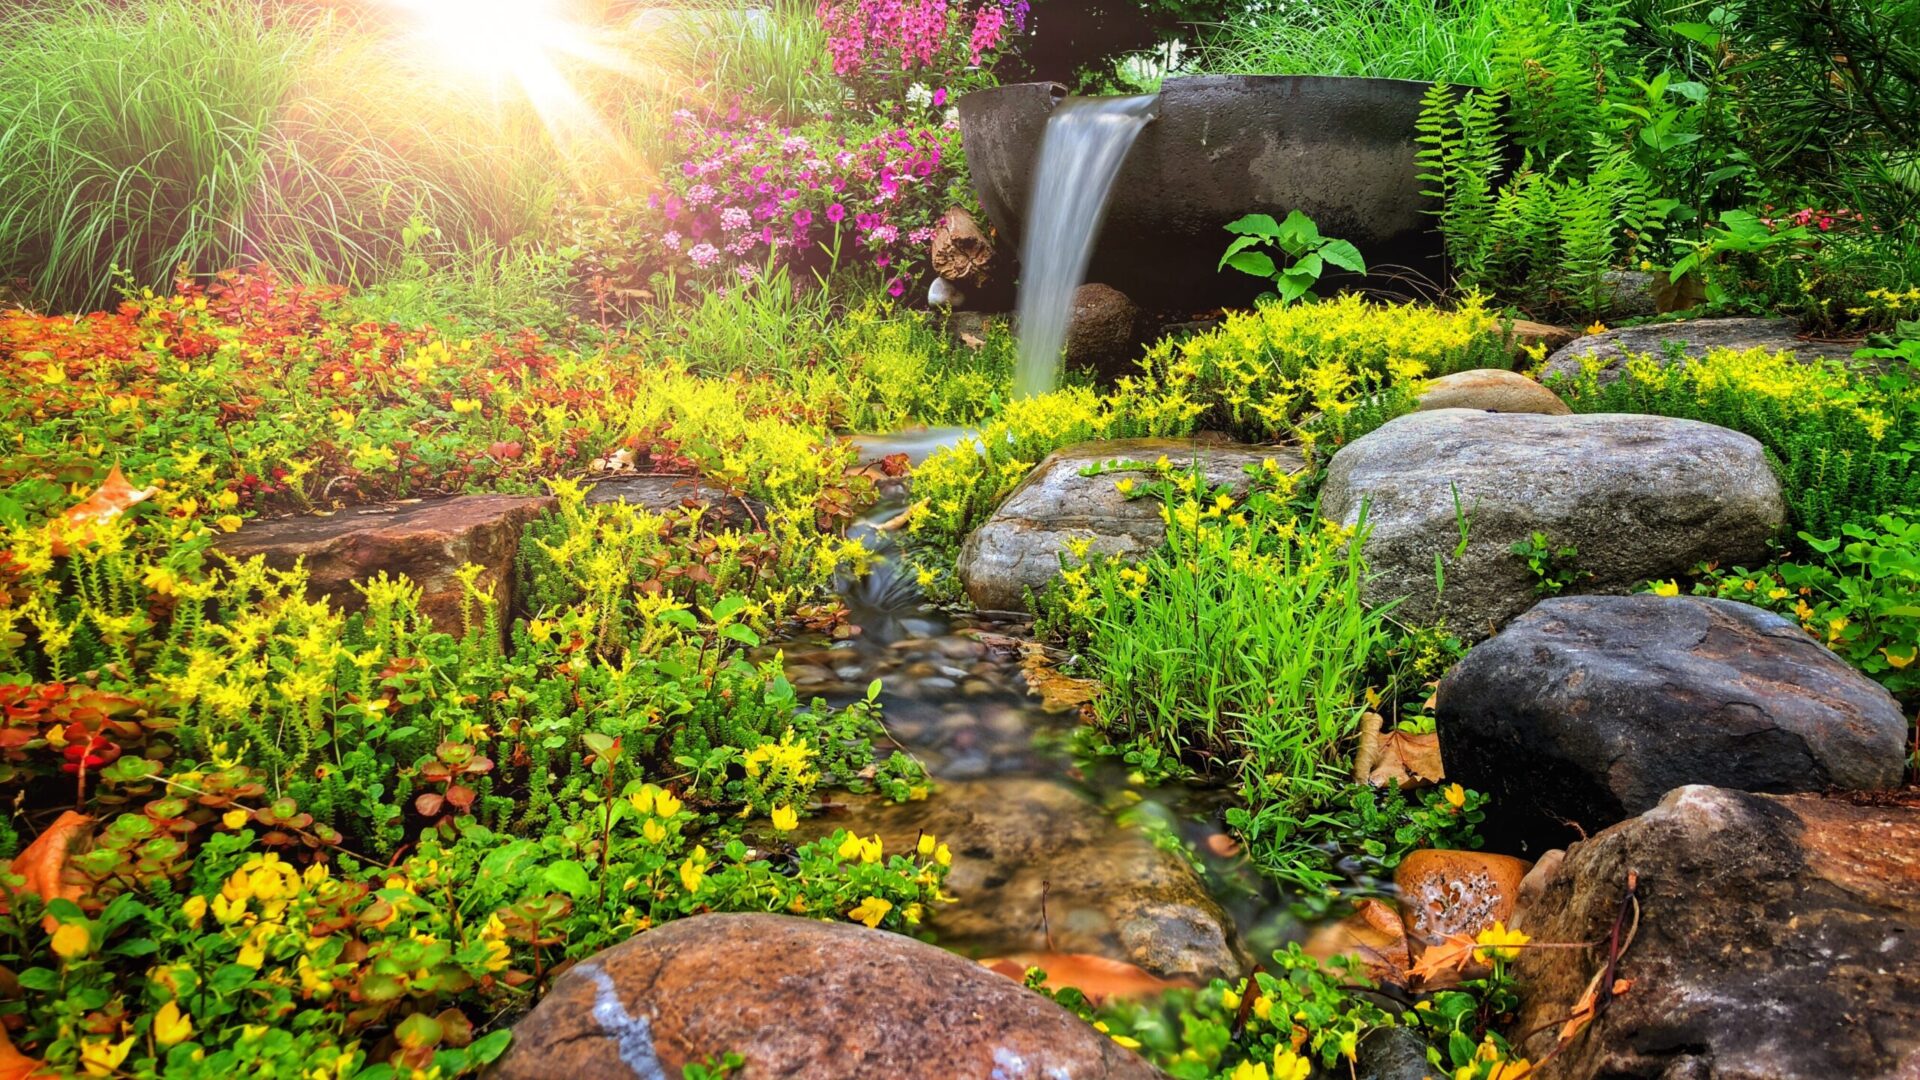
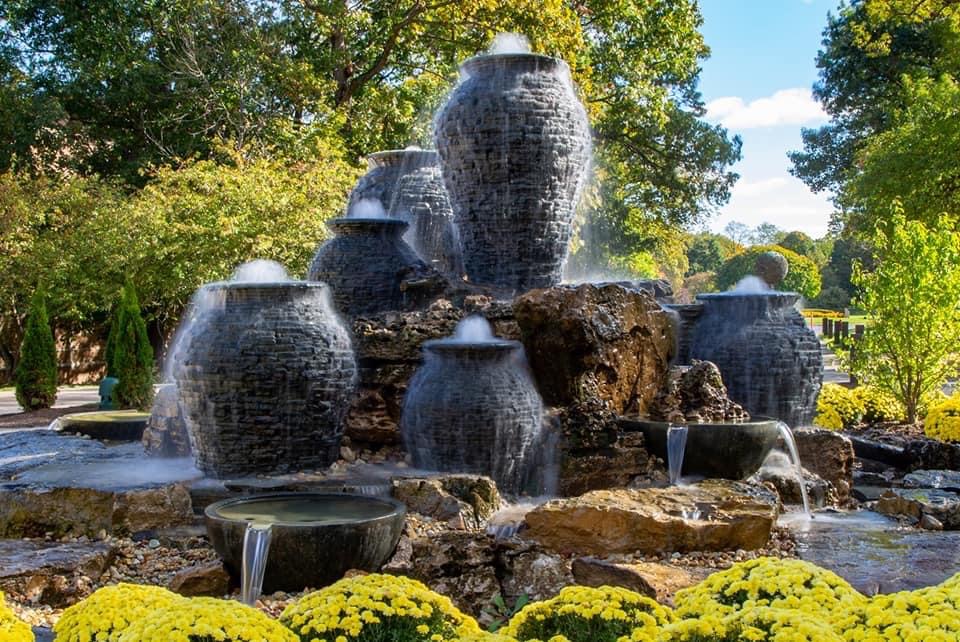
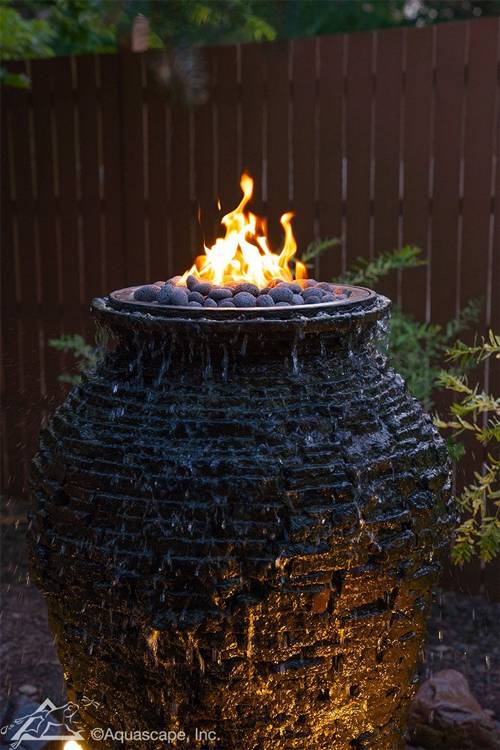
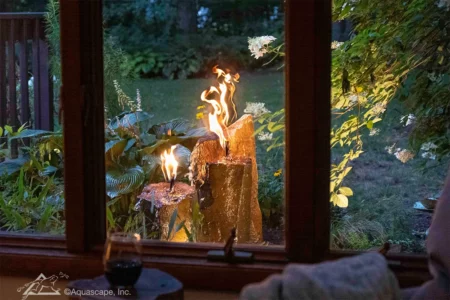
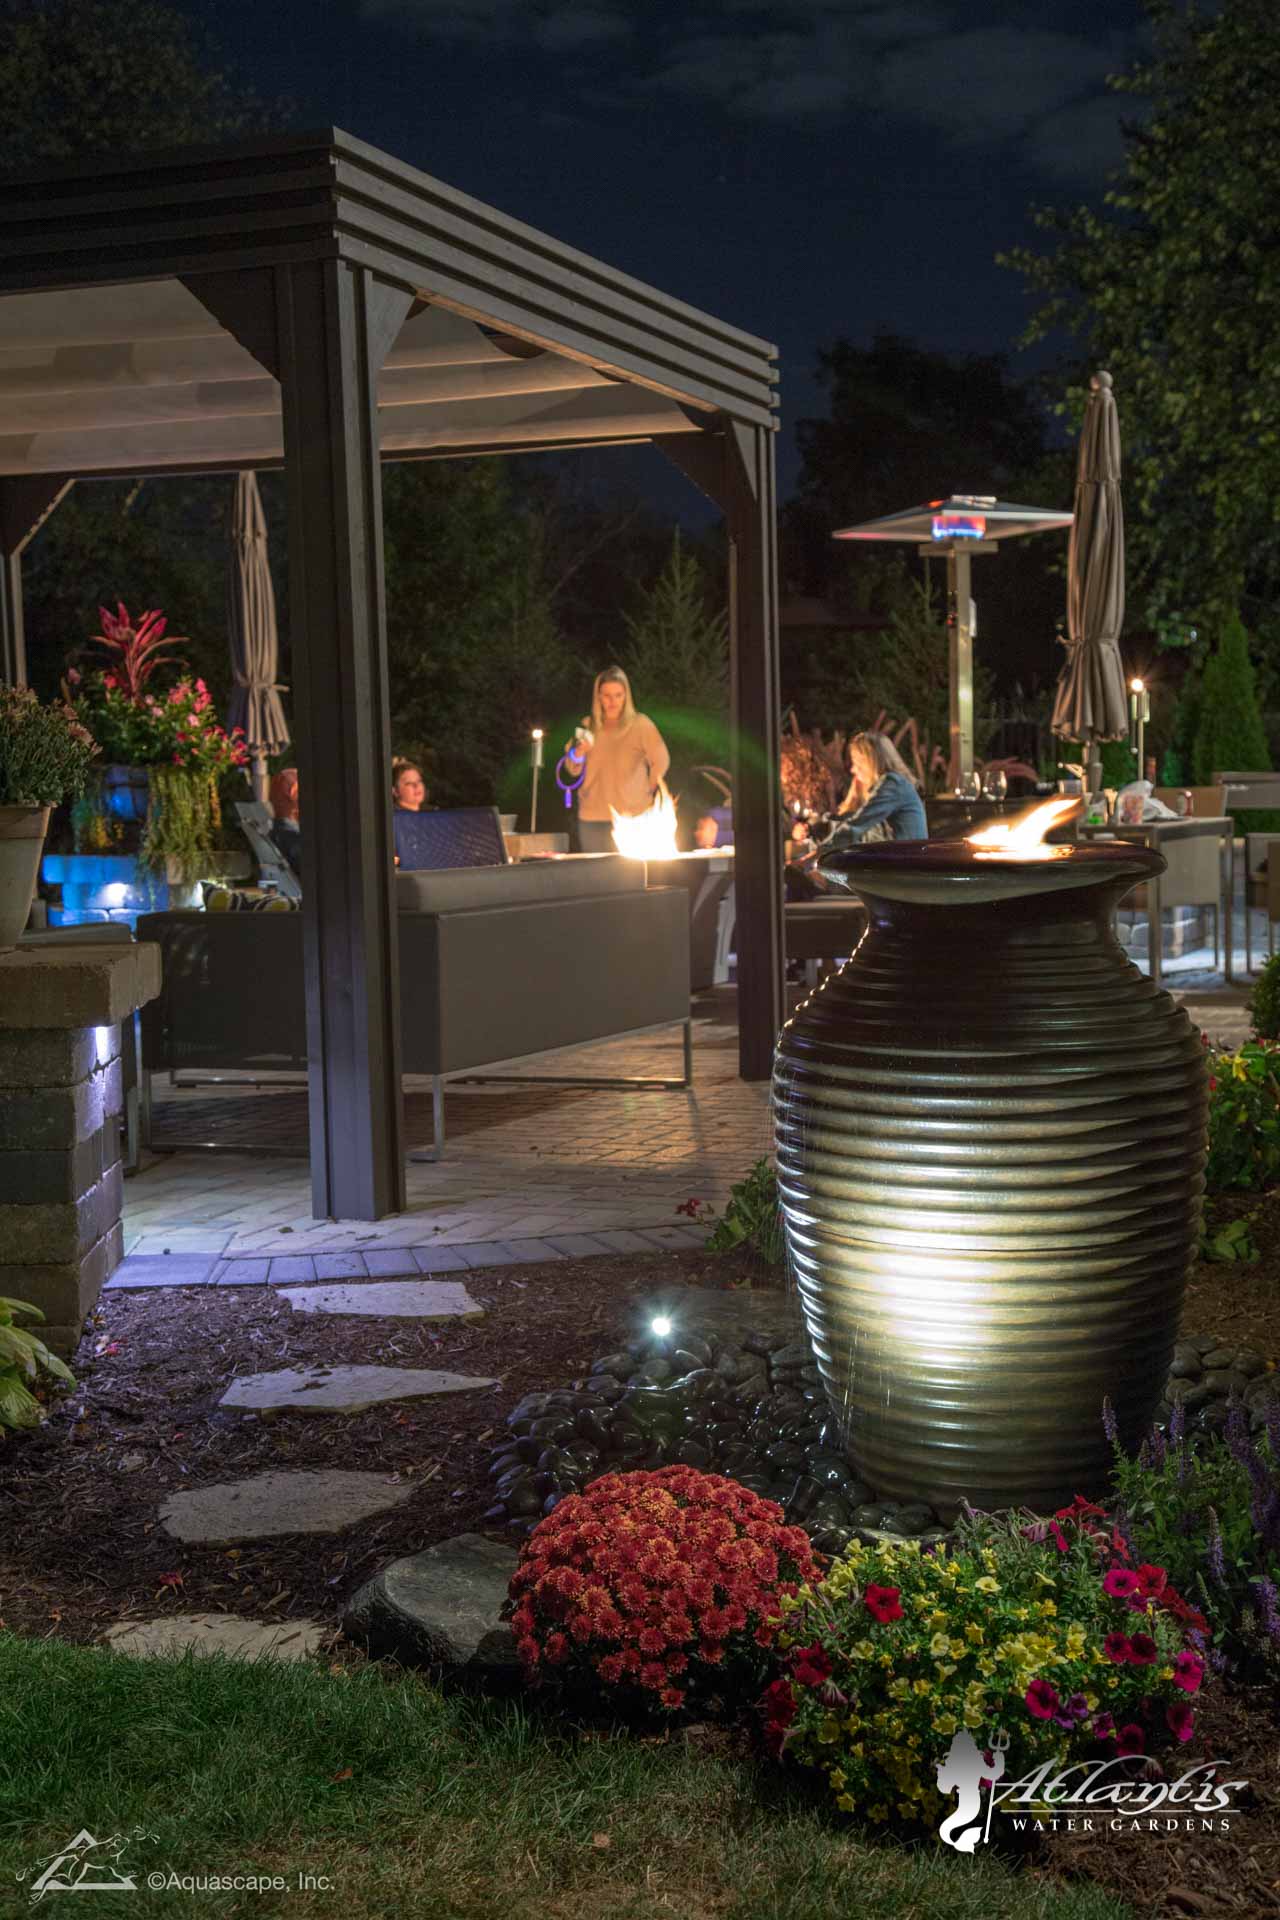
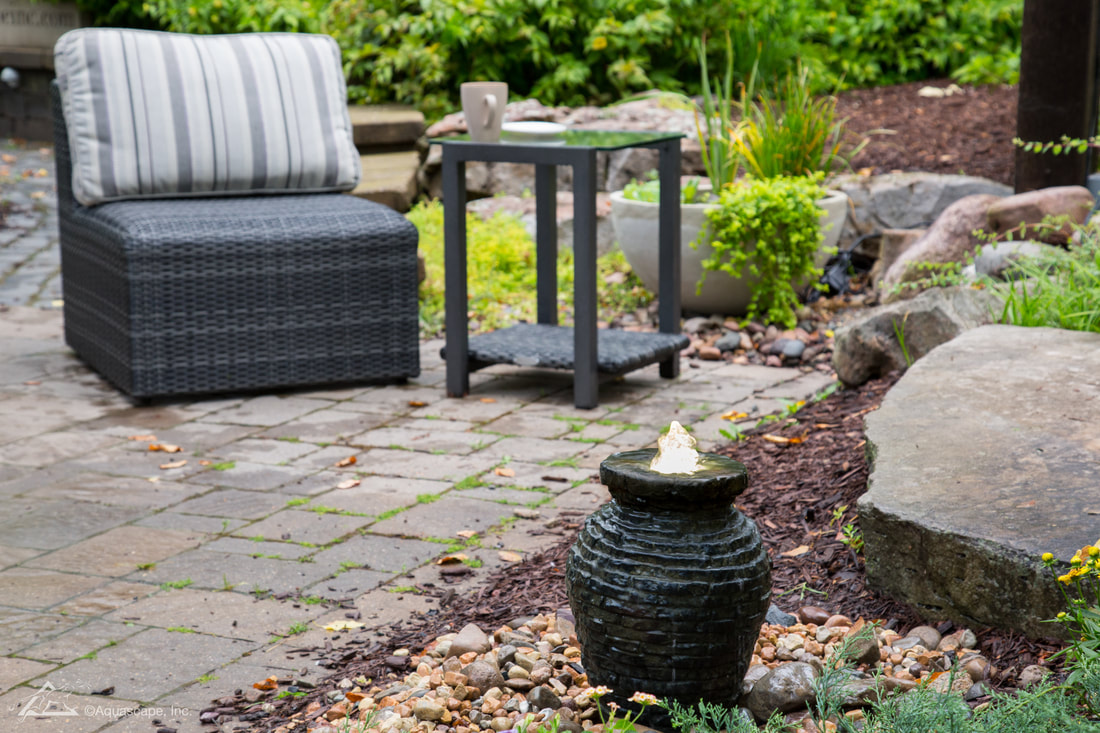
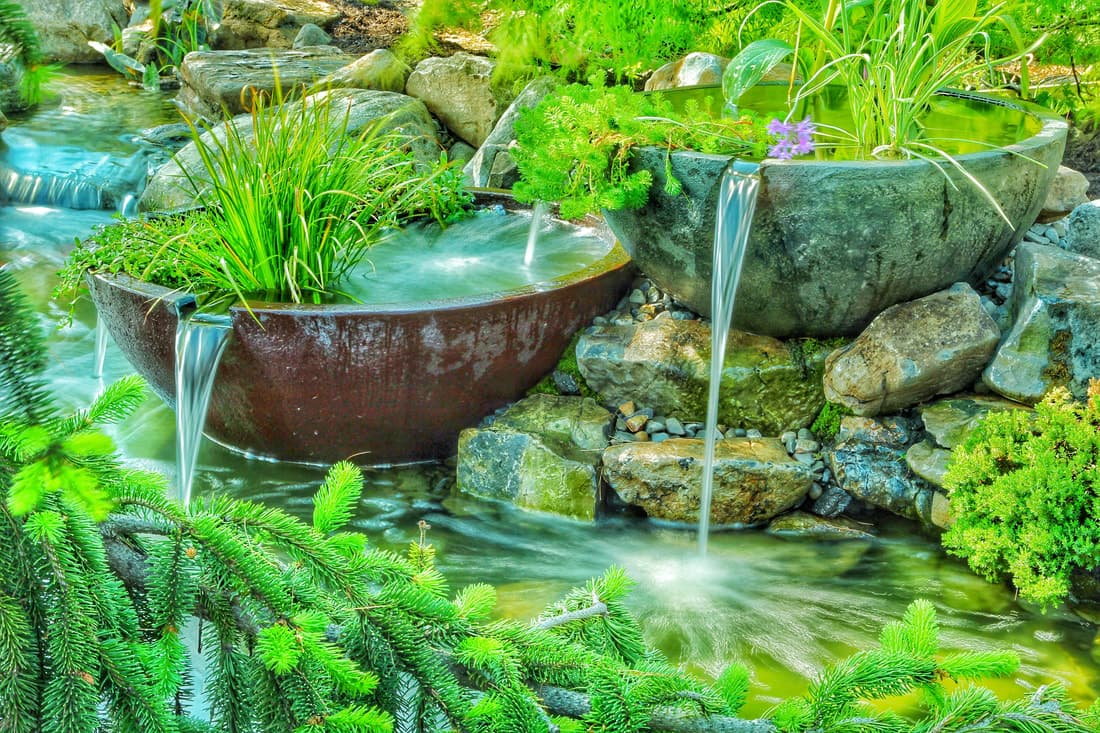
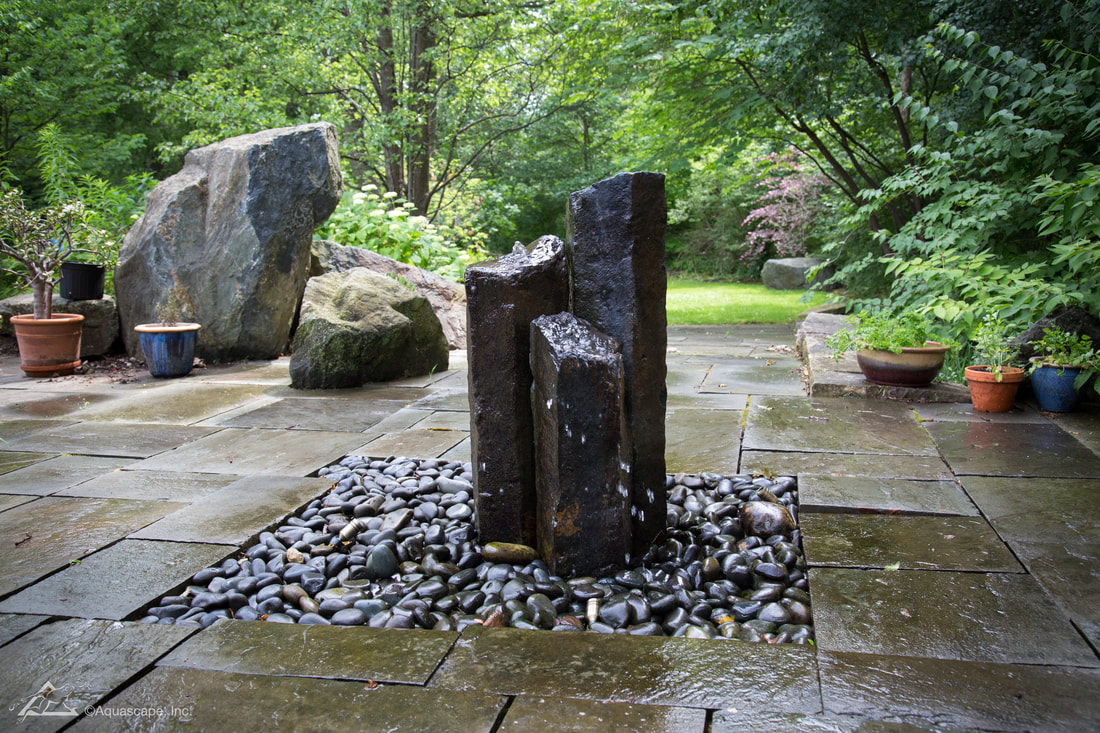
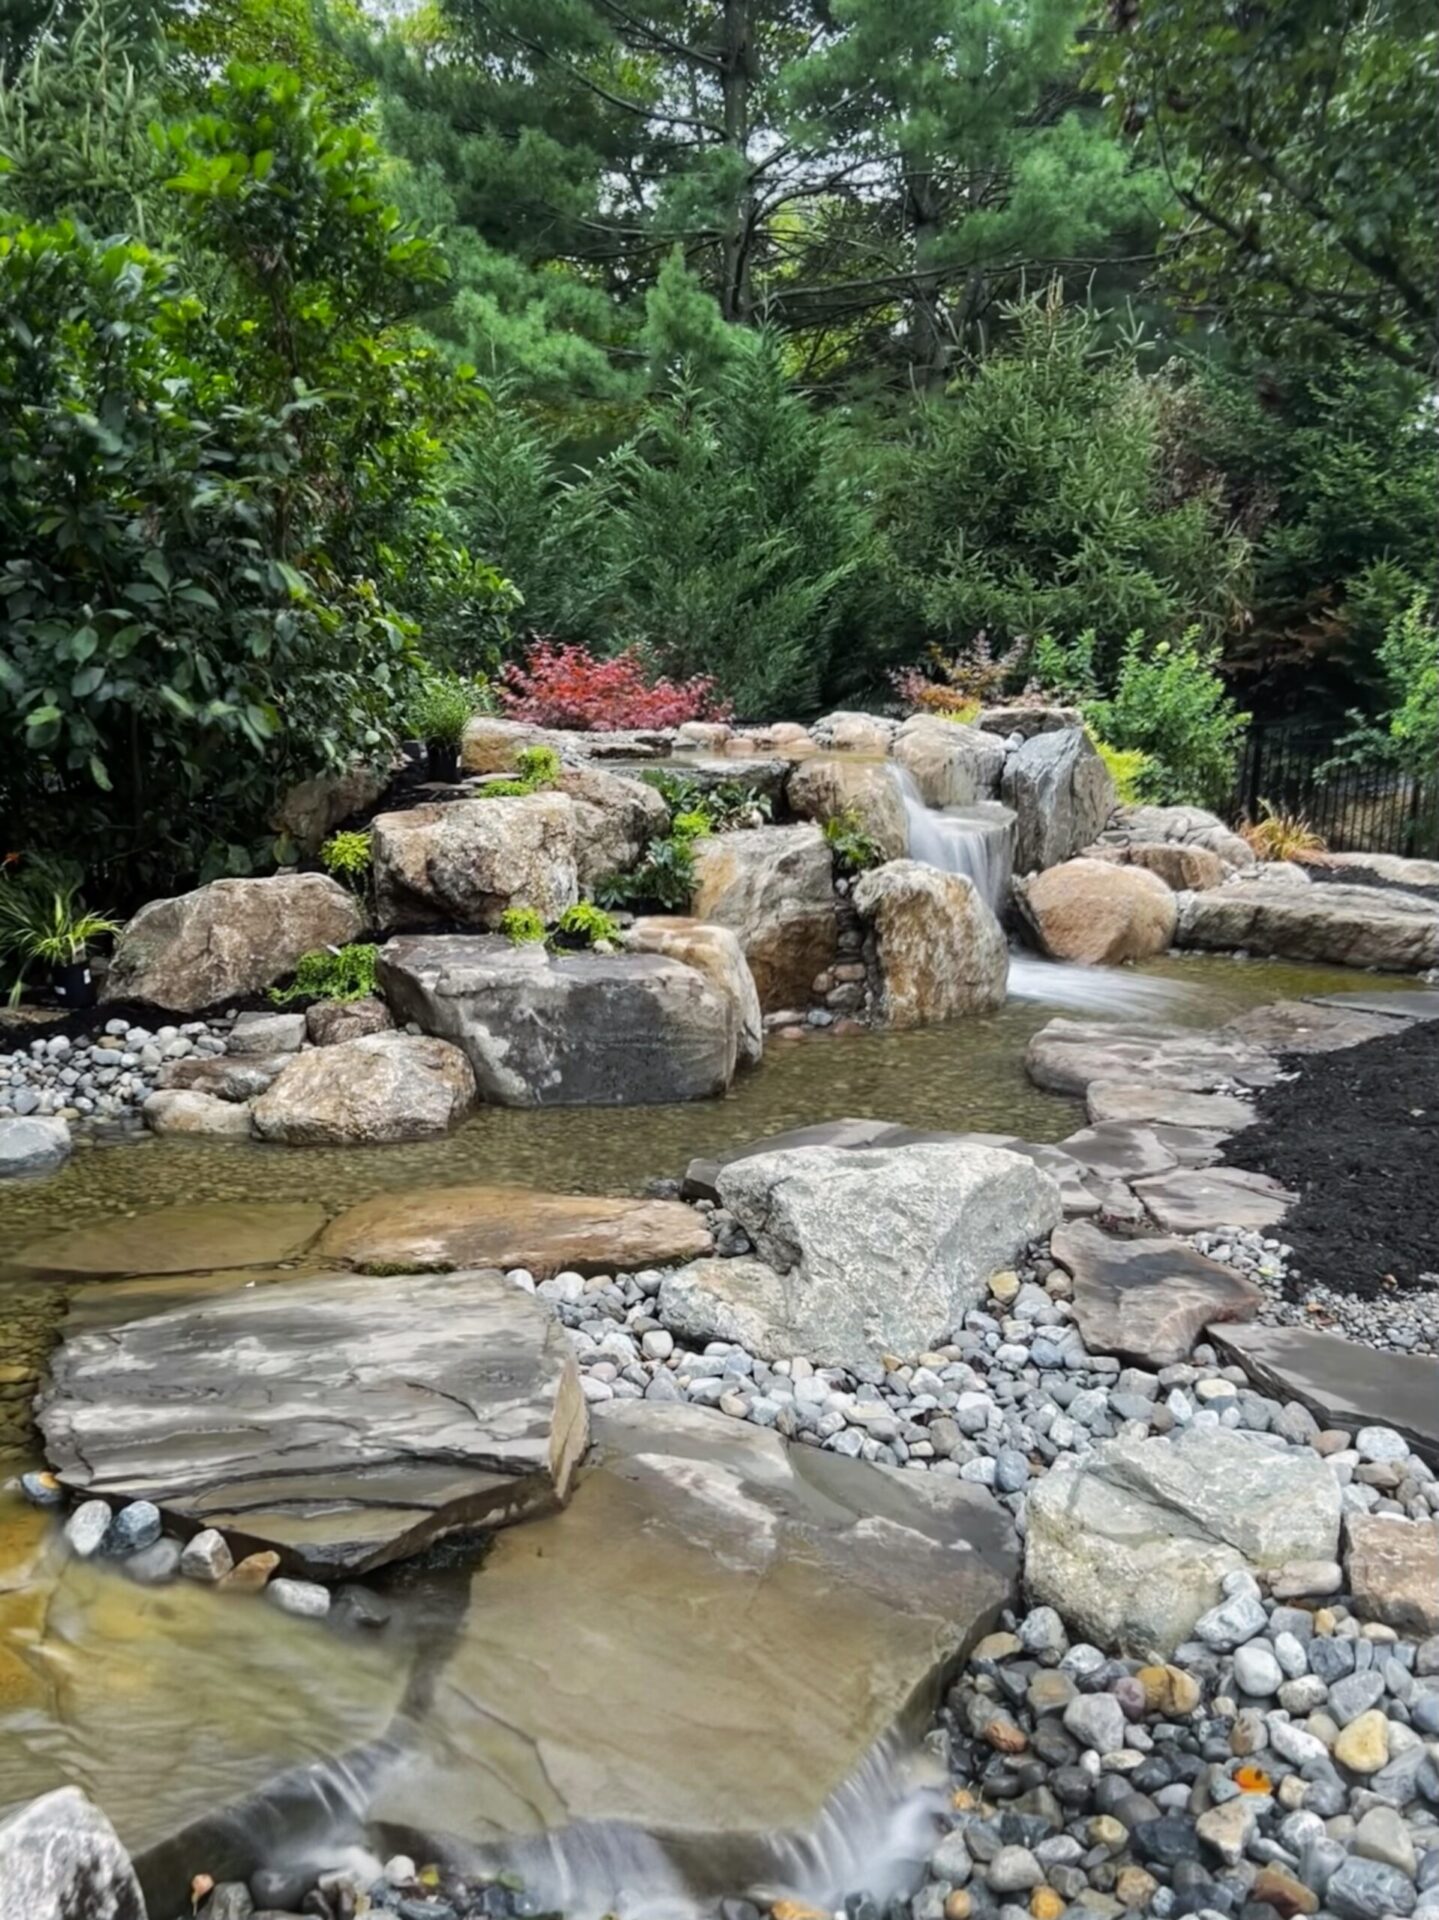
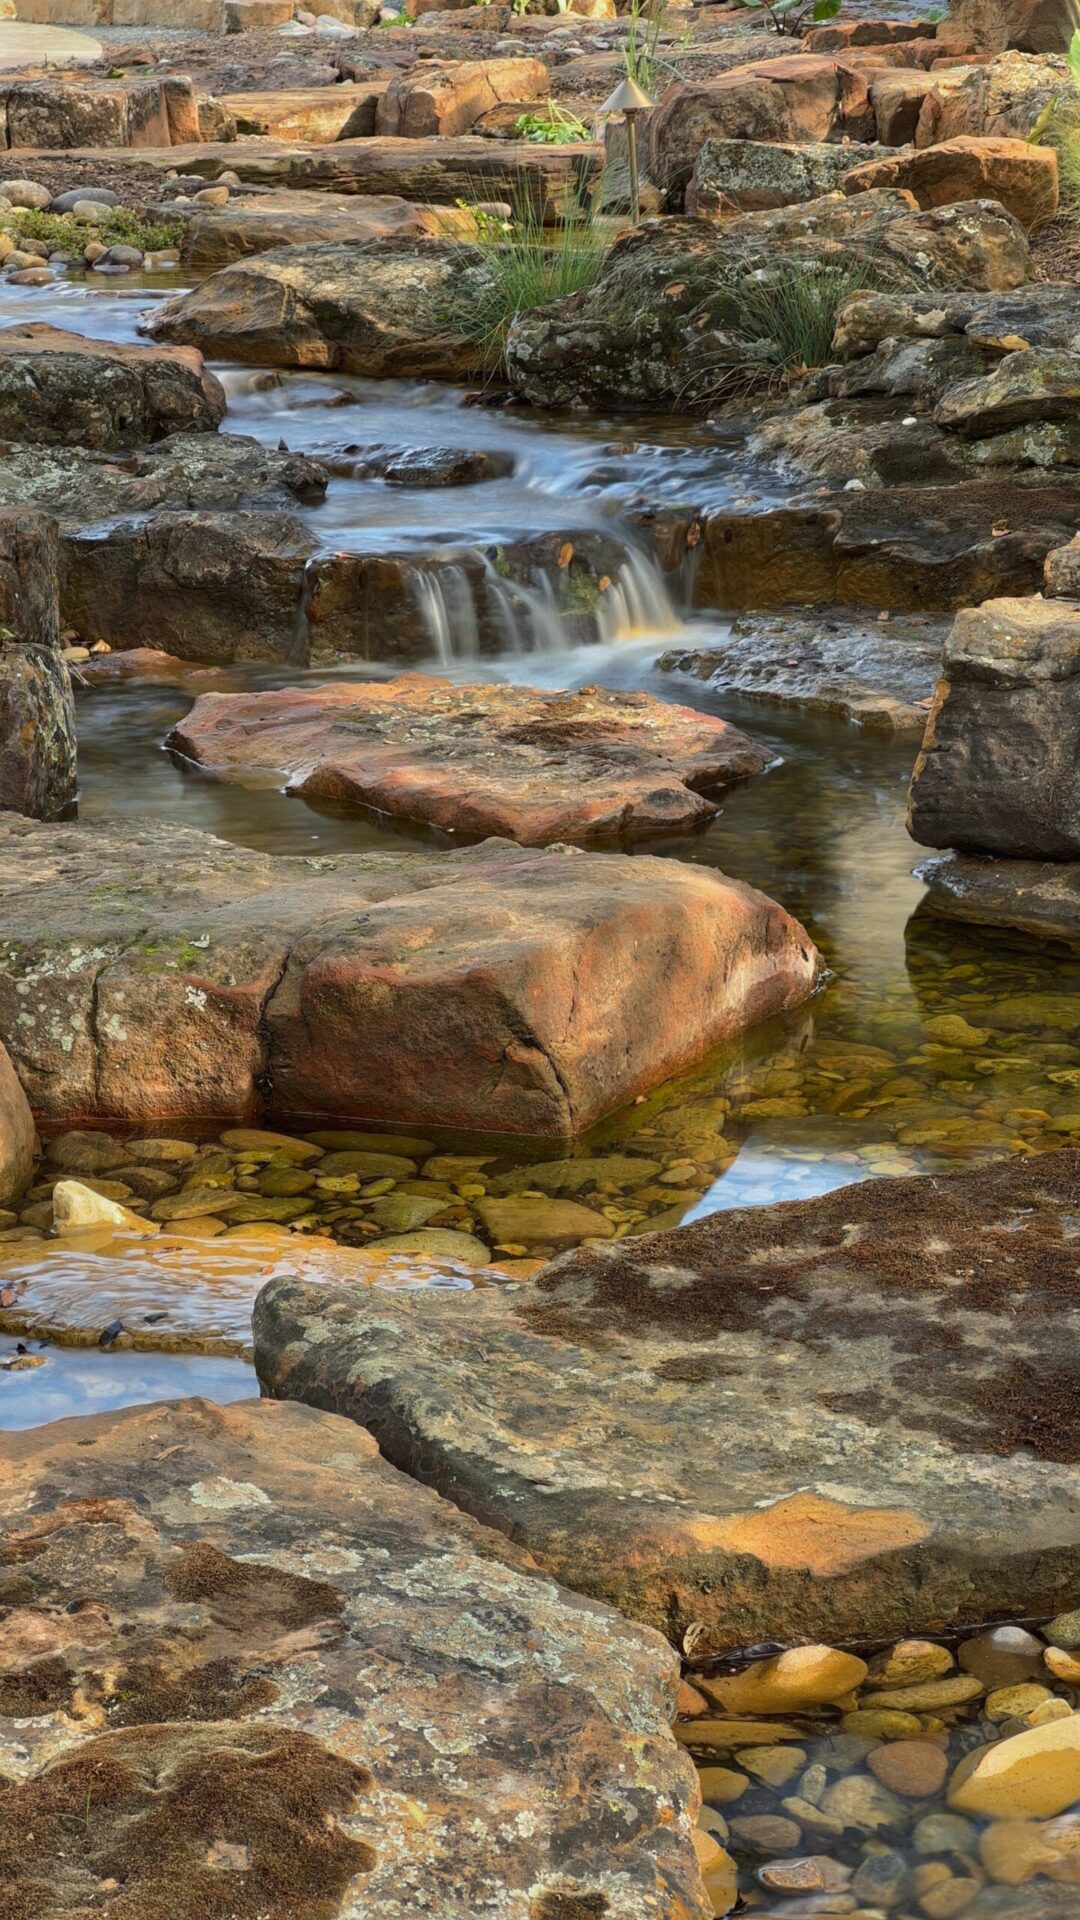
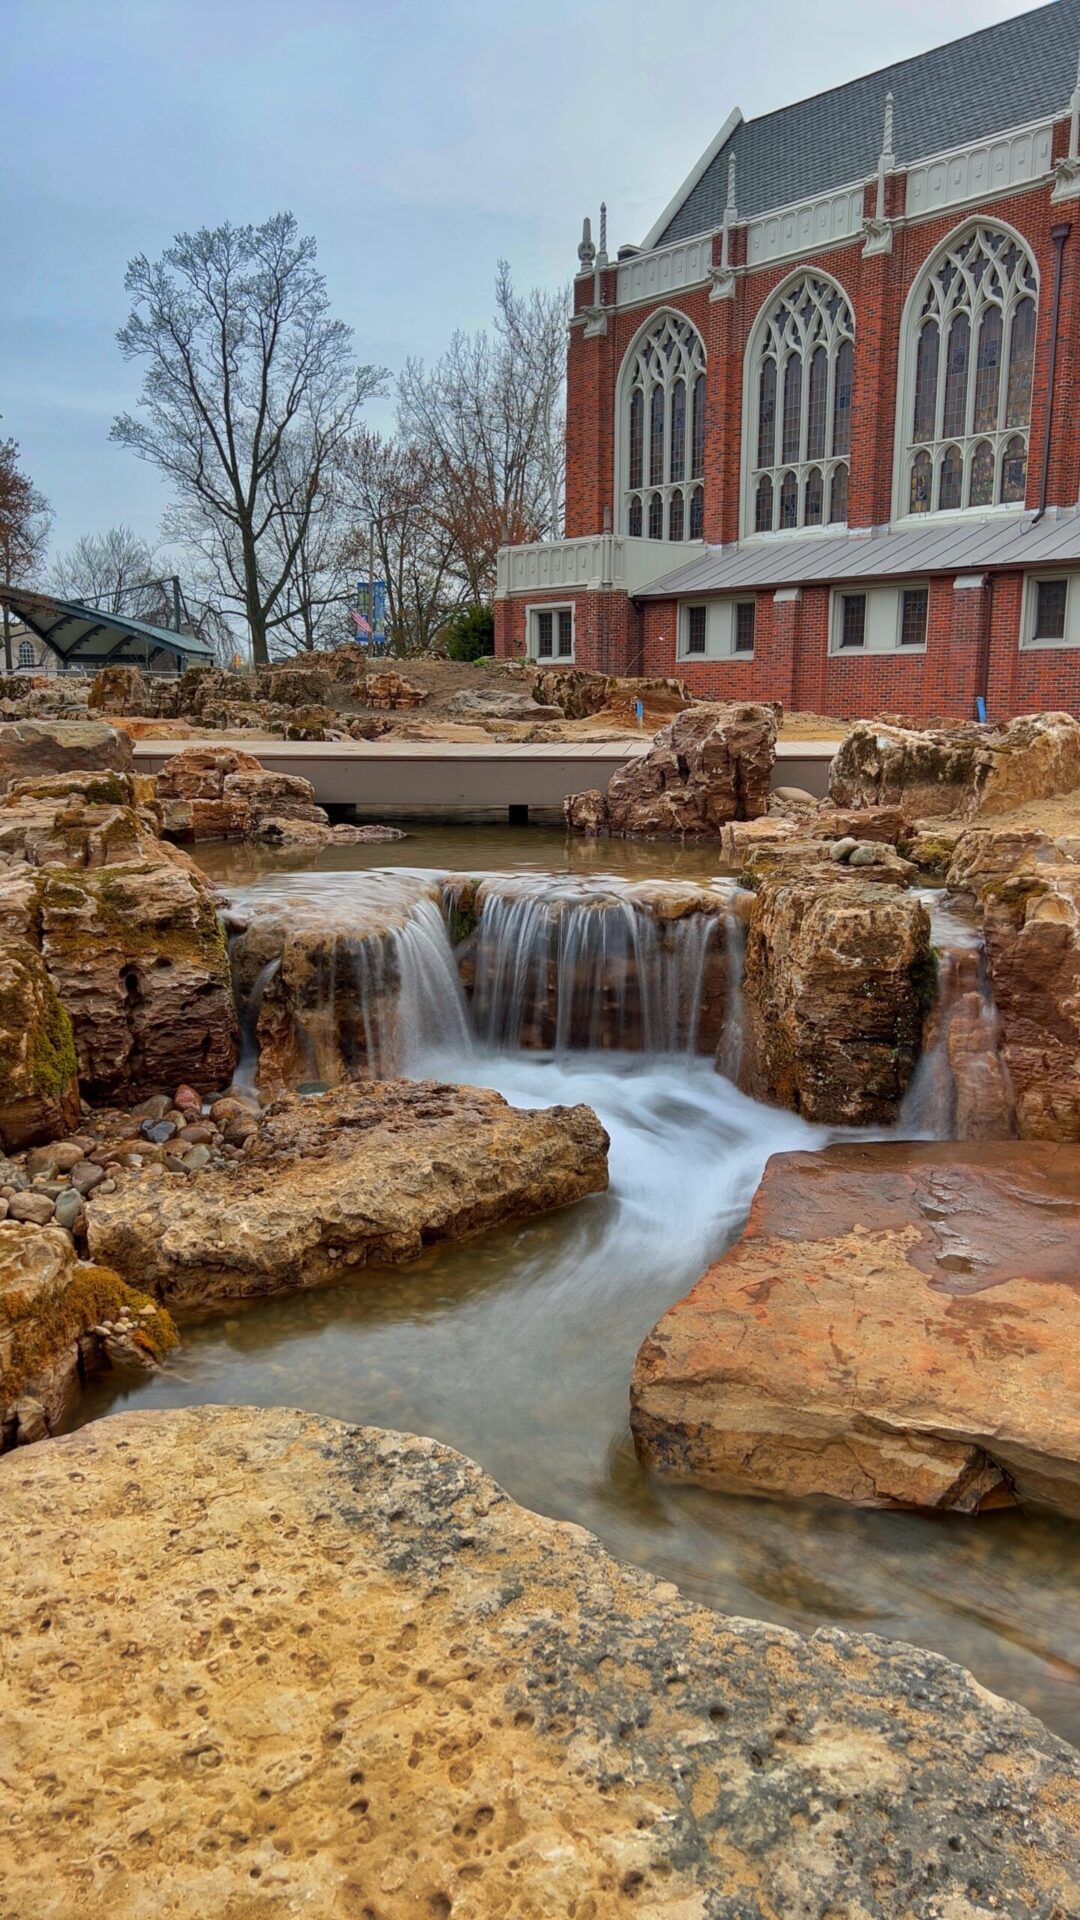
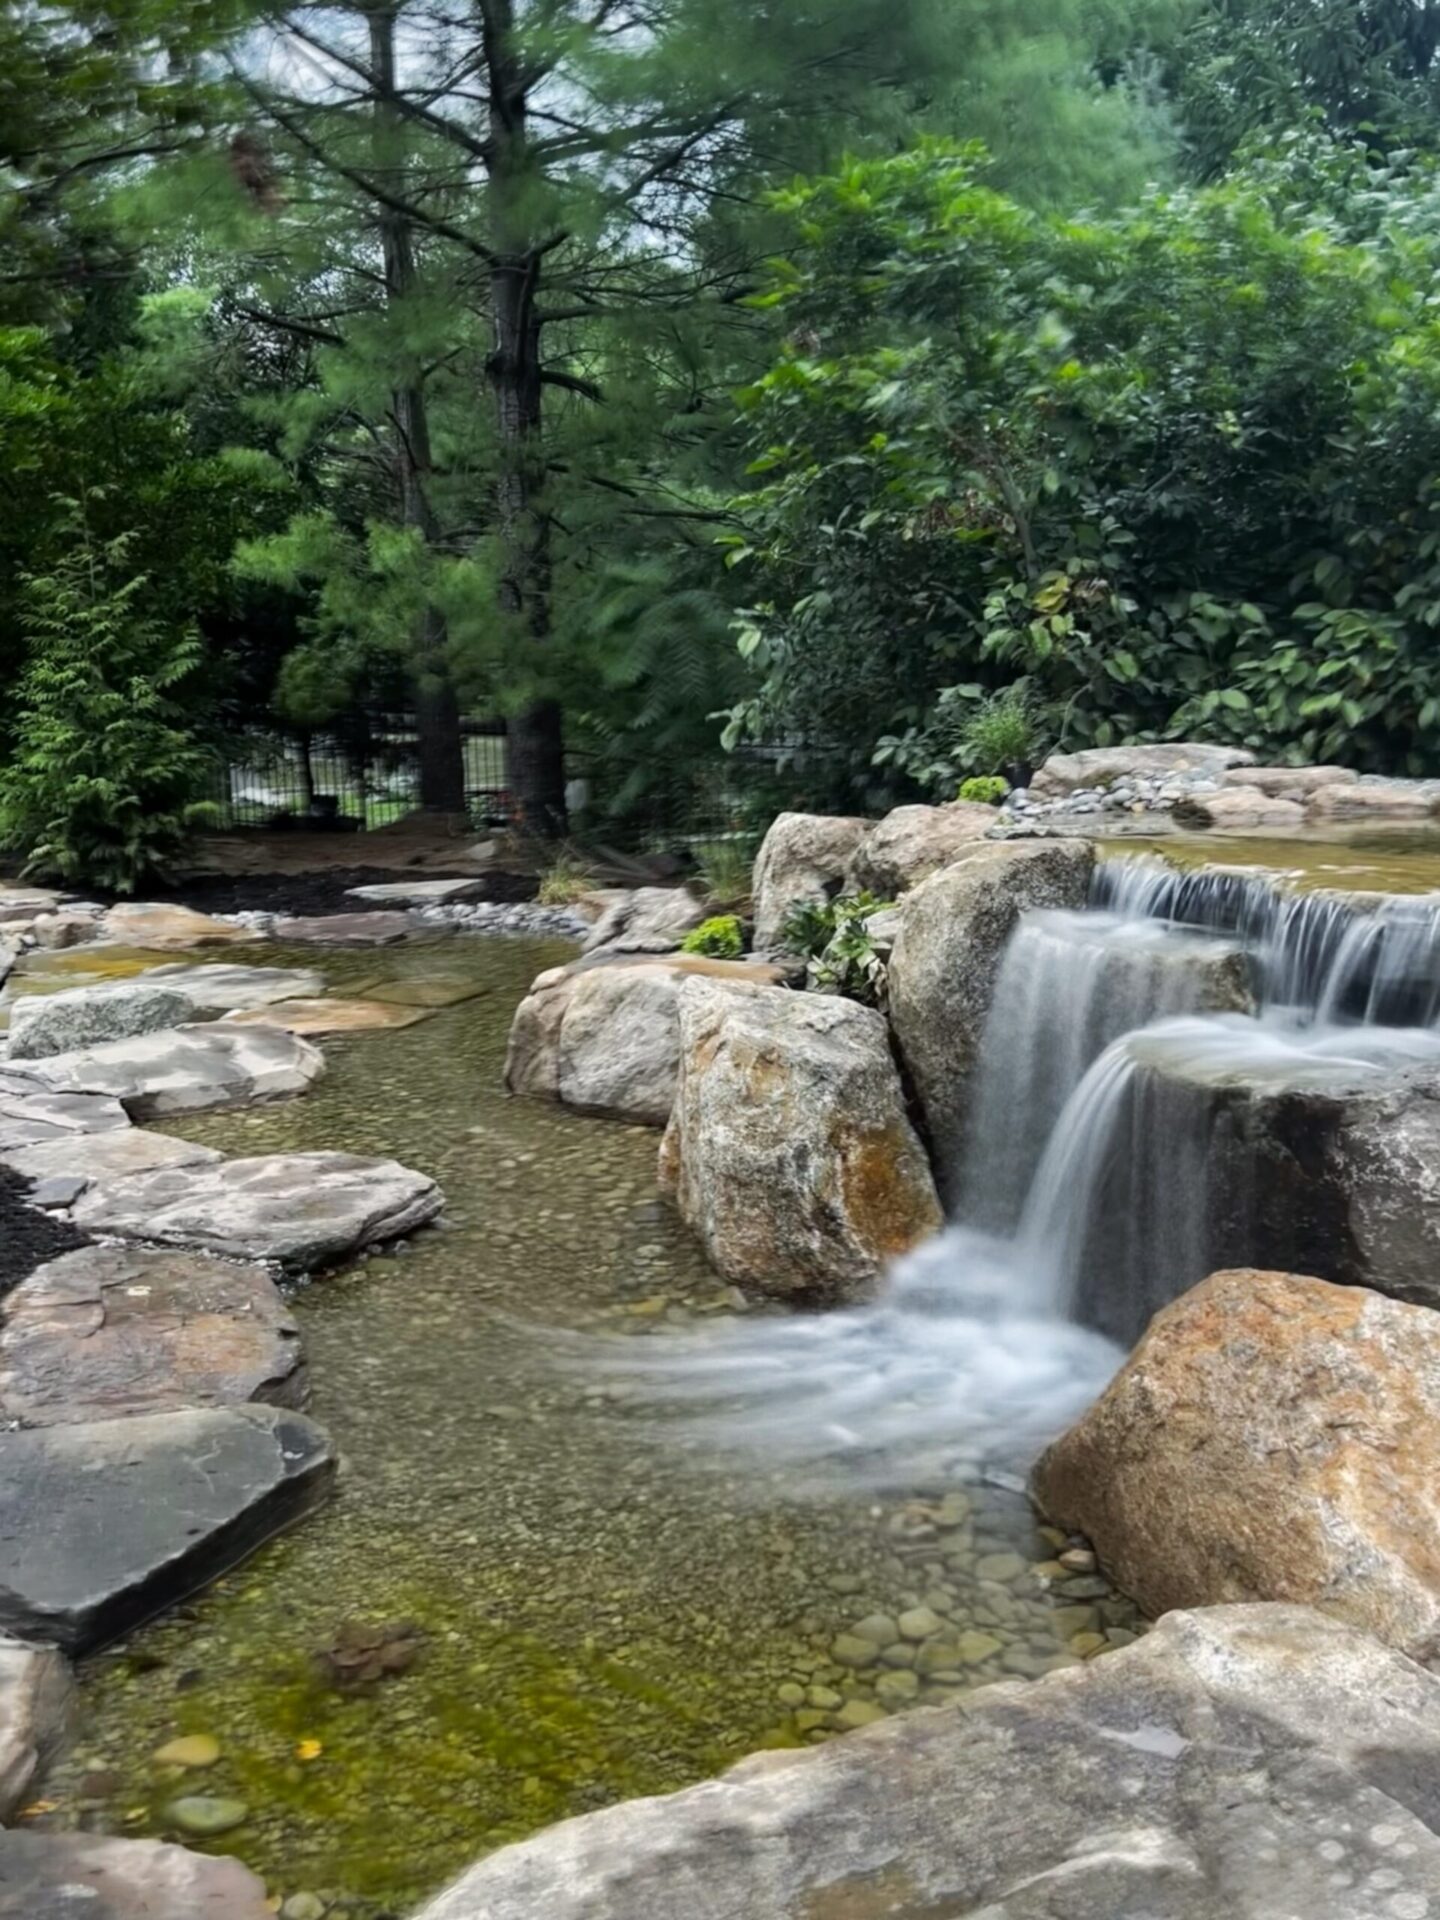
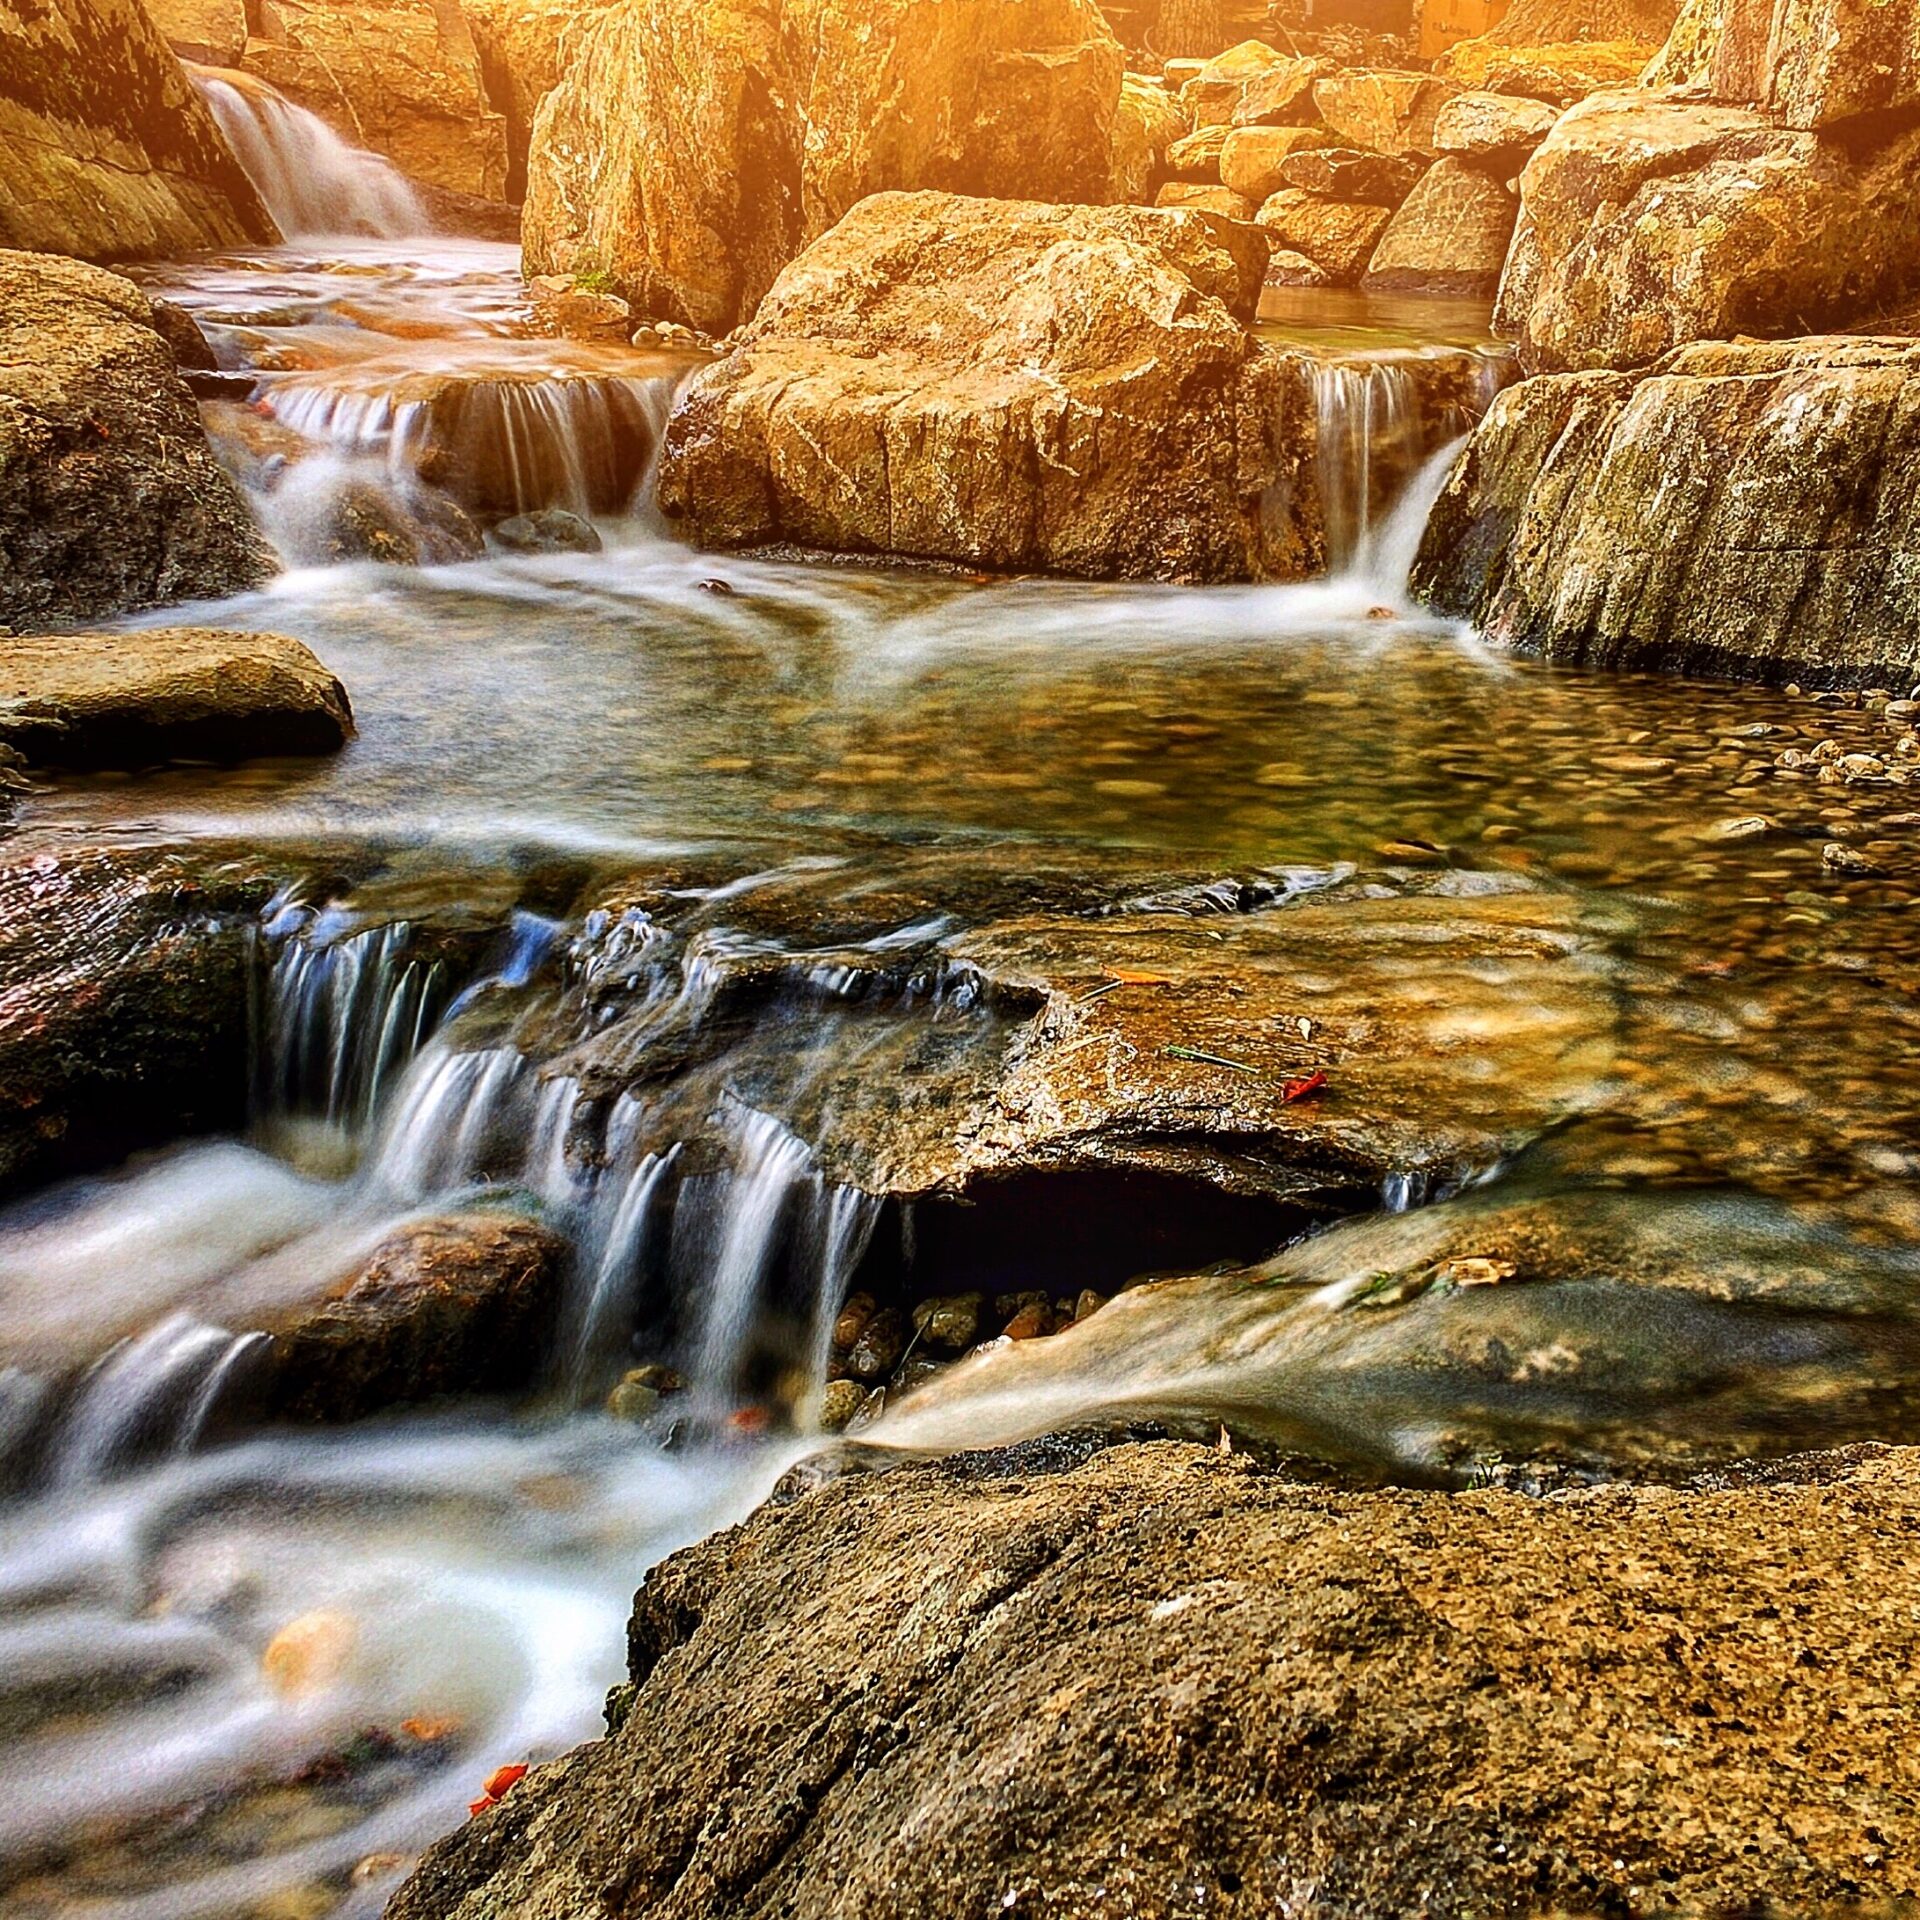
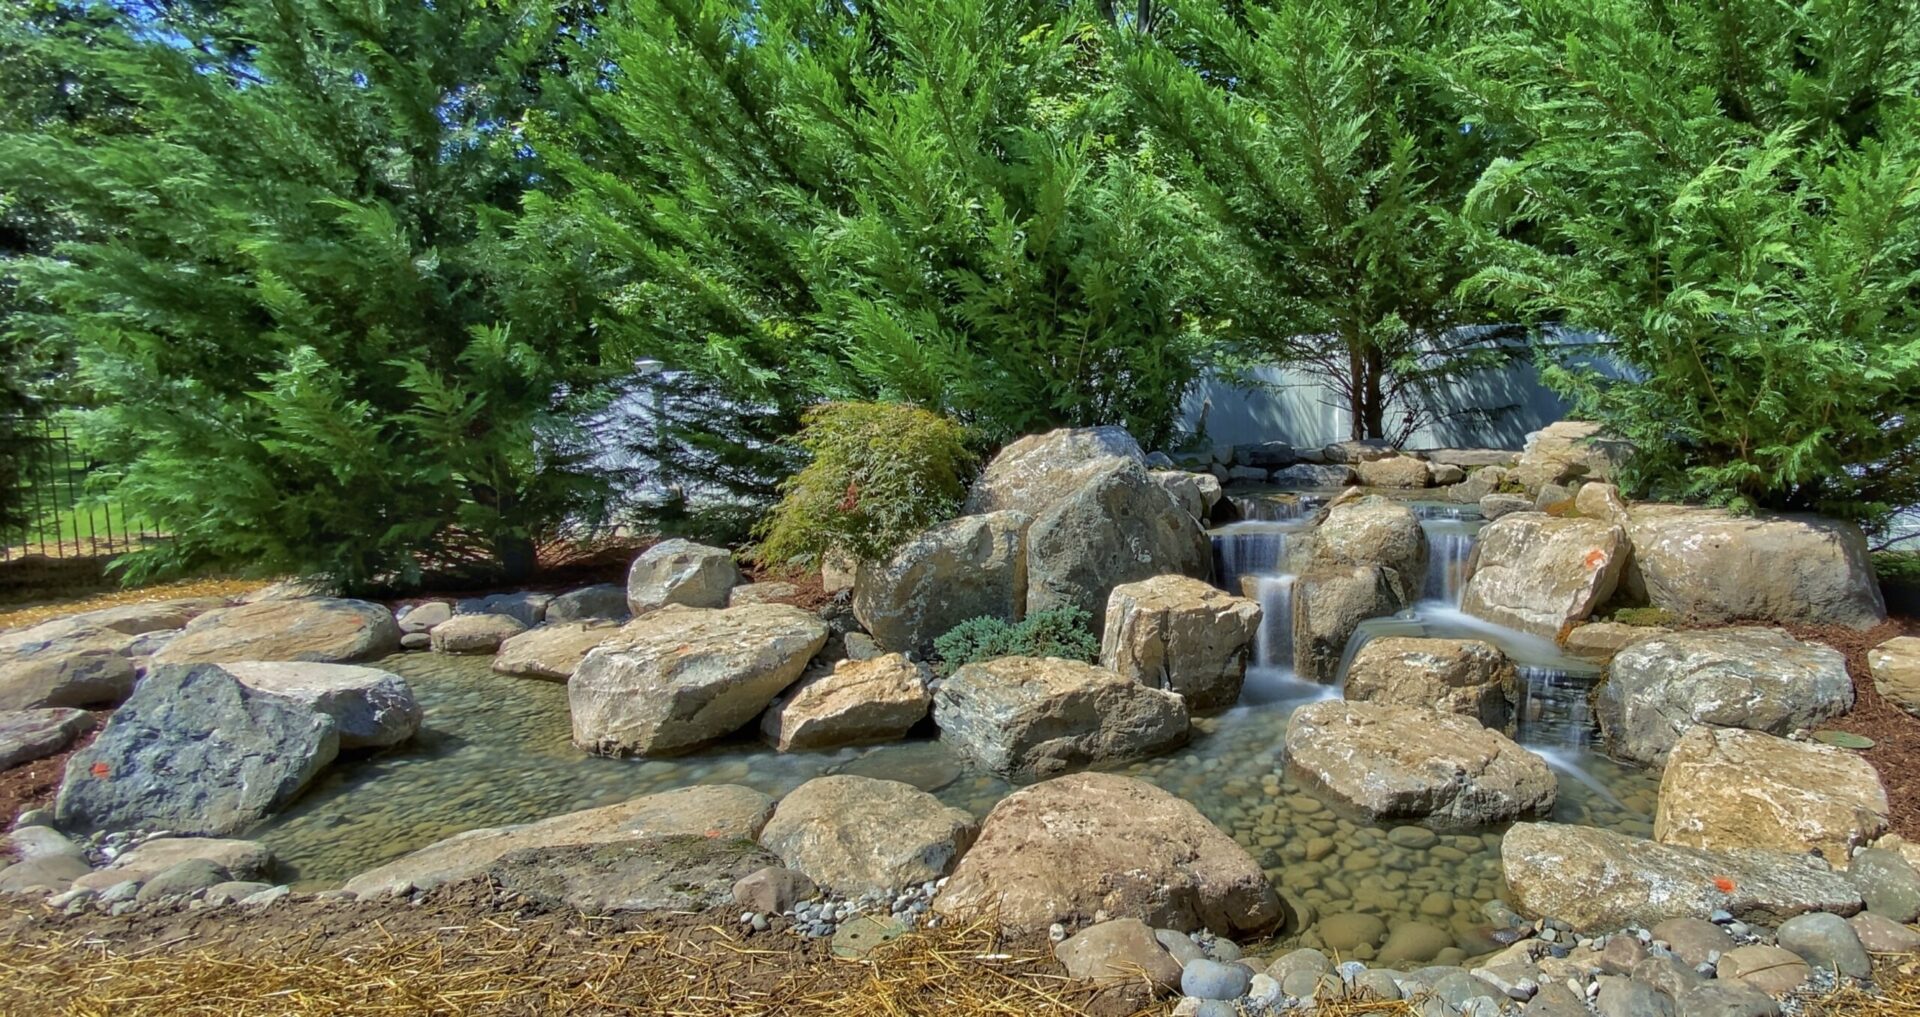
We got em. 🙂 Here’s some pretty photos you can look at to destress.